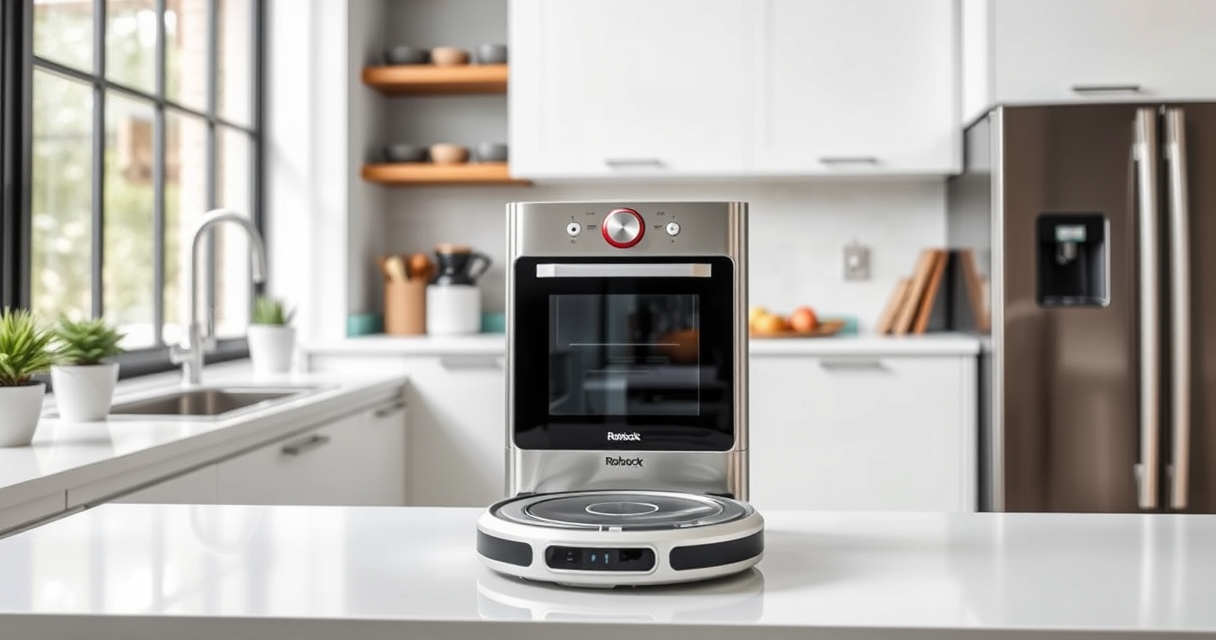
Getting your new Roborock Q7 M5+ ready for action is simple when you follow a clear setup process. This guide walks you through each step, ensuring your robot is configured correctly for optimal cleaning performance. Proper setup not only enhances efficiency but also prolongs the device’s lifespan, saving you time and frustration.

Get cleaning gear delivered free with Prime
- Fast, free delivery on millions of items
- Prime Video, Amazon Music and more included
- Member-only deals all year
From unboxing to connecting via app, we’ll cover everything you need to know to get your Roborock up and running safely and effectively.
Key Takeaways
| Ease of setup | Follow simple steps for quick installation |
| App control | Use the Roborock app for customization and monitoring |
| Maintenance tips | Keep filters and mop pads clean for best results |
| Troubleshooting | Address common setup issues easily |
| Safety precautions | Ensure safe operation and avoid hazards |
Unboxing and Initial Inspection
- Carefully remove the Roborock Q7 M5+ from its packaging, and check that all components are present: the vacuum unit, charging dock, power adapter, and accessories like filters and mop pads.
- Inspect the device for any visible damage or missing parts. Refer to the product manual for the complete list of included items.
- Place the charging dock on a flat, open surface against a wall, ensuring there is at least 1-2 feet of clearance on each side and at least 4 feet in front for easy docking.
Charging and Powering On
- Connect the charging dock to a power outlet using the provided adapter. Ensure the outlet is functional.
- Place the Roborock Q7 M5+ firmly onto the dock, aligning the charging contacts. The device should automatically start charging; if not, press the power button.
- Allow the robot to fully charge before proceeding, which typically takes 3-4 hours. The indicator lights will show charging status.
Connecting to the Roborock App
- Download the Roborock app from your device’s app store. Open the app and create or log into your account.
- Ensure your smartphone’s Bluetooth and Wi-Fi are enabled. Follow the app instructions to add a new device.
- Select ‘Roborock Q7 M5+’ from the list of available devices. The app will guide you through connecting the robot to your home Wi-Fi network.
- Once connected, you can customize cleaning schedules, modes, and view the map of your home.
Initial Calibration and Testing
- Place the robot in a central location in your home, away from obstacles, to allow it to perform initial mapping.
- Press the ‘Start’ button in the app or on the device to begin the first cleaning cycle. The robot will scan the environment using its PreciSense LiDAR Navigation system.
- Allow the robot to complete a full pass to map your space. This step helps it navigate efficiently during future cleans.
- If the robot encounters issues, such as getting stuck or missing areas, refer to the troubleshooting tips below.
Configuring Cleaning Preferences and Maintenance
- Set your preferred cleaning modes (vacuuming, mopping, or mixed) via the app.
- Schedule regular cleanings to keep your home consistently tidy.
- Maintain your device by replacing filters regularly (consider the 4 Pack Washable Filter ASIN: B0DK99HTQ7) and cleaning the mop pads (e.g., VIEWALL 6 Pack Reusable Mop Pads ASIN: B0GT92FL9H).
- Empty the self-emptying dust bag after up to 7-9 weeks of use, or as needed, to prevent clogs or reduced suction.
Safety Tips and Troubleshooting
Always keep the area around the charging dock clear of obstacles. Avoid placing the robot near stairs or ledges without boundary strips.
If the robot does not start or connect, check Wi-Fi settings, restart the device, or update the app firmware.
For persistent navigation issues, ensure the LiDAR sensor is clean and unobstructed. Use the app’s mapping feature to re-calibrate if necessary.
Never attempt to repair internal components yourself; contact customer support for repairs or warranty claims.