
To move from layout to the first pour, start by preparing your site with clearing, leveling, and excavation using heavy equipment. Next, mark the foundation layout accurately, double-check measurements, and install formwork securely. Guarantee reinforcement is in place and the subgrade is stable. Before pouring, confirm forms are level and reinforcement is correct. If you keep exploring, you’ll find detailed steps to ensure a smooth foundation process and avoid common pitfalls.
Key Takeaways
- Complete site preparation by clearing, leveling, and excavating to ensure a clean, even workspace.
- Mark foundation layout accurately with measurements, string lines, and chalk, confirming alignment with plans.
- Excavate within boundaries, set up formwork, and verify dimensions before pouring concrete.
- Prepare and pour concrete evenly, then use a vibrator for proper compaction and level the surface.
- Conduct final checks on formwork, reinforcement, subgrade, and embedded items before pouring.

Handheld Concrete Vibrating Tool, 1500W Electric Concrete Vibrator
★【POWERFUL CONCRETE VIBRATOR】: 12.5A high power copper motor allows evacuating the air bubbles efficiently and having the ideal…
As an affiliate, we earn on qualifying purchases.
As an affiliate, we earn on qualifying purchases.
Preparing the Site and Excavation
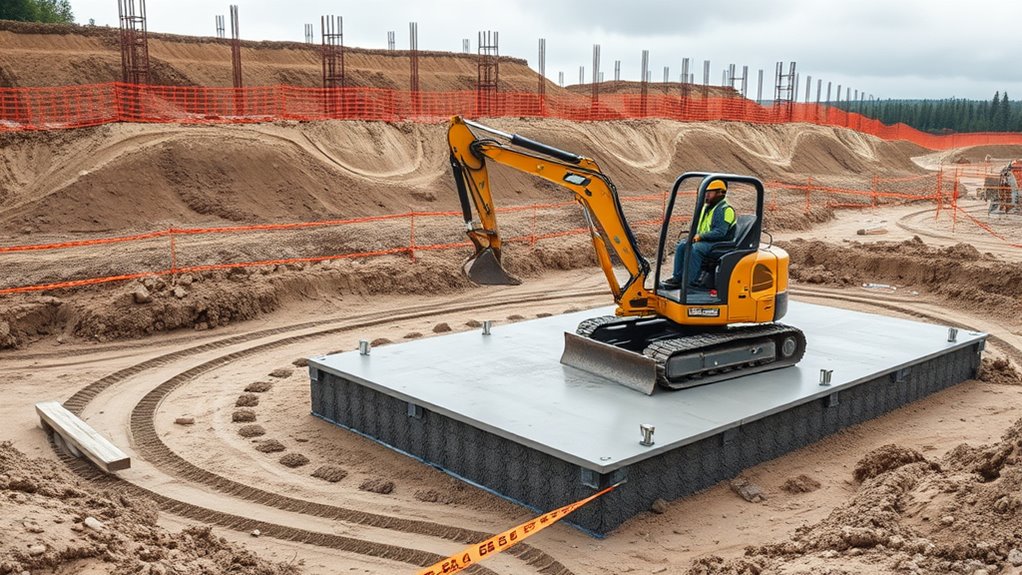
Before any construction can begin, you need to prepare the site and carry out excavation work. Start by clearing the area of trees, shrubs, and debris to create a clean workspace. Mark the boundaries according to your site plan, ensuring everything aligns with your design. You’ll then need to level the ground, removing any uneven spots or high points. Excavation involves digging trenches for utilities and removing excess soil to reach the desired subgrade level. This step is essential for ensuring a stable foundation later on. Use proper equipment, like bulldozers or backhoes, to speed up the process and improve accuracy. Once the site is properly excavated and cleared, you’ll be ready to move on to the next phase of setting the foundation layout. Understanding site preparation is a crucial part of cultivating a strong and joyful beginning to your building project.

Industrial Crawler Bulldozer Construction Machinery Hydraulic Crawler Bulldozer, Hydraulic Soil Shifter Earthmover Heavy Earth Moving Equipment for Site Preparation and Soil Excavation
Please Note: This Crawler Bulldozer has multiple models and supports customization. The prices listed are not final. We…
As an affiliate, we earn on qualifying purchases.
As an affiliate, we earn on qualifying purchases.
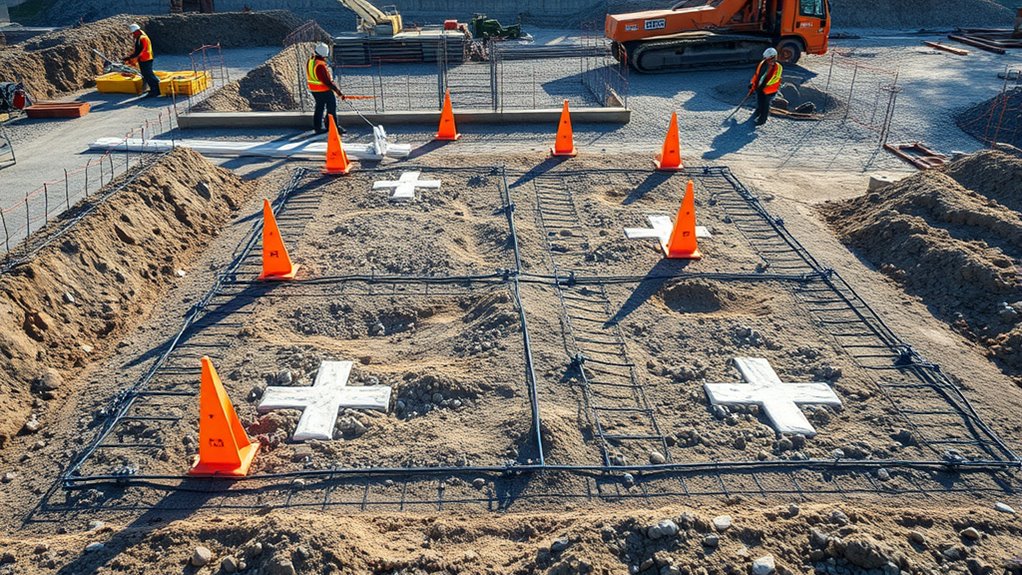
Setting the Foundation Layout
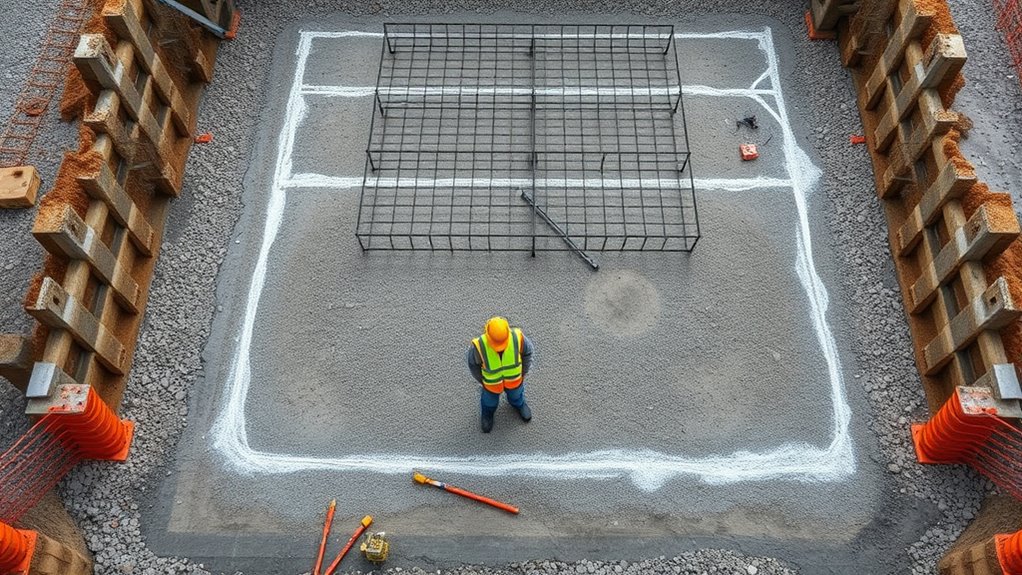
Once the site is cleared and properly excavated, you can begin setting the foundation layout by marking the exact positions of load-bearing walls, footings, and other structural elements. Use a tape measure, string lines, and chalk to guarantee precision. This step is vital for translating the blueprints into real-world locations, so double-check measurements before marking. Confirm the layout aligns with the approved plans and dimensions. Pay special attention to corners, intersections, and load points to prevent future issues. Clear any obstructions that might interfere with marking. Properly marking the layout helps guide the subsequent excavation and forming process, ensuring your foundation is accurately positioned and structurally sound. Accurate layout sets the stage for a smooth construction process moving forward. Incorporating precise measurements based on the project specifications enhances overall accuracy and stability.

Sandbaggy 10" x 3/4" Concrete Spreader Cleats – 3/4" Plywood – Form Clips – Black Annealed Steel – Maintains Consistent 10 inch Wall Thickness (10" Wall, 3/4" Ends, 80, Count)
MAINTAINS CONSISTENT 10 INCH WALL THICKNESS – Fastens the top and bottom of the formwork, preventing bulging or…
As an affiliate, we earn on qualifying purchases.
As an affiliate, we earn on qualifying purchases.
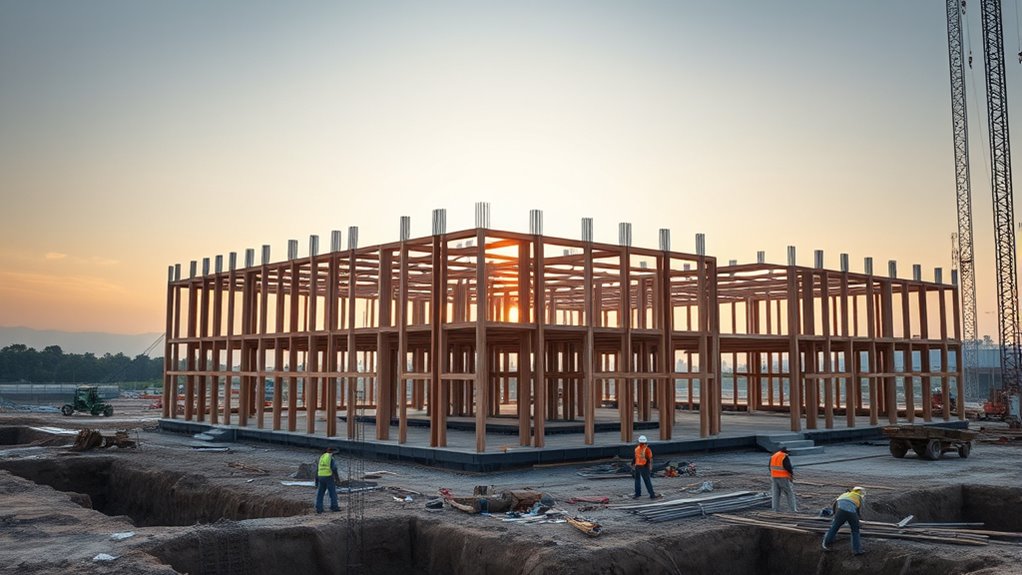
Excavation and Foundation Forming
After completing the foundation layout, the next step is to begin excavation and foundation forming. You’ll start by removing soil within the marked boundaries, ensuring the site is properly leveled and deep enough for the foundation. Use heavy machinery like an excavator to speed up this process. Once the excavation is complete, check the dimensions carefully to match your plans. Next, you’ll set up formwork—wood or metal panels that shape the foundation. Make sure the forms are secure, aligned, and level. This step is essential because it defines the foundation’s shape and size. Proper excavation and precise form setting lay the groundwork for a stable, durable foundation, setting the stage for the upcoming concrete pour. Proper form setting is crucial for ensuring the foundation’s stability and accuracy.

Motovera Self Leveling Laser Level 100ft, Green Cross Line with Tripod, 4 Brightness Modes & Pulse Function, Manual & Self-Leveling Modes, IP54 Waterproof for Picture Hanging, Tile, DIY Construction
【Ultra-Bright Green Beam & High-Precision Accuracy】Powered by an advanced green laser diode, this tool delivers 4X the brightness…
As an affiliate, we earn on qualifying purchases.
As an affiliate, we earn on qualifying purchases.
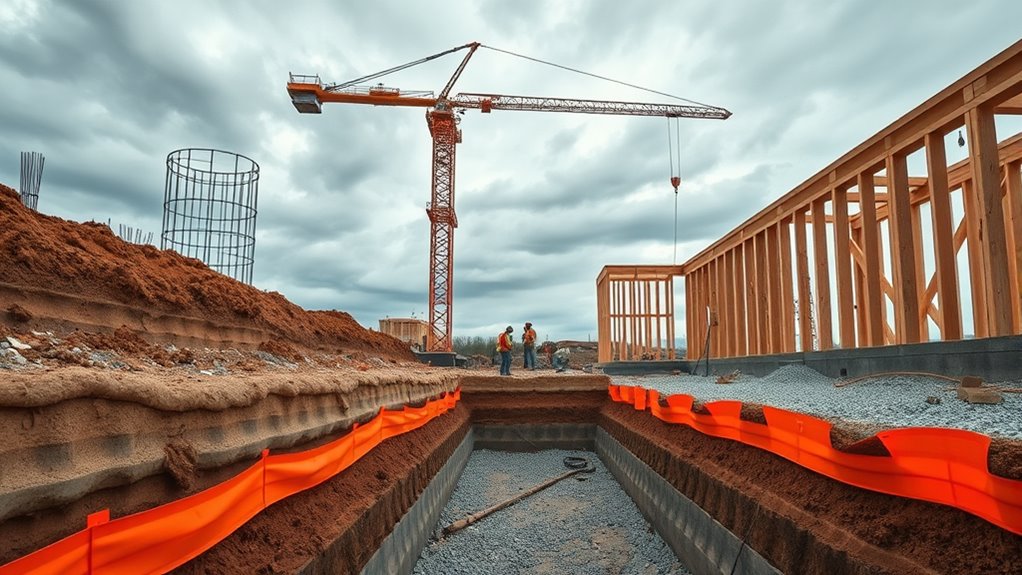
Pouring and Curing the Foundation
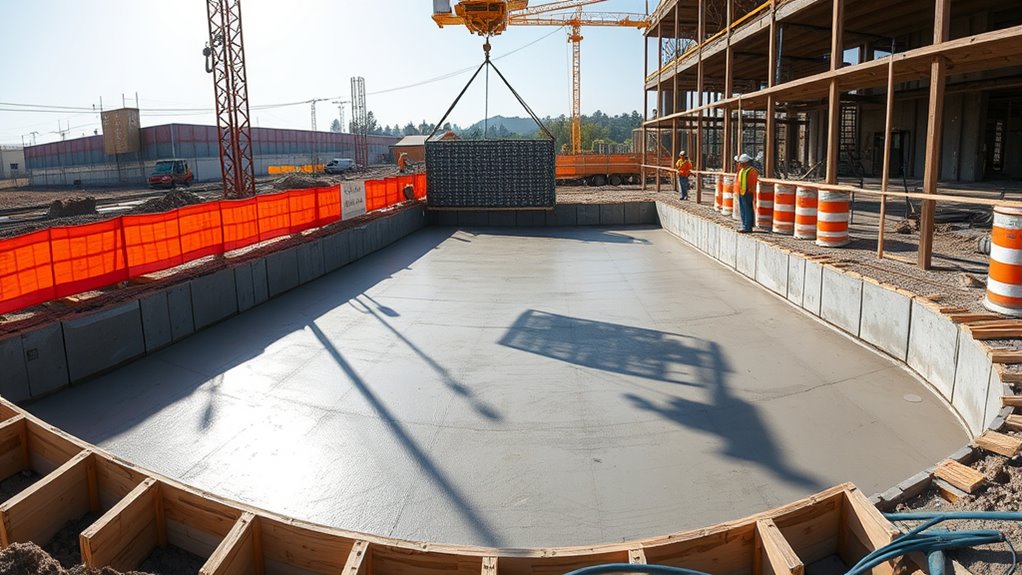
With the forms securely in place and the excavation complete, you’re ready to pour the concrete for the foundation. Make sure the concrete mix is ready and at the right consistency. Pour it evenly into the forms, starting at one end and working your way across. Use a vibrator to remove air pockets and ensure proper compaction. Once poured, level the surface with a screed. After pouring, the curing process begins; keep the concrete moist to prevent cracking. Cover it with plastic sheeting or damp burlap. Proper curing takes at least 7 days. During this time, avoid disturbing the foundation. Proper curing is essential to develop the concrete’s strength and durability. Below is a quick reference:
| Step | Description |
|---|---|
| Pouring | Evenly fill forms with concrete |
| Leveling | Use a screed to smooth surface |
| Vibrating | Remove air pockets during pour |
| Curing | Keep moist for strength development |
Final Preparations Before the First Concrete Pour
Before pouring the concrete, you need to make sure all preparations are complete. Check that the formwork is secure, level, and free of debris or obstructions. Guarantee reinforcement steel is correctly placed, tied, and supported according to plan. Confirm that the subgrade is properly compacted and clean, with no loose soil or standing water. Verify that all embedded items, like conduits or anchors, are correctly positioned before covering them. Double-check that the concrete mix is ready and scheduled for delivery at the right time. Review weather conditions, avoiding rain or extreme heat that could affect curing. Ensure that all regulatory compliance requirements are met to prevent issues during inspection. Finally, communicate with your team to confirm everyone understands their roles, and assure safety measures are in place for a smooth, efficient pour.
Frequently Asked Questions
How Long Does Each Construction Phase Typically Take?
Each construction phase typically takes between a few days to several weeks. You can expect site preparation and layout to take about a week, foundation work around two weeks, and framing roughly three to four weeks. Plumbing, electrical, and HVAC rough-ins usually need another two weeks. The timeline depends on project size, weather, and permits, so stay flexible and keep in close contact with your builder for updates.
What Are Common Mistakes to Avoid During Foundation Work?
You should avoid rushing the foundation work, as it can lead to structural issues later. Make sure the soil is properly prepared and the forms are accurately set before pouring concrete. Don’t skip inspections or skip curing time, as these steps guarantee strength and stability. Watch out for water drainage problems and uneven settling, which can cause cracks. Proper planning and attention to detail help you prevent costly mistakes.
How Is Weather Impacted on the Construction Timeline?
Weather can considerably impact your construction timeline, especially during foundation work. Rain and snow cause delays by making the ground too wet or unstable, preventing concrete pouring or excavation. Extreme temperatures, like freezing or scorching heat, can also slow progress or compromise materials. To stay on track, you should monitor weather forecasts closely, plan for potential delays, and have contingency plans in place to adapt your schedule as needed.
What Safety Measures Are Essential During Foundation Pouring?
Think of safety measures during foundation pouring as your construction’s lifeline. You must wear proper personal protective equipment like helmets, gloves, and boots, ensuring everyone stays safe. Keep the area clear of unnecessary personnel, and use barriers to prevent falls. Constantly monitor for hazards such as wet concrete or unstable footing. Clear communication and adherence to safety protocols are your shield, safeguarding workers and maintaining a smooth, accident-free pour.
How Do Changes in Design Affect the Construction Schedule?
Changes in design can considerably delay your construction schedule. When you modify plans, you often need to revise permits, order new materials, and adjust workflows. These adjustments can cause unexpected downtime and rescheduling. To minimize delays, communicate promptly with your team, document all changes thoroughly, and coordinate closely with architects and suppliers. Staying flexible and proactive helps you keep your project on track despite design alterations.
Conclusion
As you stand on the brink of pouring your foundation, every step has led to this moment of anticipation. With the site prepared and the formwork set, the first pour is looming—bringing your vision closer to reality. Will the concrete flow smoothly, or will unforeseen challenges arise? The success of this critical stage depends on your careful execution. Get ready—what happens next could determine the strength and longevity of your entire project.