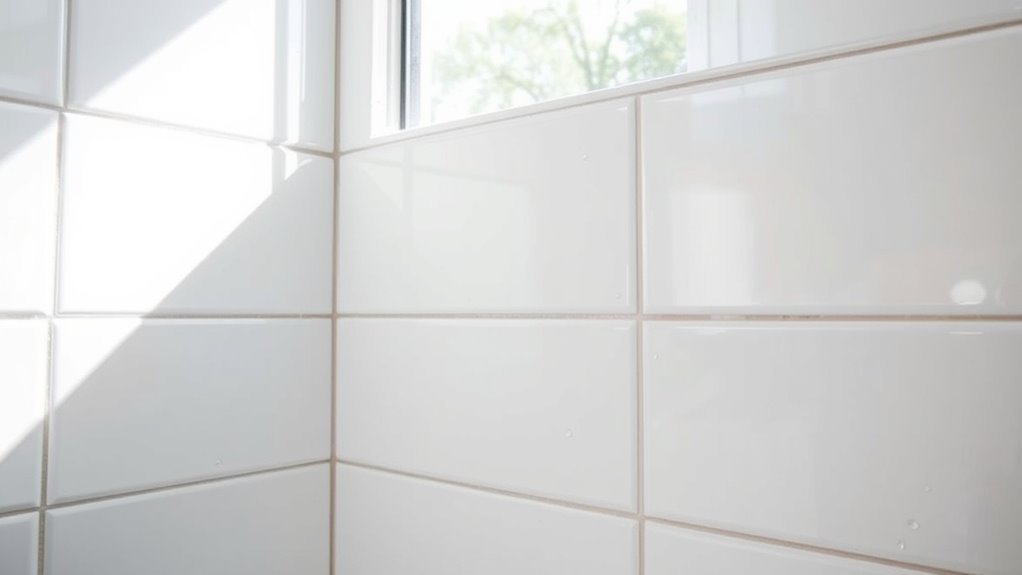

To reseal your shower grout in just 20 minutes, start by thoroughly cleaning and drying the grout lines to remove dirt, mold, and grime. Apply a high-quality penetrating sealant evenly with a small brush or applicator and let it absorb for the recommended time. Avoid over-application, and once the sealant is dry, your grout will be protected from stains and mold. Want to master the full process? Keep exploring for more tips and tricks.

Get cleaning gear delivered free — and shop member deals
- Fast, free delivery on millions of items
- Access to Prime Big Deal Days deals on October 6–7
- Prime Video, Amazon Music and more included
Key Takeaways
- Clean grout thoroughly using a brush and a suitable cleaner to remove dirt, mold, and grime before resealing.
- Allow grout to dry completely, which may take several hours, ensuring a proper bond with the sealant.
- Choose a penetrating or surface sealant appropriate for your grout type for effective, long-lasting protection.
- Apply the sealant evenly with a small brush or applicator, avoiding over-application to prevent residue.
- Wait the recommended drying time before using the shower, maintaining a mold-free, durable, and attractive grout.
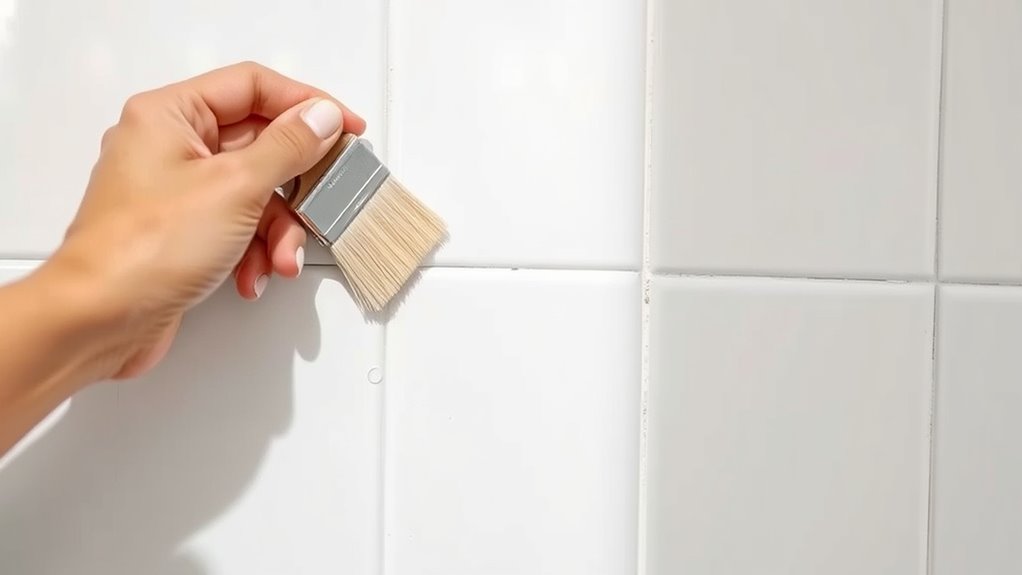
Over time, shower grout can become cracked, stained, or moldy, which not only diminishes your bathroom’s appearance but also risks water damage behind the tiles. Regular grout cleaning is vital to keep your shower looking fresh and to prevent mold buildup. Start by scrubbing the grout lines with a stiff brush and a mixture of baking soda and water or a commercial grout cleaner. This helps lift dirt and mold, making the sealing process more effective. Once you’ve thoroughly cleaned the grout, rinse the area well with water and let it dry completely. Moisture left behind can interfere with sealing, so patience is key here.
Regularly clean and thoroughly dry grout to prevent mold and ensure effective sealing.
When it’s time to reseal, choosing the right sealing techniques is essential. You want a sealant that penetrates deeply to block moisture and stains while remaining flexible enough to handle minor movement. Apply the sealant with a small brush or applicator, making sure to cover every inch of the grout line evenly. Be careful not to over-apply, as excess sealant can cause buildup or leave a sticky residue. After applying, follow the manufacturer’s instructions regarding drying time. Typically, you’ll need to wait a few hours before using the shower again. Proper sealing creates a barrier that prevents water from seeping into the grout, reducing the risk of mold growth and staining.
If you want to streamline the process, consider using a penetrating sealant rather than surface sealants. Penetrating sealants soak into the grout, offering longer-lasting protection with less maintenance. Remember, the key to a successful reseal is making sure the grout is clean and completely dry beforehand. Skipping the cleaning step or rushing the drying process can compromise the sealant’s effectiveness, leading to quicker deterioration.
Additionally, selecting the right sealant type is crucial for ensuring durability and effectiveness. Maintaining your grout with routine cleaning and resealing every one to two years keeps your shower looking new and prevents costly repairs down the line. With just a quick 20-minute routine, you can restore your grout’s integrity, making your bathroom safer and more attractive. Keep in mind that sealing techniques vary depending on the product, so always read and follow the instructions carefully. By staying proactive with grout cleaning and sealing techniques, you ensure your shower stays durable, mold-free, and visually appealing for years to come.
As an affiliate, we earn on qualifying purchases.
Frequently Asked Questions
How Often Should I Reseal My Shower Grout?
You should reseal your shower grout every 1 to 2 years. Regular grout cleaning helps maintain the surface, but sealant application is vital for protection against moisture and stains. Keep an eye on grout discoloration or deterioration, which signals it’s time to reseal. Consistent sealing ensures your shower stays fresh and mold-free, extending the life of your grout and keeping your bathroom looking its best.
Can I Reseal Grout Over Existing Sealant?
Think of your grout as a fortress protecting your shower. You can reseal over existing sealant if it’s in good condition, but remember, for a stronger barrier, grout cleaning first is essential. Proper sealant application over worn or peeling sealant won’t hold. So, guarantee the old layer is intact, clean thoroughly, then apply a fresh coat. This way, your shower stays protected, and your fortress remains strong.
What Are the Best Sealant Types for Shower Grout?
You should choose a high-quality silicone or acrylic-based sealant for shower grout, as they offer excellent durability and flexibility. These sealants resist mold and water damage better than cheaper options. When applying, use proper techniques like cleaning the grout thoroughly first and applying even, continuous beads. This ensures a long-lasting seal, maintaining your shower’s integrity and preventing future damage. Proper application techniques maximize sealant durability, giving you a cleaner, more protected shower.
Is Resealing Necessary if Grout Looks Intact?
You might think your grout looks fine, but don’t be fooled—grout cracking can hide beneath the surface. Sealing offers major advantages, preventing moisture infiltration and stains. Even if it seems intact, resealing now can save you from costly repairs later. The question is, will you risk future damage or take a simple step to protect your shower’s longevity? Resealing is your best defense against unseen deterioration.
Can Resealing Fix Mold or Mildew Problems?
Resealing alone can’t fix mold or mildew problems, but it can help prevent future growth when combined with proper grout cleaning. Mold prevention requires thorough cleaning to remove existing mold and mildew, then resealing to create a protective barrier. If you notice mold or mildew, focus on deep cleaning your grout first, then reseal to keep your shower cleaner longer. Regular maintenance is key to preventing mold buildup.
As an affiliate, we earn on qualifying purchases.
Conclusion
Resealing your shower grout in just 20 minutes can transform your bathroom’s look and prevent costly damage. Some believe that regular resealing weakens grout over time, but research suggests that proper maintenance actually prolongs its lifespan. By sticking to this routine, you’re not only safeguarding your investment but also ensuring a cleaner, more inviting shower. So, trust the science—your quick, consistent efforts make all the difference in keeping your grout pristine and durable.
As an affiliate, we earn on qualifying purchases.
As an affiliate, we earn on qualifying purchases.
Fall Picks
fall essentials
As an affiliate, we earn on qualifying purchases.