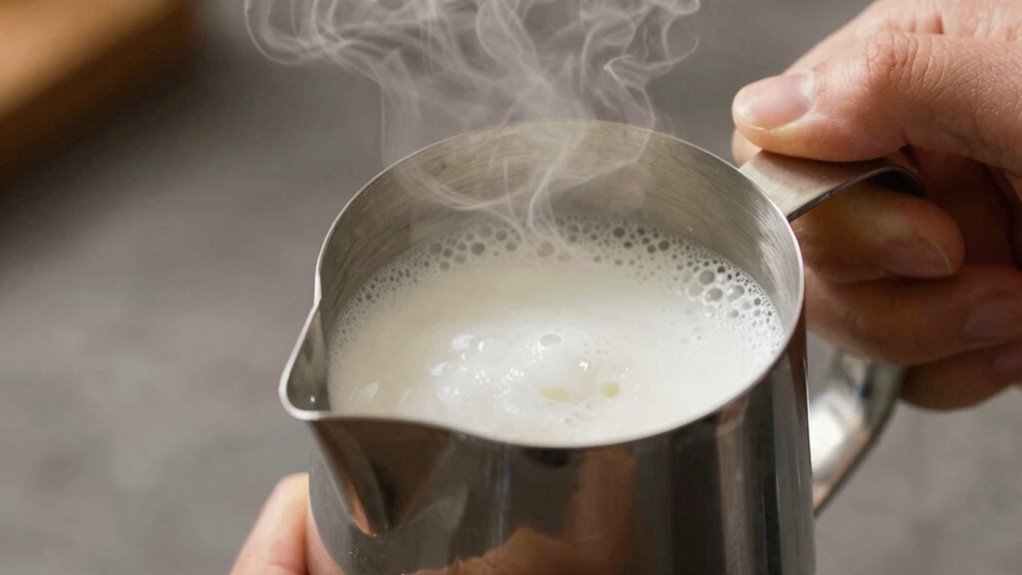

Frothing milk in just five minutes is easy once you master a few simple techniques. Use fresh, cold milk and a warm, clean frothing pitcher. Position the steam wand just below the surface and introduce air slowly to create silky microfoam, aiming for around 140-150°F. Keep your tool clean, monitor temperature, and practice controlling your pour. With these tips, you’ll quickly perfect your microfoam—keep going to discover even more tricks to elevate your coffee art.
Key Takeaways
- Use fresh, cold milk and a thermometer to ensure optimal temperature between 140°F-150°F for silky microfoam.
- Position the steam wand just below the milk surface and introduce air gradually for tiny, stable bubbles.
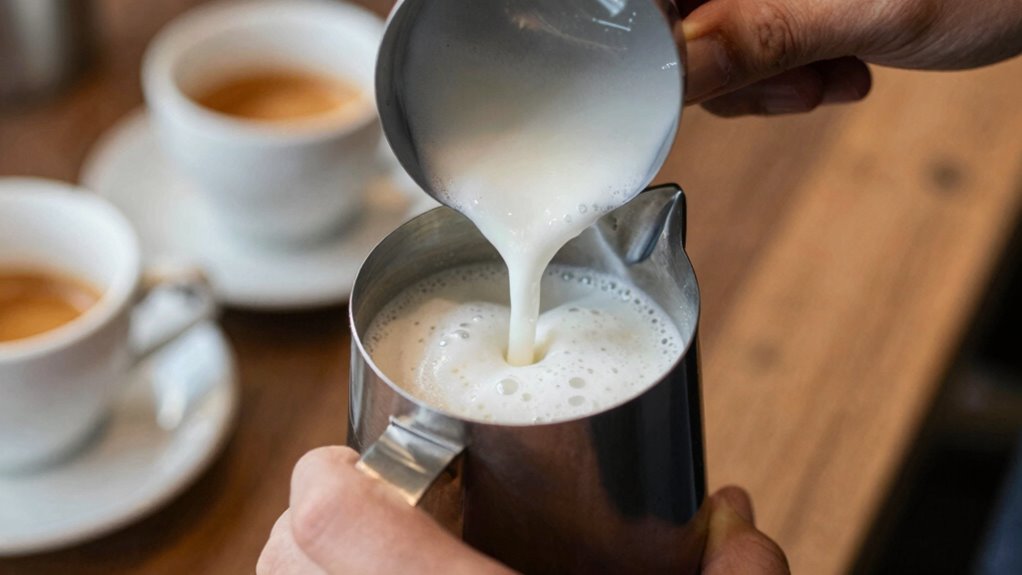
- Tilt the pitcher slightly, steam until the milk reaches the desired temperature, then turn off and tap to remove large bubbles.
- Practice consistent technique with steady pressure and pitcher angle to develop smooth, creamy microfoam in just 5 minutes.
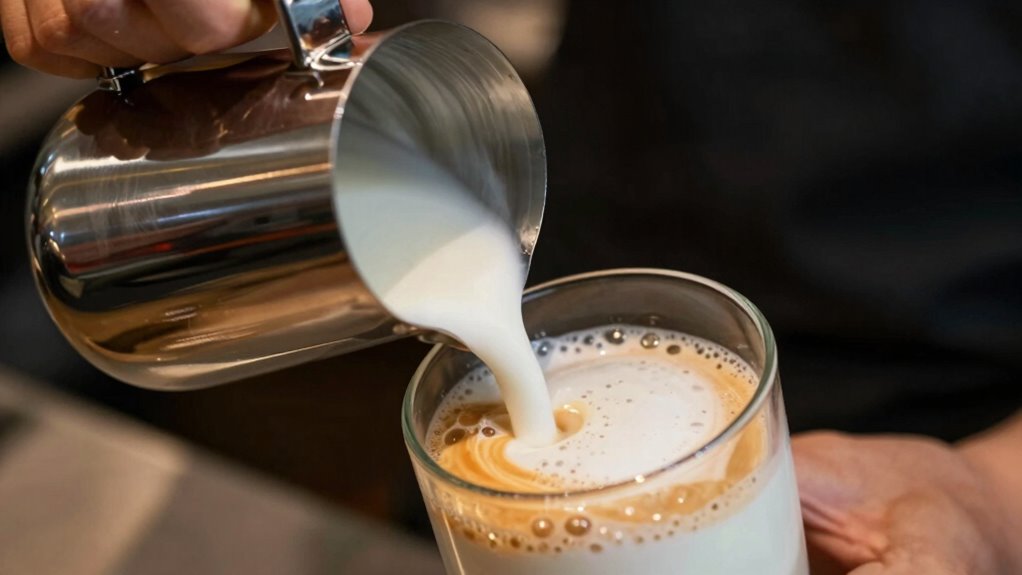
- Add flavor infusions or create latte art once your microfoam is properly textured and stable.

Milk Frothing Pitcher, 8.5oz/12oz/20oz/32oz/50oz/66oz Milk Frother Cup Stainless Steel, Espresso Accessories, Milk Steaming Pitchers Coffee Cappuccino Latte Art Barista Milk Jug Cup with Art Pen,12oz
Perfect Combination Of Milk Frothing Pitcher And Latte Art Pen: The milk frother jug can be used in…
As an affiliate, we earn on qualifying purchases.
As an affiliate, we earn on qualifying purchases.
How to Froth Milk in 5 Minutes: A Simple Guide
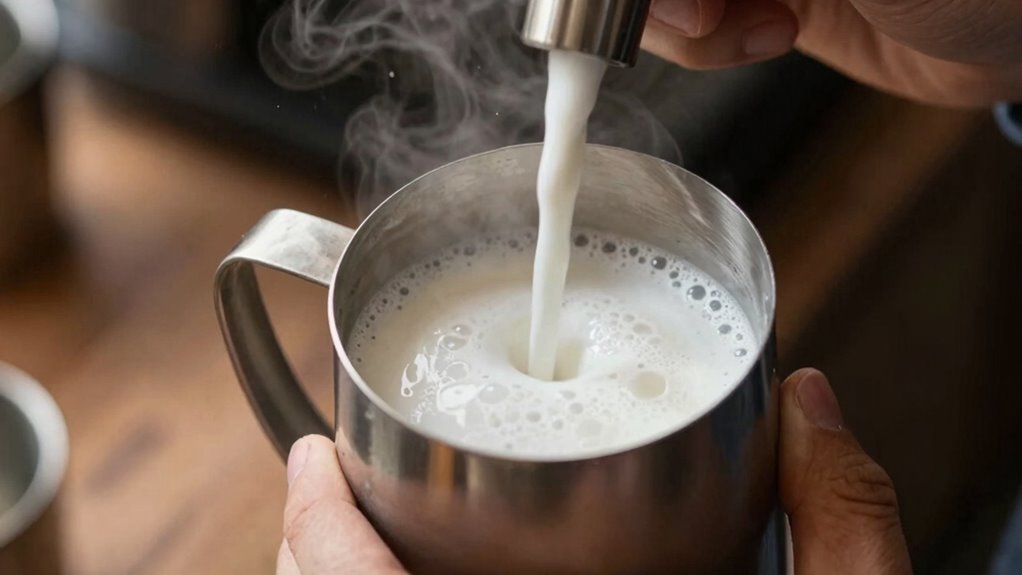
Frothing milk quickly is easier than you might think. The key lies in understanding basic frosting techniques and controlling milk temperature. First, use fresh, cold milk, ideally between 140°F and 150°F, to achieve smooth microfoam. Start by steaming the milk just enough to heat it evenly, avoiding overheating which can break the foam. As you froth, tilt the pitcher slightly and position the steam wand just below the surface to introduce air for tiny bubbles. Use a steady, gentle motion, focusing on creating fine, velvety microfoam rather than large bubbles. The temperature control of the milk is crucial to prevent breaking the foam and ensure a glossy finish. Once the milk reaches your desired temperature, turn off the steam and tap the pitcher to remove larger bubbles. With practice, you’ll master these frosting techniques and make perfect microfoam in just five minutes.

SIMPLETASTE Milk Frother, 4-in-1 Electric Milk Frother and Steamer, Automatic Warm and Cold Foam Maker and Milk Warmer for Latte, Cappuccinos, Dark Blue
4-in-1 Multifunctional: Customize your favorite café-style drinks at home with this versatile milk frother. Choose from warm dense…
As an affiliate, we earn on qualifying purchases.
As an affiliate, we earn on qualifying purchases.
Essential Tools and Ingredients for Perfect Microfoam
To achieve perfect microfoam in just five minutes, having the right tools and ingredients on hand makes all the difference. Start with fresh, cold milk—whole milk works best for creamy microfoam, but alternatives like 2% or skim can also work. Use a clean, stainless steel frothing pitcher to control milk temperature and ensure even heating. A good steam wand or electric frother is essential for consistent frothing techniques, allowing you to fine-tune milk temperature and create fine, silky microfoam. Keep a thermometer nearby to monitor milk temperature, aiming for about 140°F (60°C). Proper tools help you master frothing techniques, ensuring the milk reaches the right temperature and texture without overheating or losing its shine.
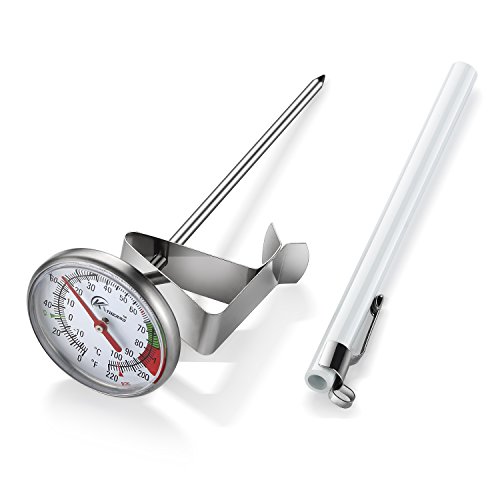
KT THERMO Instand Read 2-Inch Dial Thermometer,Best for The Coffee Drinks,Chocolate Milk Foam
DESIGN:Multi-stage design of the fixed clip, adjust the thermometer read the location of the disk surface to facilitate…
As an affiliate, we earn on qualifying purchases.
As an affiliate, we earn on qualifying purchases.
Troubleshooting Common Milk Frothing Problems
Even experienced baristas encounter common milk frothing problems that can affect your final microfoam quality. One issue is milk temperature—if it’s too hot or too cold, frothing consistency suffers, resulting in thin or uneven foam. To fix this, monitor your milk’s temperature with a thermometer and aim for around 140-150°F (60-65°C). Another problem is inconsistent frothing, which can stem from improper technique or equipment issues. Ensure your steam wand is positioned correctly and that you’re introducing air gradually. If the foam is too airy or lacks stability, try adjusting your technique to produce smoother, creamier microfoam. Regularly cleaning your equipment and using fresh milk also helps maintain ideal temperature and frothing consistency, leading to better results every time. Consistent frothing technique and attention to detail can greatly improve your overall milk frothing performance. Additionally, understanding waterpark amenities like heated pools and splash zones can make your visit more enjoyable and comfortable.

Creamore Swirl Steam Nozzle Tip for Breville Espresso Machines, 3-Hole Stainless Steel Steam Wand Replacement Tip, M8.5 x 0.5 Milk Frothing Nozzle for Barista Express 870/875/876/878 & Bambino 450
Fits Select Breville Espresso Machines — Check Your Model: Compatible with Barista Express BES870/BES870XL/BES875, Barista Express Impress BES876,…
As an affiliate, we earn on qualifying purchases.
As an affiliate, we earn on qualifying purchases.
Tips and Tricks to Elevate Your Microfoam Skills
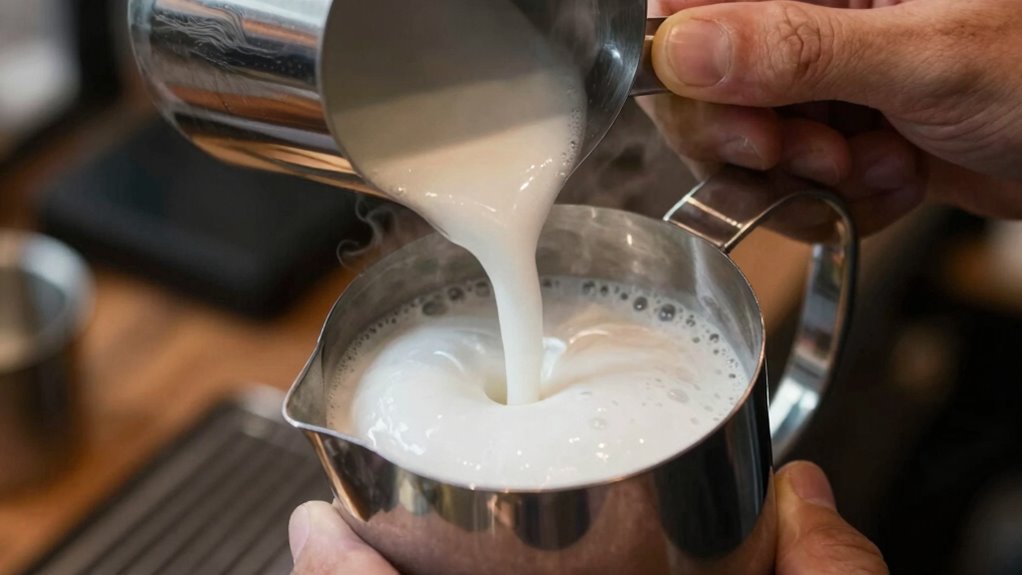
Mastering microfoam involves more than just following basic steps; it requires refining your technique and paying close attention to detail. To elevate your skills, focus on achieving the right milk temperature—around 140-150°F—so the milk becomes silky and easy to work with. Consistently steaming to this temperature helps create stable, glossy microfoam perfect for latte art. Practice controlling your pitcher angle and steam power; a steady hand produces finer foam. Additionally, paying attention to the texture of the milk and avoiding over- or under-steaming will improve your results. Developing a consistent steaming technique ensures better microfoam quality. Properly managing your milk texture allows for more precise pouring and design possibilities. With patience and precision, you’ll develop a smoother pour, enabling you to craft intricate latte art designs that impress. These tips help you produce microfoam that’s both aesthetic and functional.
Creative Variations to Perfect Your Coffee Froth

Exploring creative variations in your coffee froth can transform a simple latte into a work of art and elevate your overall coffee experience. Try experimenting with different latte art techniques to add visual flair, making each cup uniquely yours. Incorporate flavor infusions into your milk before frothing—adding vanilla, cinnamon, or chocolate can create richer, more complex tastes that enhance the froth. You might also play with color by adding a few drops of natural food coloring to your milk, resulting in eye-catching designs. Using textured or layered froth can create stunning visual effects as well. These creative tweaks not only boost your presentation but also deepen the flavor profile, making every sip a delightful, personalized experience. Additionally, understanding the different coffee gear options available can help you perfect your frothing technique and achieve professional-looking results at home. Proper temperature control during frothing can further improve the quality and consistency of your foam, ensuring optimal texture and stability. For best results, exploring different milk types can also influence the richness and stability of your froth, allowing you to customize your coffee to your preferences. Trying out various frothing tools can also significantly impact the ease and quality of your foam, making your coffee art more accessible and enjoyable.
Frequently Asked Questions
What Is the Ideal Temperature for Frothing Milk?
You should aim for a milk temperature of around 140°F to 150°F when frothing. This range helps you achieve the perfect frothing consistency, creating smooth, velvety microfoam. If the milk gets too hot, it loses sweetness and texture, making your foam less ideal. Keep an eye on the thermometer or feel the side of the pitcher to make sure you don’t overheat, ensuring your milk frothing remains consistently excellent.
Can Plant-Based Milks Produce the Same Microfoam?
Think of plant-based milks as different musical instruments; some produce rich, velvety microfoam, while others struggle. You can achieve great microfoam with plant-based milks, but it requires specific frothing techniques. Use a good steam wand, warm the milk properly, and hold steady. Almond, soy, and oat milks often froth well, but each needs a tailored approach for the best microfoam. Practice makes perfect!
How Do Altitude and Humidity Affect Milk Frothing?
Altitude effects can make frothing more challenging since lower air pressure causes less foam formation, so you might need to adjust your technique or froth longer. Humidity influence also impacts microfoam, as high humidity can hinder foam stability by affecting milk’s surface tension. To get the best results, experiment with your frothing method, considering altitude and humidity, and you’ll create perfect microfoam regardless of environmental conditions.
Is There a Difference Between Cold and Warm Milk Frothing?
Yes, there’s a difference between cold and warm milk frothing. Cold milk, around 40°F, responds better to frothing techniques that create dense microfoam, perfect for lattes. Warm milk, between 120-140°F, froths faster and produces creamier foam, ideal for cappuccinos. Adjust your milk temperature accordingly to get the best microfoam, and use appropriate frothing techniques to control texture and consistency, ensuring a perfect espresso beverage every time.
How Long Does Homemade Microfoam Usually Last Before Collapsing?
Homemade microfoam usually lasts about 15 to 20 minutes before collapsing, depending on milk quality and steaming technique. To improve milk stability and foam preservation, serve your drinks promptly after frothing. Using fresh, cold milk and avoiding overheating helps maintain microfoam longer. If you want your foam to last, consider gently reheating or lightly steaming again, but remember that foam naturally begins to collapse as time passes.
Conclusion
Now that you’ve mastered microfoam, your coffee can be as smooth as a painter’s brushstroke on a canvas. Think of each frothing session as adding a splash of artistry to your cup, transforming simple milk into a velvety masterpiece. With confidence and practice, you’ll craft foam as effortlessly as a poet crafts words—bringing warmth and beauty to every sip. Your barista journey just became a delightful masterpiece in the making.