Vacuum sealing liquids can be simple if you follow the right steps. Use specially designed liquid-safe bags, leave extra headspace to prevent spills, and wipe the bag edges dry before sealing. Seal slowly and carefully, monitoring for leaks. Adjust your temperature and pressure settings for a tight, leak-proof seal. Many issues come from improper prep or equipment, but with a few tips, you can master mess-free sealing—more details to help you succeed lie just ahead.
Key Takeaways
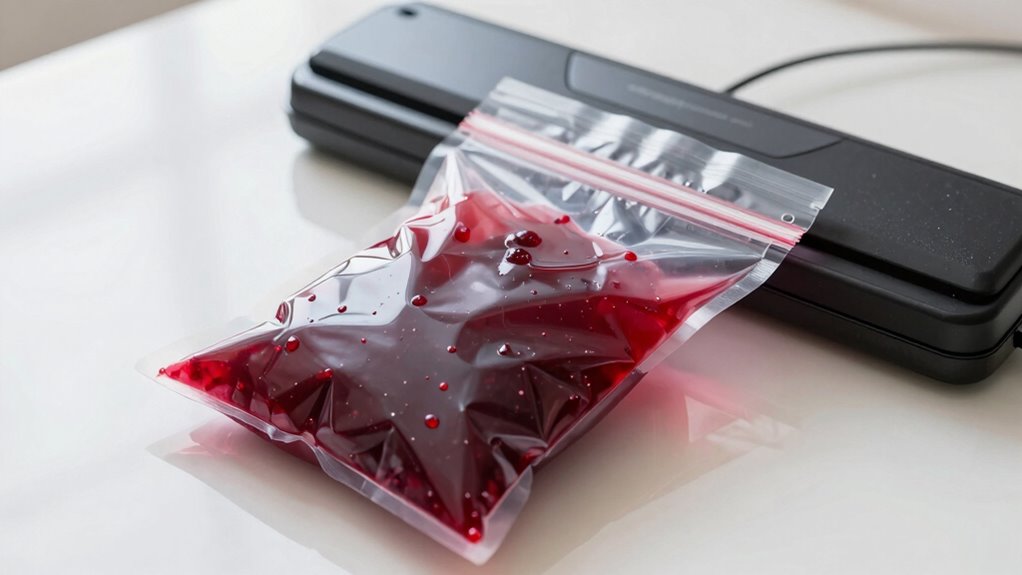
- Use specialized liquid-safe vacuum bags designed to prevent leaks and ruptures.
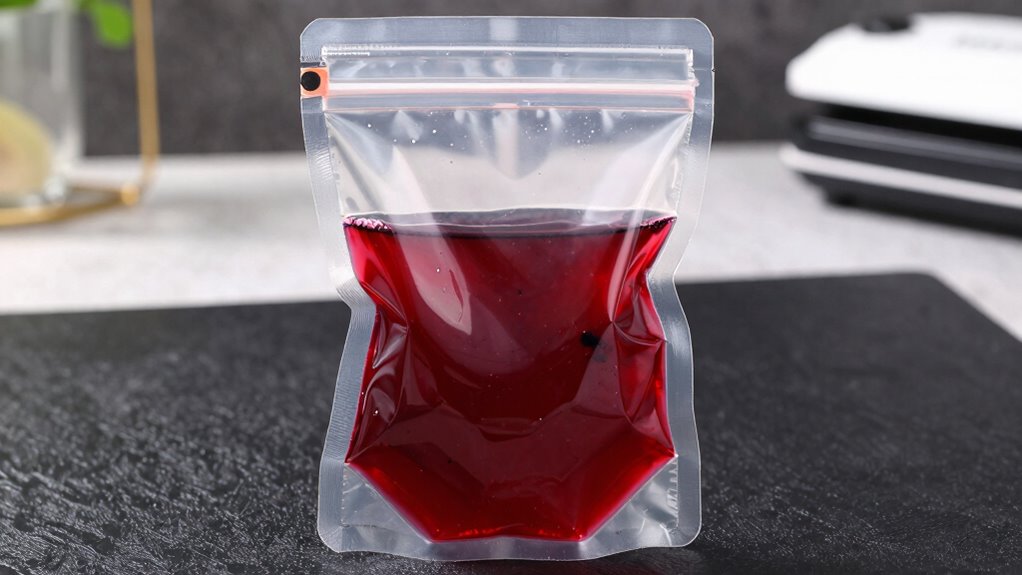
- Leave 1-2 inches of headspace to avoid liquid reaching the seal line.
- Wipe bag edges dry and clean before sealing for a secure, leak-proof closure.
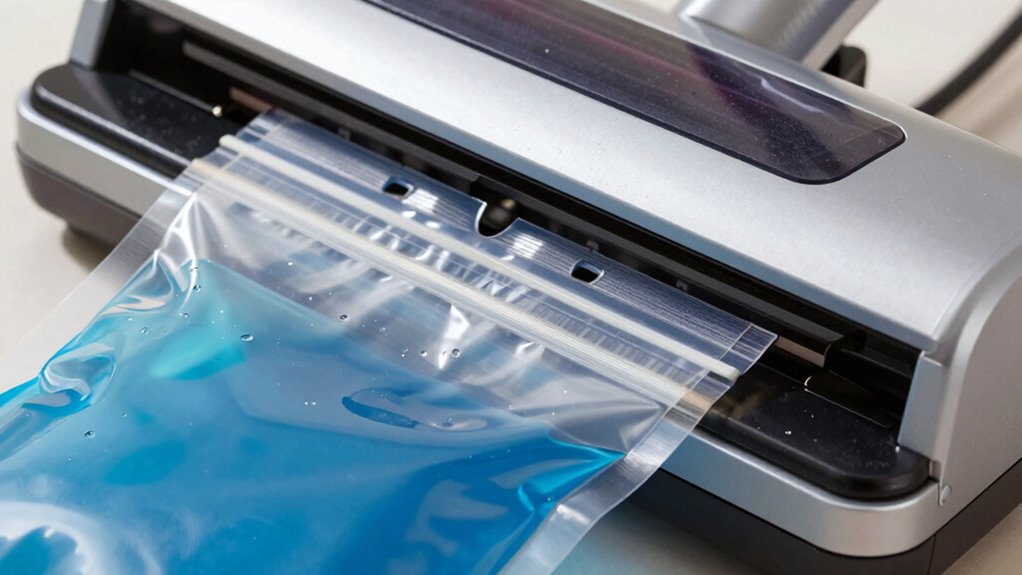
- Seal slowly and monitor for leaks, adjusting pressure and temperature as needed.
- Consider pre-heating thicker liquids to reduce viscosity and improve sealing effectiveness.

NESCO VS-03R Vacuum Sealer Bags for Home Food Storage, Liquid‑Friendly Bags Safe for Microwave and Sous‑Vide Cooking
VACUUM SEALER BAGS WITH LIQUID‑FRIENDLY DESIGN make it easy to seal soups, sauces, and marinated foods cleanly, helping…
As an affiliate, we earn on qualifying purchases.
As an affiliate, we earn on qualifying purchases.
What Are the Biggest Challenges When Vacuum Sealing Liquids?
Vacuum sealing liquids can be tricky because liquids tend to be drawn into the vacuum pump or cause the bag to collapse unexpectedly. One major challenge is managing liquid viscosity; thicker liquids resist flowing and can create a tight seal or prevent proper air removal. If the viscosity is too high, it might be difficult to achieve a consistent vacuum. Additionally, container compatibility plays a vital role. Not all bags or containers are designed to handle liquids, risking leaks or ruptures if they aren’t suited for wet contents. Using specialized liquid-safe bags is essential for a secure seal and preventing spills. Proper sealing techniques such as freezing liquids beforehand or leaving an open space can also help mitigate spillage and ensure a secure seal. You need to choose durable, liquid-safe bags and verify they fit well to prevent spills. Understanding these factors helps you avoid common pitfalls, making your vacuum sealing process smoother and more reliable when dealing with liquids.

Vesta Precision 12" Vacuum Sealer Machine for Liquid & Moist Foods, Smart Heat Sealing Prevents Bag Melting, Built-in Cutter & Roll Storage Fits 2X20’ or 1X50' Rolls, Mason Jar Kit, Sous Vide, V23
Liquid & Wet Food Vacuum Sealer Mode (Patent Pending): No more freezing soups before sealing. V23 is purpose-built…
As an affiliate, we earn on qualifying purchases.
As an affiliate, we earn on qualifying purchases.
How to Prepare Liquids and Equipment for a Mess-Free Seal
Preparing your liquids and equipment properly is key to achieving a clean, mess-free vacuum seal. Start by considering liquid density; denser liquids may require different sealing techniques to prevent spills. Use a stable, flat surface and ensure your equipment is clean and dry to avoid leaks. To prevent overflow, leave enough headspace—about 1-2 inches—before sealing. Use a towel or paper towel to wipe the sealing area for a secure closure. Here’s a quick reference:
| Liquid Density | Sealing Technique | Tips |
|---|---|---|
| Low | Gentle pressure on bag top | Avoid overfilling |
| Medium | Use proper headspace | Keep equipment clean |
| High | Slow, steady sealing | Check for leaks |
Additionally, controlling sealing parameters like temperature and pressure can significantly improve your results and reduce the chance of failures. Understanding the sealing process can help you troubleshoot and improve your results. Being aware of liquid density and how it affects sealing can inform the best approach for different liquids. Proper prep guarantees a mess-free vacuum seal every time.

Chef Preserve Reusable Vacuum Sealer Bags for Food – 30 BPA-Free Medium (10 x 11 in) Food Storage Bags, Freezer, Microwave – Odor-Resistant, Leak-Proof – Compatible with Chef Preserve Vacuum Sealers
Reusable and BPA-Free Vacuum Seal Bags: Made from durable, BPA-free, food-grade material, these reusable vacuum bags provide a…
As an affiliate, we earn on qualifying purchases.
As an affiliate, we earn on qualifying purchases.
Step-by-Step: Sealing Liquids Safely and Effectively
To seal liquids safely and effectively, you need to follow a clear, step-by-step process to prevent spills and make certain a tight vacuum seal. First, choose a bag compatible with liquids and set your vacuum sealer to the appropriate sealing temperature—usually lower than standard settings. When preparing your bag, leave enough space at the top for proper sealing. Pay attention to the liquid’s viscosity; thicker liquids may require a slightly warmer sealing temperature to ensure a secure seal. Carefully position the bag in the sealer, making sure the open end remains dry and free of liquid. Slowly initiate the vacuum process, monitoring for any signs of leaks or weak seals. This method guarantees your liquids stay contained without disaster. Additionally, understanding support vs boundaries in caregiving situations can help maintain safety and stability during household tasks. Being aware of proper sealing techniques can further enhance your success in preventing messes and spills. Proper temperature control is crucial to achieving a reliable seal when sealing liquids. Maintaining a consistent sealing process can also reduce the risk of vacuum leaks that compromise the seal. Paying attention to sealing surface cleanliness ensures the open edge of the bag is free from debris that could weaken the seal.

35 Pack 3ml Plastic Syringe Without Needle, Catheter Tip Individually Sealed for Liquid, Sterile – Syringes Tools for Feeding Pets, Measuring, Scientific Labs, Oil or Glue Applicatorc
PACKAGE INCLUDED: 35 pack 3ml plastic syringes with measurement, each packaged syringe comes with a tip cap. Enough…
As an affiliate, we earn on qualifying purchases.
As an affiliate, we earn on qualifying purchases.
Troubleshooting Common Vacuum Sealing Problems With Liquids
Even with careful preparation, sealing liquids can sometimes lead to common issues like leaks, spills, or weak seals. To troubleshoot, first check your vacuum pump maintenance; a well-maintained pump ensures consistent suction and reduces the risk of weak seals. Also, review your sealing bag selection—use bags specifically designed for liquids, as thinner or improper bags can cause leaks. When sealing, leave enough headspace to prevent liquid from reaching the seal line, which weakens the seal. Ensure the bag’s edges are clean and dry before sealing to avoid gaps. If leaks persist, verify that the pump is functioning correctly and that the bag is suitable for liquids. Proper filtration/suction and appropriate bag choice are key to avoiding these common sealing problems. Additionally, selecting a high-quality sealing machine can significantly improve results when working with liquids. Regular maintenance of the vacuum pump and understanding air purifier maintenance dos and don’ts can also optimize your sealing process by reducing airborne contaminants that may interfere with the seal. Incorporating proper sealing techniques can further enhance your success rate. Maintaining a clean work environment and ensuring proper sealing temperature can also help prevent leaks and weak seals during the process.
Top Tips for Tight, Leak-Free Seals Every Time
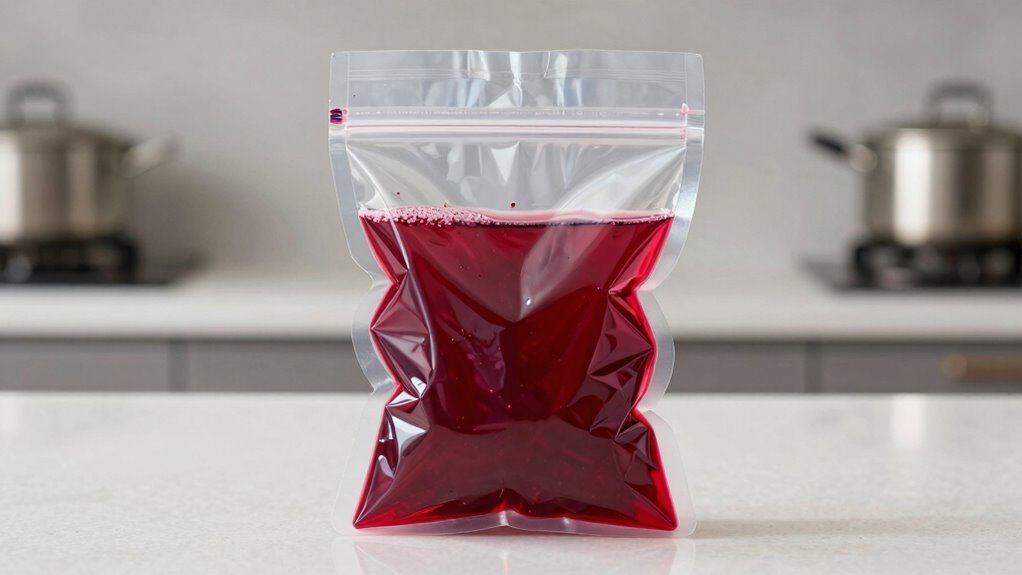
Achieving a tight, leak-free seal requires attention to detail and proper technique. First, verify the liquid’s viscosity isn’t too high; thicker liquids may need pre-heating to reduce viscosity, enabling a better seal. Second, set the sealing temperature correctly, as too low a temperature won’t create a proper seal, while too high could damage the bag. Third, leave enough headspace—about 1-2 inches—to prevent pressure buildup and ensure the seal holds. Fourth, always wipe the sealing edge clean to remove any residue or moisture that can compromise the seal. Additionally, paying attention to the comedogenic ratings of liquids can help prevent skin breakouts if the sealed contents are applied to the skin. By carefully managing liquid viscosity and sealing temperature, you ensure each vacuum seal is secure, preventing leaks and maintaining freshness. Proper technique makes all the difference in successful vacuum sealing.
Frequently Asked Questions
Can Vacuum Sealing Liquids Improve Their Shelf Life?
Yes, vacuum sealing liquids can improve their shelf life when you use proper sealing techniques. By removing air, you prevent oxidation and bacterial growth, which helps preserve the liquid’s quality longer. To guarantee success, use specialized bags designed for liquids and freeze the liquid slightly before sealing. This method keeps your liquids fresh, preserves flavors, and extends storage time effectively.
Are There Specific Types of Liquids That Shouldn’T Be Vacuum Sealed?
You shouldn’t vacuum seal hazardous chemicals or carbonated beverages. Sealing hazardous chemicals can cause dangerous reactions, risking health and safety, while carbonated drinks might explode like a volcano due to pressure buildup. These liquids are best stored in their original containers or specially designed packaging. Always prioritize safety and avoid sealing liquids that could leak, rupture, or become hazardous when vacuum sealed.
How Long Can Sealed Liquids Be Stored Safely?
You can typically store sealed liquids safely for up to 6 months, but it depends on the type. To prevent spoilage, check for changes in smell, color, or texture before use. Proper sealing extends storage duration and keeps liquids fresh longer. Keep sealed containers in a cool, dark place to maximize shelf life. Regularly inspect your sealed liquids to prevent spoilage and guarantee they remain safe for consumption.
Are Special Bags or Containers Needed for Sealing Liquids?
Think of sealing liquids as capturing a thunderstorm in a jar; you need the right vessel. Yes, special bags or sealing containers are essential to prevent spills and messes. These bags are designed to withstand pressure and contain liquids securely, while sealing containers offer sturdy protection. Using the right equipment guarantees your liquids stay fresh and disaster-free, turning chaos into calm with each careful seal.
Does Vacuum Sealing Affect the Taste or Quality of Liquids?
Vacuum sealing generally doesn’t affect the taste or quality of liquids if done properly, helping with flavor preservation and maintaining liquid aroma. You might notice slight changes if the seal isn’t tight or if the liquid is exposed to air. To keep flavors fresh, make certain you use the right bags and avoid overfilling. Proper sealing preserves the liquid’s original aroma and taste for longer periods.
Conclusion
Vacuum sealing liquids can be tricky, but with the right prep, you’re all set. Did you know that properly sealing liquids reduces waste by up to 30%? By following these simple steps, you’ll avoid messes and guarantee airtight, leak-free seals every time. Keep your liquids secure and fresh, saving you time and money. With a bit of practice, you’ll master this skill and enjoy perfectly sealed liquids every single time.