
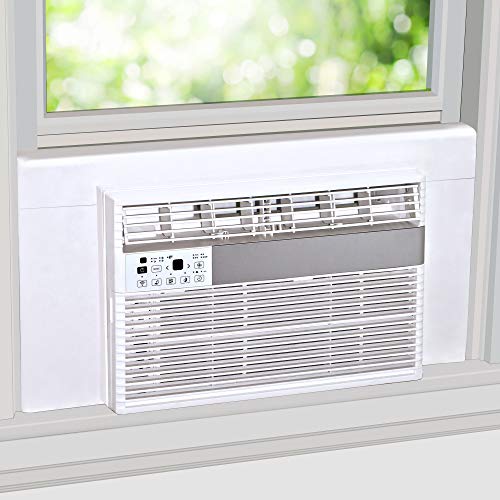
To measure your window for a perfect AC fit, use a tape measure to record width at three points and note the smallest. Measure height from the top of the frame to the sill, and check the sill depth. Don’t forget to account for mounting brackets and space around the unit. Avoid common mistakes like ignoring irregularities or not double-checking. Keep these tips in mind, and you’ll be prepared to ensure a snug, efficient fit. Learn how to master each step here.
Key Takeaways
- Measure window width at three points (top, middle, bottom) and record the smallest for a snug fit.
- Double-check all measurements with a level and flexible tape to ensure accuracy before purchasing.
- Account for mounting brackets, insulation, and clearance space during measurement to prevent fit issues.
- Measure window height from sill to top frame and include space for installation and ventilation.
- For irregular or non-standard windows, take multiple measurements and create detailed sketches to ensure proper fit.

Klein Tools ET05 Digital Pocket Thermometer, HVAC Instant Read Thermometer with Backlit Display, Wide Measurement Range, Fahrenheit and Celsius
TEMPERATURE SELECTION: User selectable Fahrenheit and Celsius measurements for convenience and versatility
As an affiliate, we earn on qualifying purchases.
As an affiliate, we earn on qualifying purchases.
Why Precise Measurements Matter for Your Window Air Conditioner
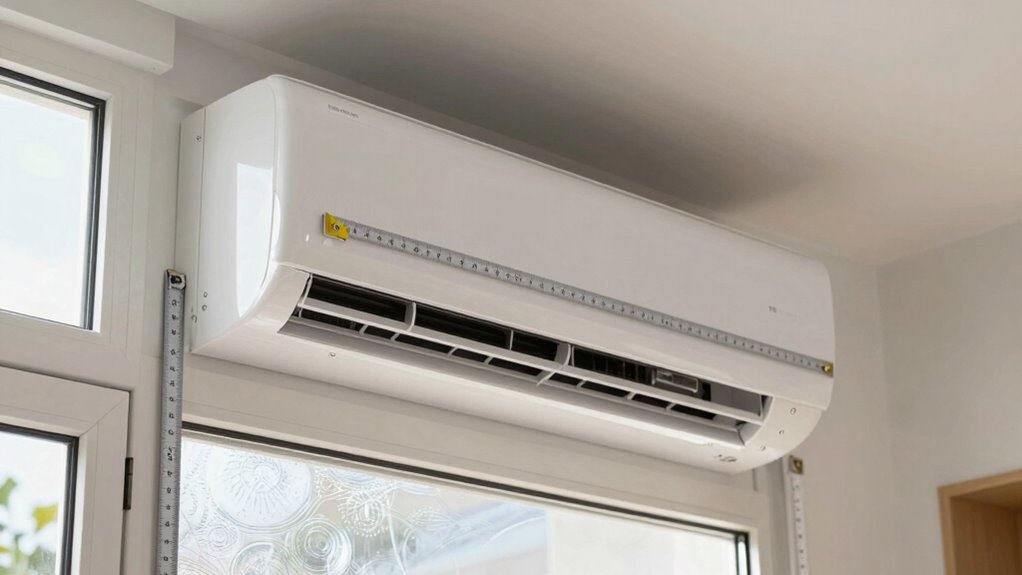
Getting the right fit for your window air conditioner starts with precise measurements. If your unit doesn’t fit properly, you’ll struggle with ventilation solutions, which can decrease cooling efficiency and increase energy bills. Accurate measurements guarantee a snug fit, preventing gaps that allow warm air in and cool air out. Proper sizing is essential to ensure the unit operates efficiently and maintains a comfortable indoor temperature. This directly impacts the performance of your AC, as a secure fit minimizes drafts and improves overall temperature control. Poor measurements can lead to awkward adjustments or the need for additional sealing, complicating installation. By getting your window dimensions right, you can select an AC that fits perfectly, maximizing comfort and energy savings. Measurement accuracy is key to avoiding common installation issues and ensuring your unit functions optimally. Precision in measurement is the foundation for a smooth installation and ideal performance, so don’t underestimate its importance. Accurate measurements are essential for proper installation and optimal operation of your window AC.

No Drilling Window AC Support Bracket, Adjustable Support Fits Single & Double-Hung Windows, Air Conditioner Holder Bracket Heavy Duty Steel Holds Up to 300lbs, for 5000-24000 BTU Units
【Bracket For AC Window Unit】 – Easily expands from 31.5”to 41.7",adapts to exterior wall thickness of 2”to 11”;fit…
As an affiliate, we earn on qualifying purchases.
As an affiliate, we earn on qualifying purchases.
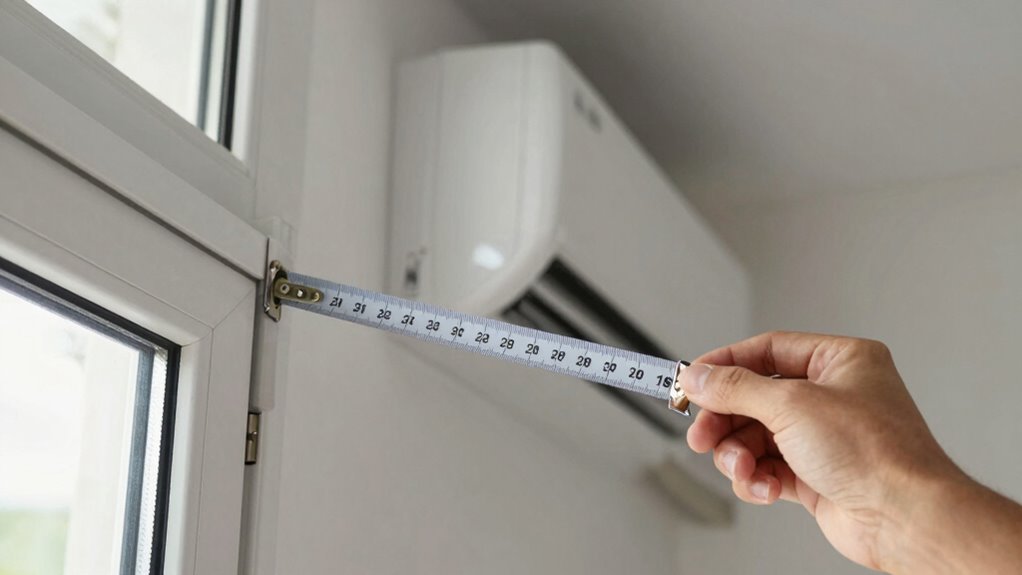
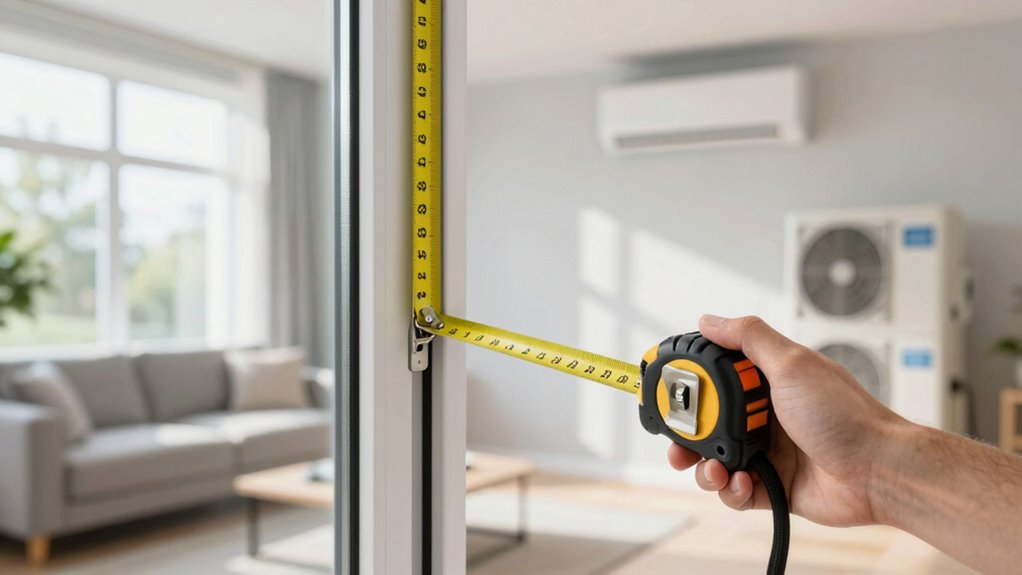
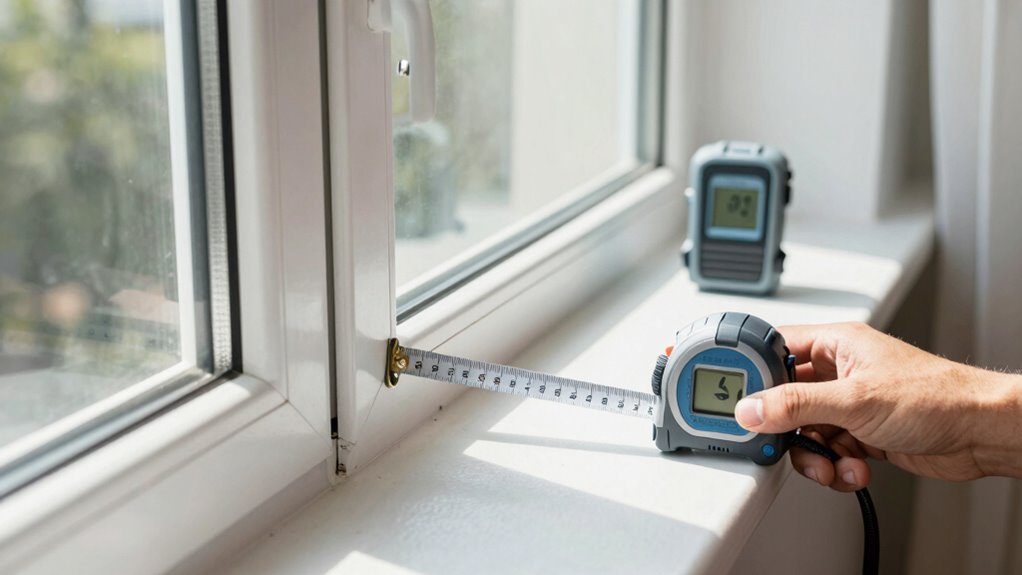
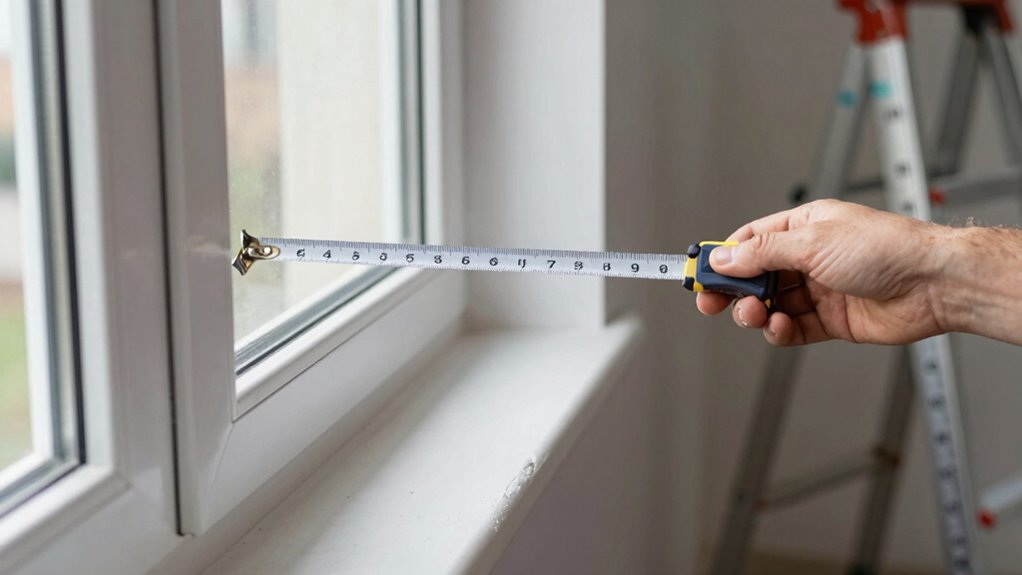
How to Measure Your Window’s Width and Height Correctly
Start by measuring the width of your window from one side to the other, making sure to use a tape measure and keep it level. Then, determine the height by measuring from the sill to the top of the window frame. Accurate measurements guarantee your AC unit fits perfectly and avoids any installation issues. Additionally, consider the precise dimensions of your space to ensure the unit’s efficiency and proper airflow. Properly measuring your window is essential for selecting the right-sized AC unit and achieving optimal cooling performance. Double-checking measurement accuracy can help prevent costly mistakes during installation, especially when accounting for installation tolerances and ensuring a snug fit. Taking the time to measure carefully can also help identify any irregularities or obstructions that might affect installation or operation.
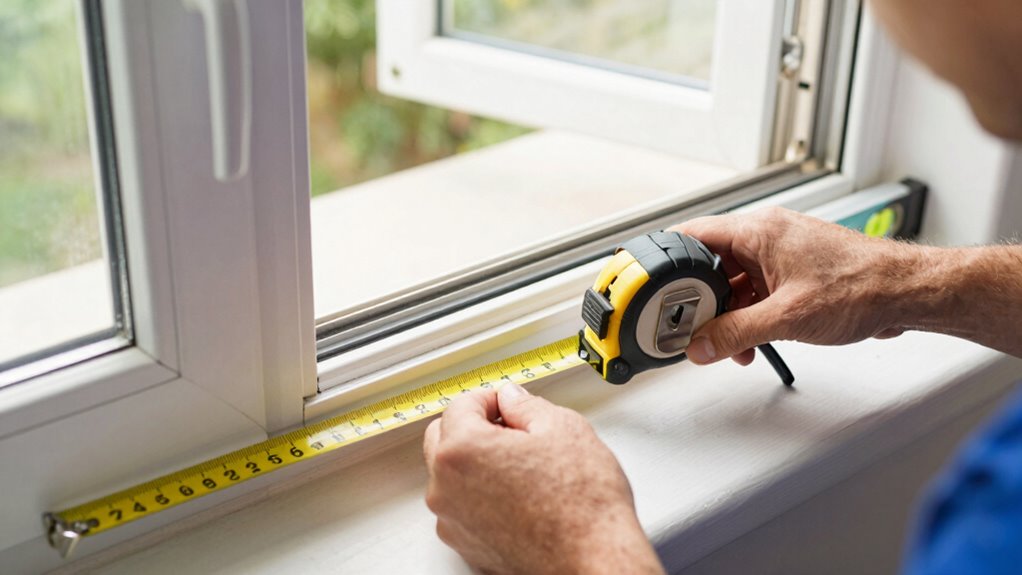
Measure Window Width
To guarantee your window air conditioner fits properly, accurately measuring your window’s width is essential. Start by using a tape measure to determine the width at three different points: the top, middle, and bottom of the window opening. Record the smallest measurement to ensure a snug fit. When measuring, consider the space needed for mounting brackets, which often sit on the window sill or frame. Also, account for insulation materials like weather stripping or foam that might add to the overall width, affecting the fit. Remove any obstructions or debris that could interfere with an accurate reading. Accurate measurement is especially important for early detection of installation issues, which can help prevent long-term damage or inefficiencies. Additionally, understanding outdoor cooling considerations can guide you in choosing the best fitting unit for your space. Being aware of window frame materials can also influence the measurement process, as different materials may require different mounting approaches. Properly measuring your window helps avoid installation problems that could compromise the unit’s performance or safety. Conducting the measurement carefully can also help identify potential issues with ventilation requirements, ensuring optimal operation of your air conditioner.
Determine Window Height
After measuring your window’s width, it’s important to determine its height to make sure your air conditioner fits properly. To get an accurate window height, use a tape measure and place one end at the top of the window frame, extending down to the bottom sill. Keep the tape measure straight and avoid sagging or tilting for measurement accuracy. Record the measurement in inches or centimeters, and double-check it to guarantee precision. Remember, accurate window height measurements are essential for selecting an air conditioner that fits snugly without gaps or overhangs. Taking your time to measure carefully will help you avoid fit problems and ensure your new AC operates efficiently and safely. Proper humidity control can also improve the efficiency of your AC and indoor air quality. Additionally, understanding vacuum technology can help you choose the right tools for maintaining your AC unit and home environment. Ensuring correct measurements can prevent installation issues and save you time and money during setup. Being aware of regional climate factors can also influence the ideal size and type of AC unit for your space. Furthermore, precise measurements can assist in energy efficiency and help you select the most suitable model to reduce utility bills.
Breeze Stop Surround Insulation Side Panels White for Window AC Unit Indoor Air Conditioner Cover for Winter and Summer
MATERIAL – 1’’ thick insulating foam covered in white flexible vinyl
As an affiliate, we earn on qualifying purchases.
As an affiliate, we earn on qualifying purchases.
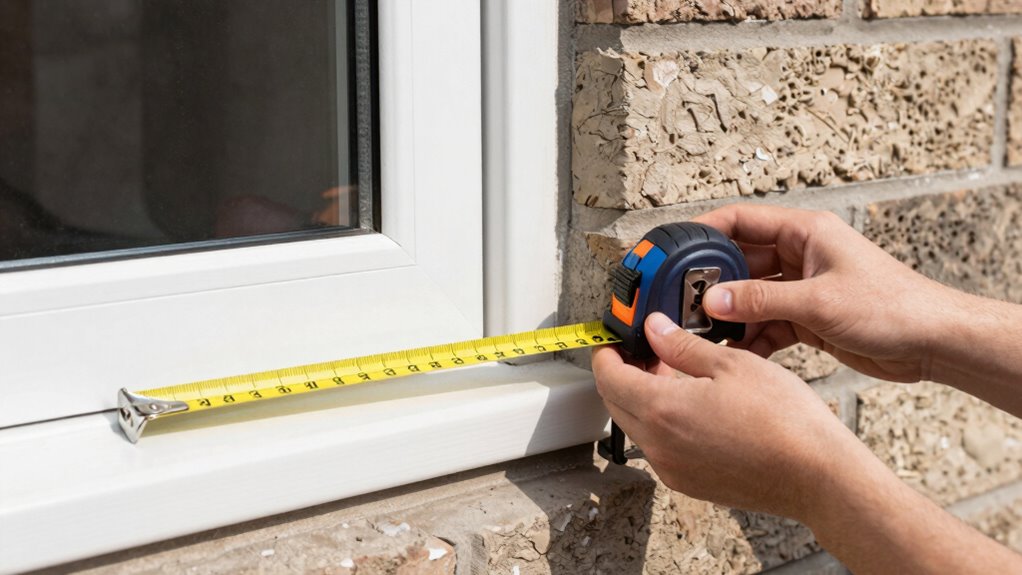
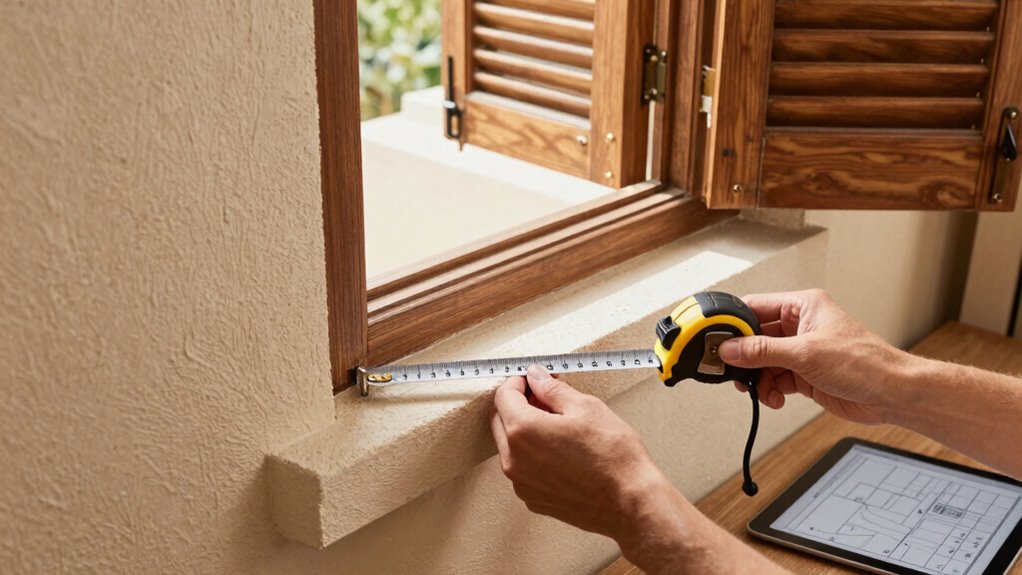
Checking Sill Depth and Space for a Perfect Fit
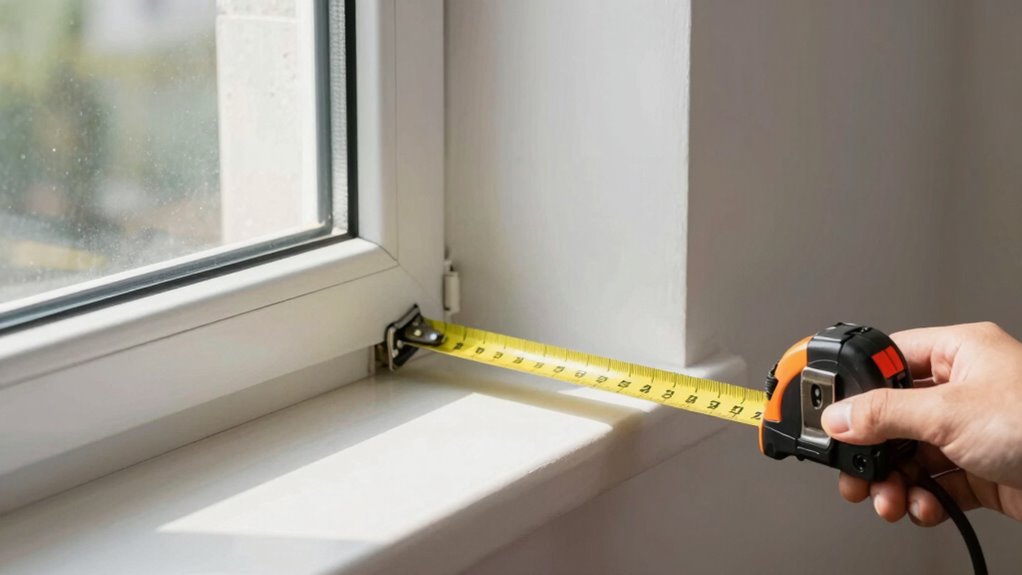
First, measure the sill depth carefully to guarantee your window frame can support the AC. Then, assess the available space around the window to confirm there’s enough room for installation. Taking these steps helps you find the perfect fit and avoid future problems. Additionally, verifying proper ventilation ensures the unit operates efficiently and safely. Ensuring correct measurements can prevent unnecessary adjustments during installation. Considering storage and backup options can also help keep your setup organized and protected from power surges. To further ensure a secure fit, consulting manufacturer guidelines can provide valuable insights on specific model requirements. Incorporating cable management techniques can also reduce clutter and potential damage over time.
Measure Sill Depth Carefully
How can you guarantee your window AC fits perfectly? Start by measuring the sill depth accurately. Use a sturdy tape measure to find the distance from the window frame to the outside edge of the sill. Be precise—small differences can impact the unit’s stability and efficiency. Check for any debris or obstructions that could affect your measurement accuracy. It’s best to measure at multiple points along the sill, especially if it’s uneven. Record the shortest measurement to ensure your AC unit will sit securely without gaps. Accurate sill depth measurement helps you select the right unit size and prevents installation issues later. Remember, careful measurement is key to a snug, secure fit that functions efficiently and lasts longer.
Assess Available Space Thoroughly
To make certain your window AC fits perfectly, it’s important to carefully assess the available space beyond just measuring the sill depth. Check the width and height of your window frame, ensuring there’s enough room for the unit and any insulation gaps that might exist. Gaps in insulation can affect the fit and efficiency, so account for them when measuring.
| Measurement Area | What to Check |
|---|---|
| Window Frame Size | Confirm width and height match AC specifications |
| Sill Depth | Ensure enough space for the unit’s depth |
| Insulation Gaps | Fill gaps to prevent air leaks and ensure a snug fit |

SWRT 2”x 90FT 8 Mil Heavy Duty Transparent Window Weather Sealing Tape, No Residue Window Insulation for Summer, Sealling Window AC Units, Preventing Cold Air Loss in Summer Door and Window Seal Kit
Enhanced Window Seal for Maximum Protection: Our window sealing tape provides an airtight barrier to keep out pollen,…
As an affiliate, we earn on qualifying purchases.
As an affiliate, we earn on qualifying purchases.
What Are Standard Sizes for Window Air Conditioners?
Standard sizes for window air conditioners typically range from 5,000 to 12,000 BTUs, designed to fit common window openings. Knowing the standard dimensions helps you select the right unit for your space. Most models are built to fit standard window sizes, making installation easier. Here are key points to consider:
Standard window air conditioners typically range from 5,000 to 12,000 BTUs, matching common window sizes for easy installation.
- The width usually varies from 18 to 26 inches, fitting most standard window sills.
- The height generally ranges between 12 and 18 inches.
- The depth of the unit often falls between 15 and 20 inches.
- Always check your window size against these standard dimensions before purchasing.
Matching your window size with standard AC dimensions ensures a proper fit, avoiding unnecessary adjustments or problems during installation.
Common Mistakes When Measuring for a Window AC: And How to Avoid Them
Measuring your window accurately is key to ensuring your new air conditioner fits properly. One common mistake is ignoring the mounting brackets’ space requirements, which can cause the unit to be unstable or difficult to install. Always measure the width and height of the window opening, accounting for the brackets’ size, so the AC fits securely. Another mistake is overlooking electrical wiring constraints—ensure there’s enough clearance and proper access for power cords, avoiding tangled or strained wiring. Failing to double-check measurements before purchasing can lead to fit issues or the need for costly adjustments. Avoid these errors by carefully measuring and considering how the mounting brackets and electrical wiring will interact with your window space, saving you time and frustration during installation.
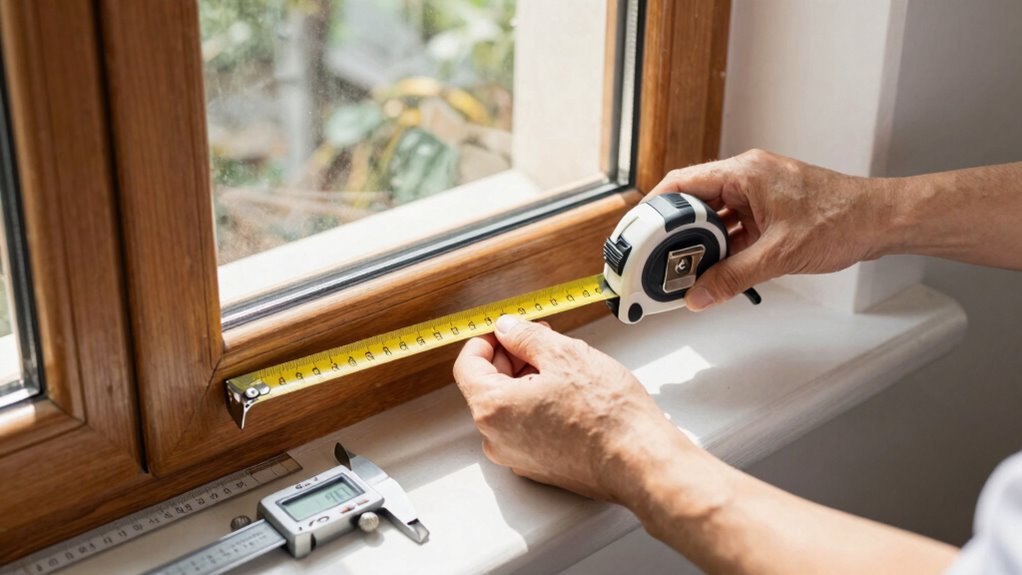
The Best Tools to Get Accurate Window Measurements
Getting accurate window measurements starts with using the right tools. The best measurement tools confirm you’re following proper sizing techniques and avoid costly mistakes. First, a sturdy tape measure is essential—it provides precise length and width readings. Second, consider a laser distance meter for quick, accurate measurements of larger or hard-to-reach windows. Third, use a spirit level to confirm your measurements are straight and consistent, especially for sill depth. Lastly, keep a notepad or digital device handy to record measurements immediately, minimizing errors. These measurement tools help you adopt effective sizing techniques, confirming your window AC fits perfectly. With the right tools, you’ll measure confidently and avoid common fitting problems, making installation much smoother.
Adjusting Your Measurements for Unique or Non-Standard Windows
When working with unique or non-standard windows, you often need to make adjustments to your measurements to guarantee a proper fit. Custom window shapes, such as arches or curves, require you to measure the widest and tallest points, then account for any angles or slopes. For irregular frame measurements, focus on capturing the exact width and height at multiple points rather than relying on a single dimension. Use flexible measuring tapes to follow the contours of the frame accurately. If your window has unusual features, consider taking detailed sketches and noting specific measurements for each section. These adjustments ensure your AC unit will fit snugly without gaps or overhangs, even when dealing with complex or non-standard window designs.
Tips to Double-Check Your Measurements Before Buying
Before purchasing a window AC unit, it’s essential to double-check your measurements to avoid costly mistakes. Accurate sizing ensures proper fit and efficient operation. Here are some tips to verify your measurements:
- Measure window width and height at multiple points to account for irregularities.
- Check the depth of your window sill to ensure the unit can sit securely.
- Confirm the unit’s dimensions, including side panels, for a snug fit.
- Review your measurements against the installation tips provided by the manufacturer.
A thorough maintenance checklist can help you keep your AC running smoothly once installed. Double-checking now minimizes the risk of fit problems later and makes installation easier. Precision improves performance and prolongs your unit’s lifespan.
Troubleshooting Fit Problems and When to Consult a Professional
If your window AC unit isn’t fitting properly despite careful measurements, troubleshooting can help identify the root cause before calling in a professional. First, check for installation tips that ensure the unit is level and securely sealed, which improves energy efficiency and prevents drafts. Sometimes, the problem lies in an uneven window sill or warped frame, making the AC appear too small or large. If you’ve tried adjusting the brackets or weather stripping without success, it might be time to consult a professional. They can assess the window structure, recommend custom solutions, and ensure proper installation. Proper fit not only enhances energy efficiency but also prolongs your unit’s lifespan. When in doubt, professional help can save you time and avoid costly mistakes.
Frequently Asked Questions
How Do I Measure a Non-Standard or Irregularly Shaped Window?
To measure a non-standard or irregularly shaped window, you need to do custom measuring. Use a flexible tape measure to capture all the unique contours and angles of the shape. For shape adaptation, mark the dimensions directly on paper or cardboard templates, ensuring you include any protrusions or indentations. Carefully record every measurement, and double-check for accuracy. This approach helps you find an AC unit that fits perfectly, even with complex window shapes.
What if My Window Frame Is Damaged or Uneven?
If your window frame is damaged or uneven, you can still install a window AC by repairing or reinforcing the damaged areas first. Use shims or a level to even out the surface and create a secure, flat base. Measure carefully after fixing the frame to ensure the AC will fit snugly. Don’t forget to seal gaps to improve efficiency and prevent air leaks, guaranteeing a proper, safe installation.
How Do I Account for Insulation and Weatherstripping When Measuring?
Measuring with insulation and weatherstripping is like packing a lunch—every layer counts. When measuring, add an extra inch for insulation effects and weatherstripping impact, which can fill gaps and improve efficiency. Confirm your measurements include these materials to prevent an ill-fitting unit. This way, you’ll get an accurate size, accounting for the space these layers occupy, and ensure your AC fits snugly, maximizing cooling and energy savings.
Can I Modify My Window or AC Unit for a Better Fit?
Yes, you can modify your window or AC unit for a better fit by doing DIY modifications and hardware upgrades. For the window, consider adding weatherstripping or sealing gaps with foam strips. You might also reinforce the frame or install a custom bracket. For the AC, upgrade the mounting hardware or add insulation around the unit. These tweaks improve efficiency and guarantee a snug, secure fit, reducing drafts and noise.
What Are the Signs That My Window AC Doesn’T Fit Properly?
Did you know that improper window AC fit causes up to 30% less cooling efficiency? If your unit has air flow issues or makes unusual noise, it’s a sign it doesn’t fit right. Gaps or uneven placement can lead to these problems, making the unit work harder and reducing comfort. Check for drafts, vibrations, or rattling sounds—these indicate your AC isn’t securely fitted and needs adjustment.
Conclusion
Getting your window air conditioner to fit perfectly is like fitting the last piece of a puzzle—you want everything to click seamlessly. By measuring carefully and double-checking your numbers, you’re ensuring a smooth installation and ideal cooling. Think of your window as the stage—precise measurements set the scene for a comfortable, cool summer without any surprises. When in doubt, don’t hesitate to call a pro; sometimes, even the best puzzle needs expert help.