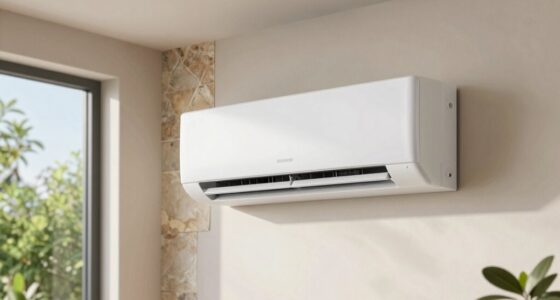

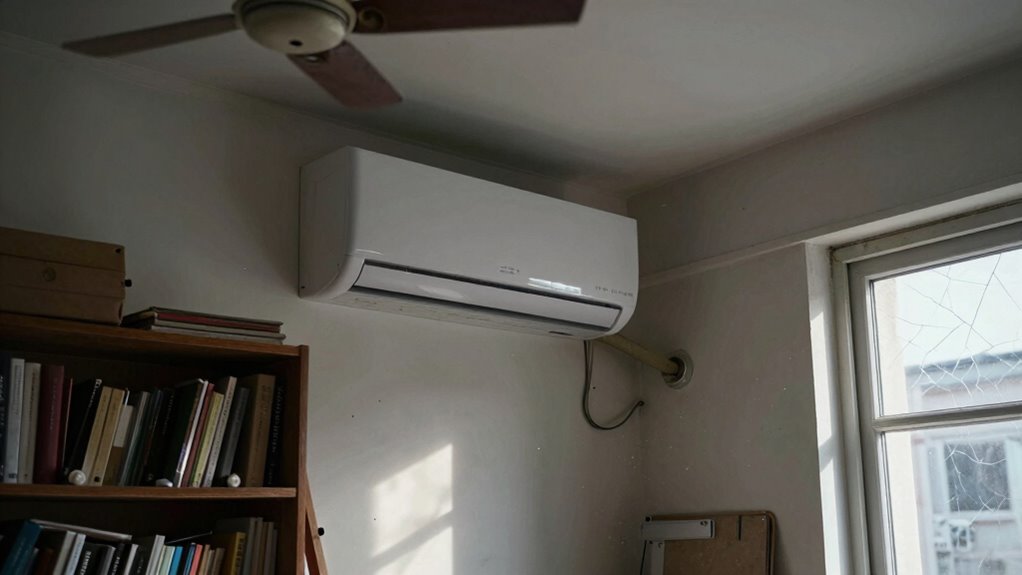
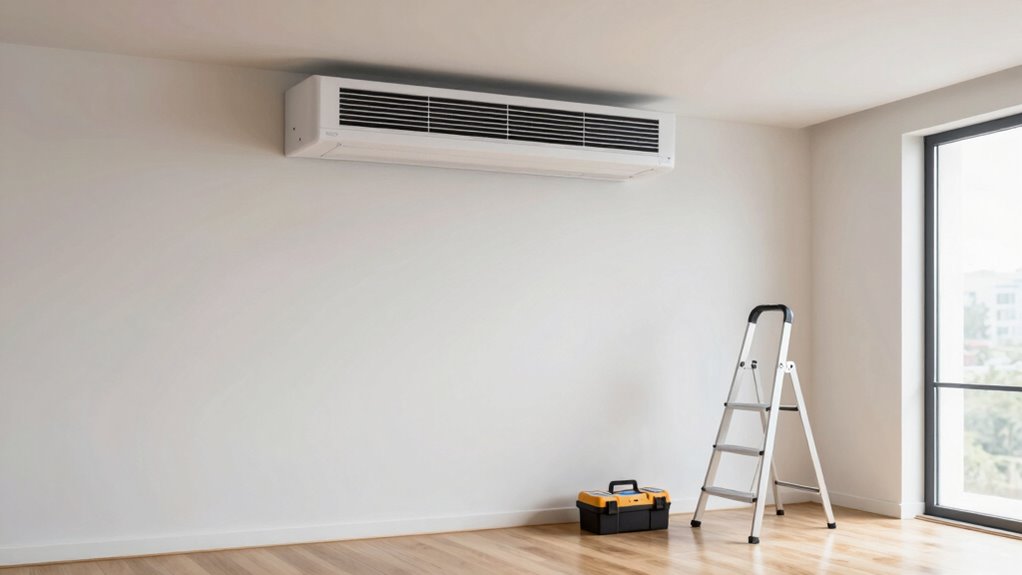
To get the best performance, mount your mini split about 6 to 8 feet above the floor, avoiding high traffic areas or close to heat sources. Choose a spot with clear airflow, away from furniture, curtains, or obstructions that can block or redirect air. Make certain the unit is level and accessible for maintenance, and follow manufacturer guidelines. Keep these placement rules in mind—sticking to best practices will make a big difference, and you’ll learn more as you go.
Key Takeaways
- Mount the indoor unit 6 to 8 feet above the floor for optimal airflow and system efficiency.
- Avoid placing the unit behind curtains, furniture, or in tight corners that block airflow.
- Ensure vents direct air toward high-traffic areas and away from walls or obstructions.
- Position the unit where it’s easily accessible for maintenance and free from vibrations or noise sources.
- Follow manufacturer guidelines and local codes for proper clearance, safety, and effective operation.
Why Proper Mini Split Placement Is Critical for Efficiency

Have you ever wondered why some mini split systems cool or heat a room more effectively than others? Proper placement is key to maximizing energy efficiency and meeting aesthetic considerations. When you install your unit in the right spot, it distributes air evenly, reducing hot or cold spots and lowering energy waste. Avoid mounting it too high or too low, as this can compromise airflow and performance. Additionally, think about how the unit blends with your space; discreet placement enhances your room’s look without sacrificing function. Correct placement minimizes strain on the system, saving you money on energy bills and repairs. Proper mini split placement is also essential for ensuring safe operation and avoiding obstructions that could hinder airflow. Moreover, considering airflow patterns during installation can significantly improve overall system effectiveness. Proper regional climate factors can influence optimal placement, ensuring the unit performs well in varying weather conditions. Furthermore, understanding manufacturer guidelines for installation height can prevent common issues and extend the lifespan of your unit. Ultimately, thoughtful positioning ensures your mini split operates at peak efficiency while complementing your home’s design.
How to Find the Best Indoor Spot for Your Mini Split

To find the best spot for your mini split, start by choosing an ideal mounting height that guarantees effective airflow. Make certain to keep the unit away from obstructions that could block circulation or reduce efficiency. Finally, select a location that promotes even airflow distribution to keep your space comfortable. Additionally, consider urban traffic confidence when positioning the unit to avoid areas prone to vibrations or external disturbances that could affect its performance. Ensuring the placement aligns with installation best practices can further enhance system longevity and efficiency. Proper placement also involves understanding airflow dynamics, which helps optimize comfort and energy use over time. Recognizing building structure considerations can be crucial in selecting a durable and effective mounting spot. For optimal results, it’s important to also evaluate environmental factors that may impact the unit’s operation and durability.
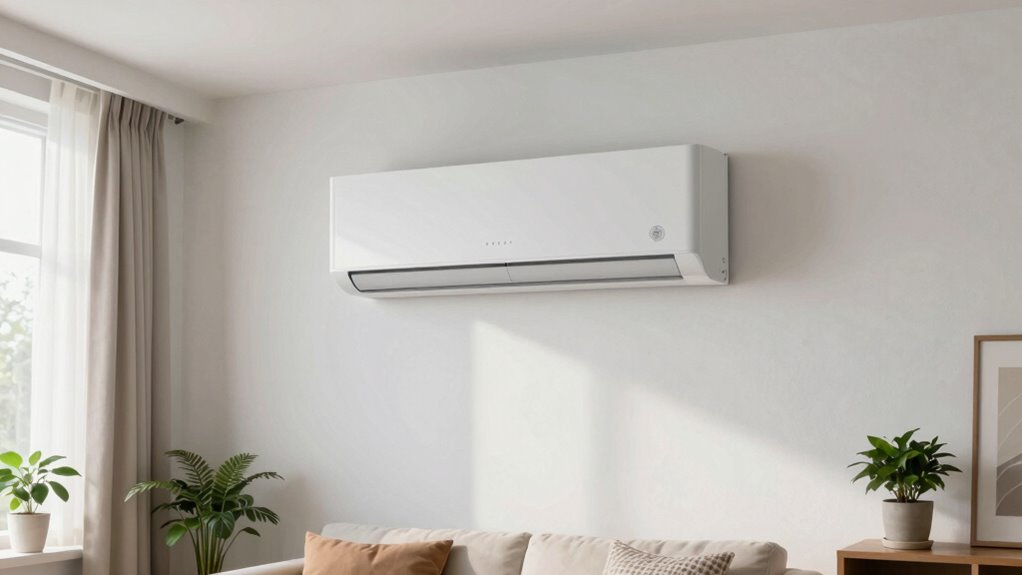
Ideal Mounting Height
Finding the ideal mounting height for your mini split is essential for peak performance and comfort. Typically, mounting the unit 6 to 8 feet above the floor ensures optimal air circulation and temperature distribution. This height helps maximize energy efficiency because the unit can distribute conditioned air evenly throughout the room. Additionally, selecting a spot at eye level or slightly above enhances aesthetic appeal, keeping the unit less noticeable and blending well with your decor. Avoid mounting too high, which can reduce efficiency, or too low, which might interfere with furniture and create uneven airflow. Remember, proper height not only improves comfort but also minimizes noise issues and ensures your mini split operates at its best. Considering proper placement can further enhance airflow and overall performance. Proper placement also involves accounting for local building codes and safety considerations to ensure compliance and durability. Ensuring the unit is mounted in a spot that meets manufacturer guidelines can help prevent potential issues and prolong the lifespan of your mini split. Additionally, factoring in room layout can improve air distribution and overall comfort.
Avoid Obstructions Nearby
Selecting the right spot for your mini split involves more than just choosing a height; you need to guarantee the area is free of obstacles that could hinder airflow or reduce efficiency. Make sure there are no objects like furniture, curtains, or decor within a few feet of the unit, as these can create airflow obstruction. Check that the mounting height offers clear circulation around the indoor unit, avoiding tight corners or cluttered spaces. Obstructions nearby can cause uneven cooling or heating and force the system to work harder. Keep the area open and unobstructed to promote ideal airflow and performance. Additionally, inspecting airflow pathways ensures optimal operation and prevents hot or cold spots. By removing obstacles and maintaining proper clearance, you’ll ensure your mini split operates quietly, efficiently, and effectively.
Consider Airflow Distribution
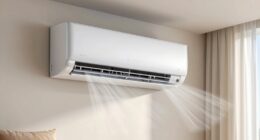
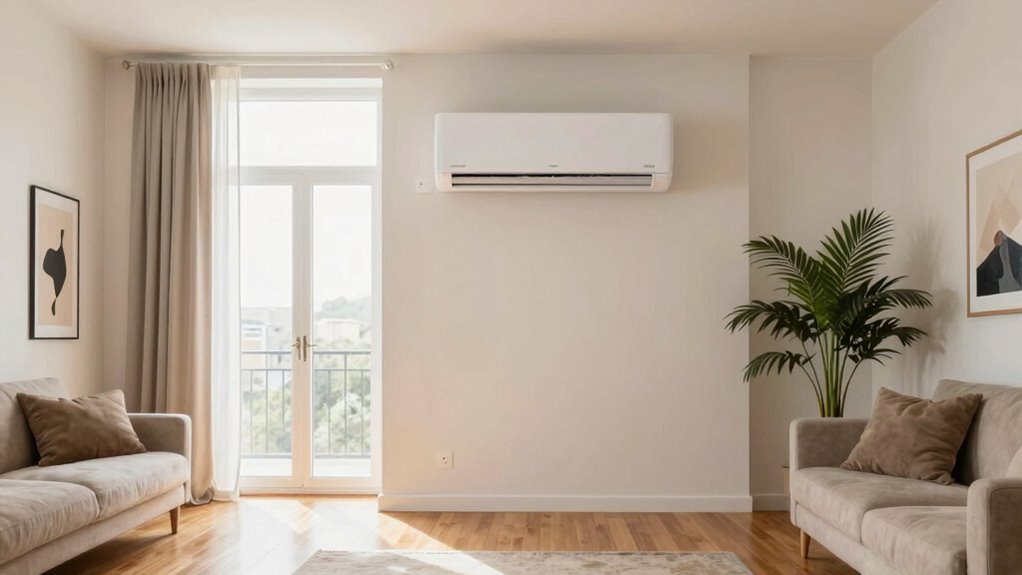
Ever wondered how to guarantee your mini split distributes airflow evenly throughout the room? The key is understanding airflow patterns and vent placement. Position the indoor unit where it can circulate air freely without obstructions like furniture or curtains blocking the vents. Proper vent placement ensures the airflow pattern covers the entire space, preventing hot or cold spots. Aim the vents toward the center of the room or areas where people spend the most time. Avoid directing airflow directly at walls or corners, as this can disrupt the airflow pattern and cause uneven cooling or heating. By considering airflow distribution, you optimize comfort and efficiency, ensuring your mini split performs at its best without creating drafts or uneven temperatures. Additionally, understanding basic airflow dynamics can help you troubleshoot and improve the system’s performance over time.
Choosing the Right Mounting Height for Indoor Units
Choosing the right mounting height for your indoor unit is crucial to guarantee effective cooling and comfort. The ideal mounting height influences airflow placement, ensuring cool air distributes evenly throughout the room. Typically, mounting the unit about 7 to 8 feet above the floor provides ideal airflow, avoiding dead zones or drafts. If placed too high, the cool air may not circulate efficiently; too low, and it could cause discomfort or obstruction. Consider the room’s layout and furniture placement to maintain unobstructed airflow. Proper height also prevents the unit from blowing directly onto occupants, which can cause uneven cooling. Additionally, selecting an appropriate mounting height helps prevent energy loss and enhances overall system efficiency. Ensuring proper airflow distribution is essential for optimal performance and energy efficiency. Achieving correct mounting height also contributes to noise reduction, making the space more comfortable. When placing the unit, also keep in mind the placement guidelines for optimal operation and safety. Properly positioning the indoor unit can also reduce maintenance issues, extending the lifespan of your system. Getting this right ensures maximum comfort and system efficiency.
Common Indoor Placement Mistakes to Avoid

Avoid blocking airflow paths, as it can reduce efficiency and comfort. Don’t ignore nearby heat sources, which can cause uneven cooling or heating. Also, mounting your unit too low can lead to poor air circulation and drafty conditions. Additionally, consider the overall work-life balance of your space, ensuring that placement does not contribute to stress or discomfort. Proper placement also involves understanding installation guidelines, which help maximize the mini split’s performance and longevity. Being aware of spatial awareness can further improve your installation choices, ensuring optimal airflow and comfort.
Blocking Airflow Paths
Blocking airflow paths is a common mistake that can considerably reduce the efficiency of your mini split system. When placing your indoor unit, avoid blocking vents, registers, or furniture that obstructs airflow. Proper thermostat placement is vital; if it’s hidden behind furniture or curtains, the system may overwork trying to reach a comfortable temperature. Additionally, consider insulation considerations—poor insulation can cause uneven temperatures, prompting the system to run longer. Keep airflow clear from obstructions like drapes, artwork, or shelving. This guarantees consistent air circulation and peak system performance. Remember, even small blockages can disrupt airflow, making your mini split less effective and increasing energy costs. Proper placement guarantees efficient operation and evenly conditioned indoor spaces.
Ignoring Heat Sources
Ignoring heat sources nearby can substantially undermine your mini split’s efficiency. Placing the unit near heat sources like direct sunlight, lamps, or appliances causes it to work harder, reducing energy savings. Additionally, wall insulation plays a crucial role; poor insulation allows heat to seep in or escape, making your mini split less effective. When you position the indoor unit close to heat sources, the system senses higher temperatures and runs longer to reach your comfort level. This not only wastes energy but also shortens the unit’s lifespan. To maximize efficiency, avoid mounting the mini split where heat sources are present or where wall insulation is inadequate. Proper placement ensures your system operates at its best, keeps your space comfortable, and reduces energy bills.
Mounting Too Low
Mounting your mini split too low on the wall can lead to uneven cooling and discomfort. When the unit is too close to the floor, it may blow cooler air directly onto occupants, causing temperature swings and making it harder to set an ideal color temperature. Additionally, the remote control’s sensors might struggle to communicate properly if the unit is poorly placed, reducing responsiveness.
| Proper Mounting Height | Common Mistakes |
|---|---|
| 7-8 feet from the floor | Mounting too low or high |
| Clear line of sight for remote | Obstructed remote signals |
| Even distribution of airflow | Ignoring the impact on comfort |
Avoid these pitfalls to guarantee consistent airflow, better temperature control, and maximum use of your remote control. Proper placement enhances comfort and maximizes your mini split’s efficiency.
Where Not to Mount Your Mini Split: Location Pitfalls
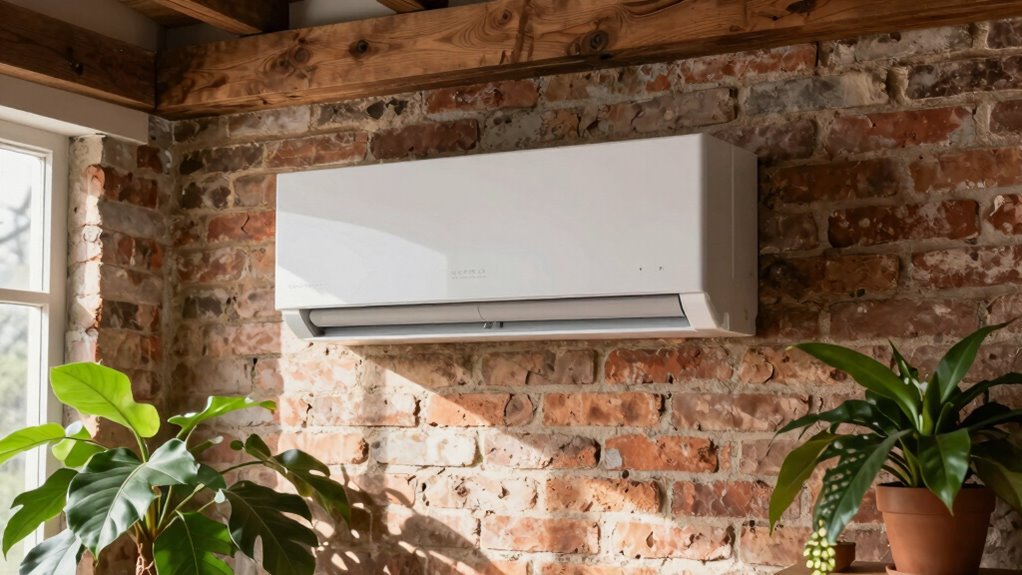
Choosing the wrong location for your mini split can lead to inefficiency and comfort issues. Avoid mounting it in spots where it will be obstructed or difficult to access, as this hampers airflow and maintenance. Don’t place your unit behind decorative covers that block air intake or exhaust, which can reduce efficiency and cause overheating. Additionally, steer clear of locations that clash with your room’s aesthetic integration; an unsightly or overly conspicuous mount can detract from your decor. Avoid tight corners or cramped spaces where airflow is restricted, and ensure the unit isn’t exposed to direct sunlight or drafts. Proper placement not only maximizes performance but also keeps your mini split visually unobtrusive, ensuring it blends seamlessly into your space without sacrificing function or style.
How to Prevent Noise and Vibration Problems
To prevent noise and vibration problems with your mini split, start by ensuring the unit is securely mounted on a stable, level surface. Proper mounting minimizes vibrations that can transfer noise into your home. Incorporate sound insulation materials around the indoor unit to absorb operational sounds, reducing noise transmission. Vibration dampening mounts or pads beneath the unit also help absorb shocks and minimize vibrations. Check that all mounting brackets are tight and secure, preventing loose parts that cause rattling. Regularly inspect the installation for any signs of loosening or wear. Using these sound insulation and vibration dampening techniques ensures quieter operation and prevents common noise issues, keeping your space peaceful and comfortable.
Best Practices for Outdoor Unit Placement
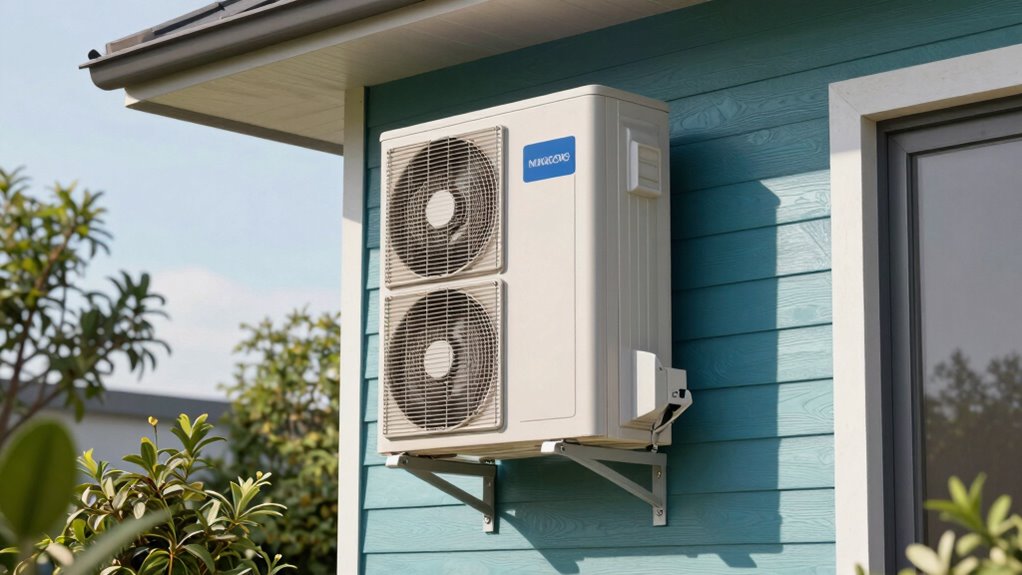
Proper outdoor unit placement is key to guaranteeing efficient and quiet operation of your mini split system. Always follow the manufacturer guidelines for clearances and mounting height to prevent airflow obstructions and reduce noise. Position the unit on a stable, level surface, ideally away from high traffic areas and direct sunlight. Consider aesthetic considerations; choose a location that blends with your home’s exterior and minimizes visual impact. Keep the unit away from windows and vents to avoid noise disturbances and airflow issues. Ensure there’s enough space around the outdoor unit for proper airflow and maintenance access. Proper placement not only enhances performance but also extends the lifespan of your system. Prioritize these best practices to maximize efficiency and maintain a neat appearance.
Room Size and Layout Tips for Optimal Placement
To guarantee your mini split works efficiently, pay attention to your room’s size and layout. You want to maximize airflow coverage and avoid obstructions that block the airflow. Considering the room layout helps you choose the best placement for even cooling and heating.
Maximize Airflow Coverage
Ensuring your mini split maximizes airflow coverage begins with thoughtful placement based on your room’s size and layout. Proper positioning influences airflow patterns, ensuring even cooling or heating. To achieve this, consider the following:
- Mount the unit at an ideal height to promote better airflow patterns across the room.
- Avoid placing the indoor unit near obstructions or furniture that can block air movement.
- Position the unit where airflow can circulate freely, avoiding corners or tight spots that restrict coverage.
Consider Room Layout
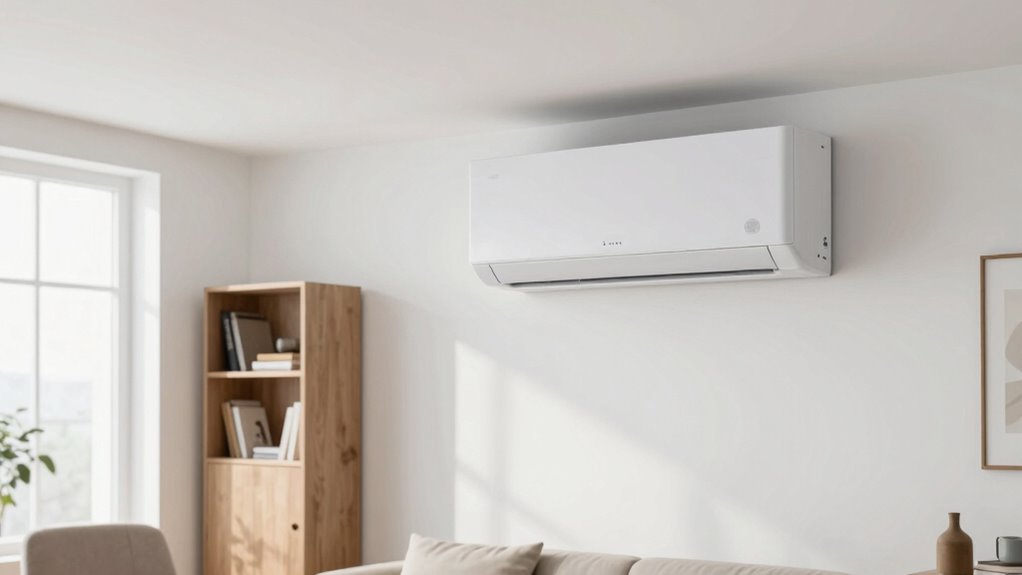
When choosing the best spot for your mini split, you need to contemplate your room’s size and layout. Larger rooms may require a higher placement to guarantee even air distribution, while smaller spaces benefit from positioning the unit where it won’t overpower the area. Consider how furniture is arranged so the airflow isn’t obstructed. Using decorative covers can help the unit blend seamlessly into your decor, enhancing aesthetic integration without sacrificing function. If your room has an open layout, place the mini split where it can effectively cool or heat multiple zones. Avoid placing it directly next to large furniture or drapes that could block airflow. Proper placement, tailored to your room’s design, ensures maximum comfort and a cleaner look.
Ensuring Easy Access and Maintenance for Your Mini Split
Making sure your mini split is easy to access and maintain is essential for long-term efficiency. Proper placement allows you to clean filters, check for issues, and service the unit without hassle. To optimize accessibility, consider these key points:
Easy access to your mini split ensures simple maintenance and optimal performance over time.
- Place the unit where you can easily reach it for regular maintenance and filter changes.
- Use decorative covers that blend with your decor, ensuring aesthetic integration without sacrificing access.
- Avoid tight or awkward spots that make servicing difficult, which can lead to neglect and reduced performance.
Following Building Codes and Manufacturer Guidelines for Placement
Proper placement of your mini split isn’t just about convenience; it’s also about compliance. You must follow building codes and manufacturer guidelines to guarantee safety and efficiency. Check that your chosen unit is compatible with your building’s electrical requirements, including voltage and circuit capacity. Brand compatibility matters because different models have specific mounting and clearance specifications; ignoring these can void warranties or cause malfunction. Always review the installation instructions provided by the manufacturer, as they detail proper mounting height, spacing, and ventilation needs. Failing to adhere to local codes or manufacturer rules can lead to fines or safety hazards. By following these guidelines, you guarantee your mini split operates safely, efficiently, and within legal standards.
Frequently Asked Questions
Can Mini Splits Be Installed in Outdoor Weather-Sensitive Locations?
Yes, you can install mini splits in outdoor weather-sensitive locations, but you need to prioritize outdoor concealment and aesthetic integration. Use weatherproof covers or enclosures to safeguard the unit from harsh elements. Position it where it blends with your surroundings, like behind shrubs or within custom cabinetry, to maintain your home’s look. Proper installation ensures durability and efficiency, even in challenging outdoor conditions.
How Does Room Insulation Affect Mini Split Placement Decisions?
Think of your room as a cozy cocoon—insulation impact is vital for mini split placement. If your space is poorly insulated, the system works harder, reducing thermal efficiency and increasing energy costs. To maximize comfort, install the mini split where it can best combat heat gain or loss. Proper placement ensures the unit operates efficiently, keeps your space comfortable, and saves you money by optimizing thermal performance.
Are There Specific Placement Considerations for Multi-Zone Mini Split Systems?
When installing a multi-zone mini split system, consider multi zone considerations to guarantee even cooling and heating. You should strategically place indoor units to optimize ductless system zoning, avoiding obstructions and balancing airflow. Keep outdoor units accessible for maintenance, and match indoor units’ placement to each zone’s needs. Proper placement ensures efficient operation, energy savings, and comfort across all zones in your space.
What Are the Aesthetic Impacts of Various Mini Split Mounting Options?
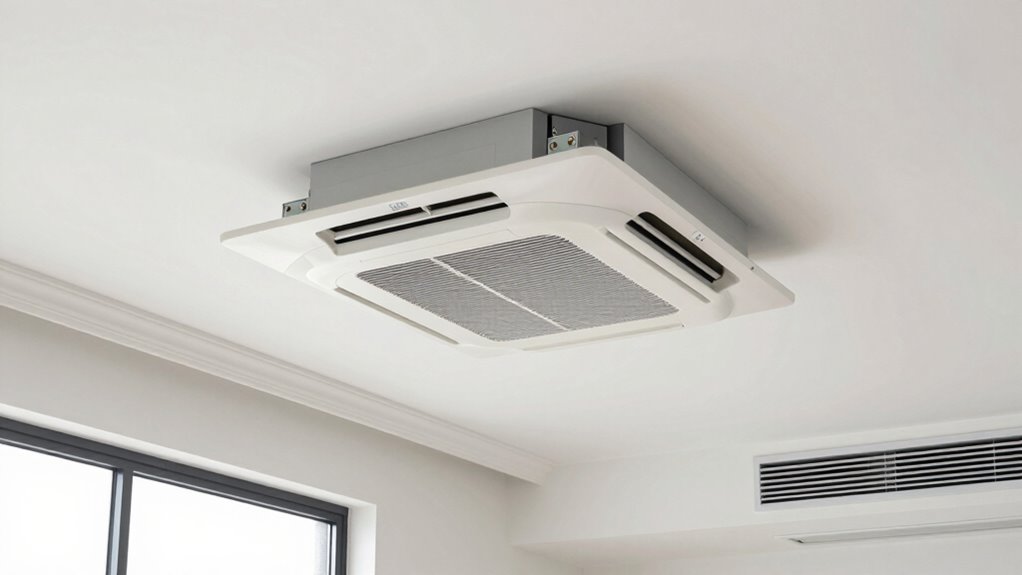
You’ll find that different mini split mounting options considerably affect the aesthetic integration and visual impact in your space. Wall mounts blend seamlessly when positioned high and painted to match your wall, maintaining a clean look. Ceiling cassettes offer a discreet appearance, while floor mounts are more noticeable but can suit specific designs. Considering your interior style helps minimize visual impact, making your mini split less obtrusive and more visually appealing.
How Does Future Room Remodeling Influence Mini Split Placement Choices?
Think of your room like a blank canvas awaiting a masterpiece. Future remodeling impacts your mini split placement, especially if you plan to install portable units or ceiling mounts. You should position the system where it can be easily adjusted or concealed during renovations. Consider leaving space for ductwork or concealed wiring, ensuring your mini split remains functional and aesthetic, no matter how your room transforms over time.
Conclusion
Remember, your mini split’s placement is the heartbeat of its efficiency. Think of it as planting a seed—you want the right spot to grow comfort and savings. Avoid common pitfalls, follow guidelines, and choose a location that maximizes airflow without compromise. With careful placement, your system will run smoothly like a well-oiled machine, keeping your space cool or warm without a hitch. Proper placement isn’t just a rule; it’s the key to lasting comfort.