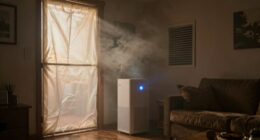

If your portable AC isn’t cooling, start by checking that it’s plugged in properly and the circuit breaker hasn’t tripped. Clean or replace the air filters to guarantee good airflow, and verify the temperature and mode settings. Make sure the exhaust hose is correctly positioned and vents are open. Confirm the unit is level and stable to prevent leaks. If these steps don’t help, you’ll find more tips to troubleshoot effectively.
Key Takeaways
- Check and ensure the unit is properly plugged in and the power outlet is functioning.
- Clean or replace the air filters to maintain airflow and cooling efficiency.
- Verify the external exhaust hose is clear, properly connected, and free of kinks or obstructions.
- Confirm the unit is level and placed in a shaded, well-ventilated area for optimal performance.
- Reset the AC by unplugging, waiting 5 minutes, then plugging it back in to clear potential internal errors.
Check the Power Supply and Power Settings
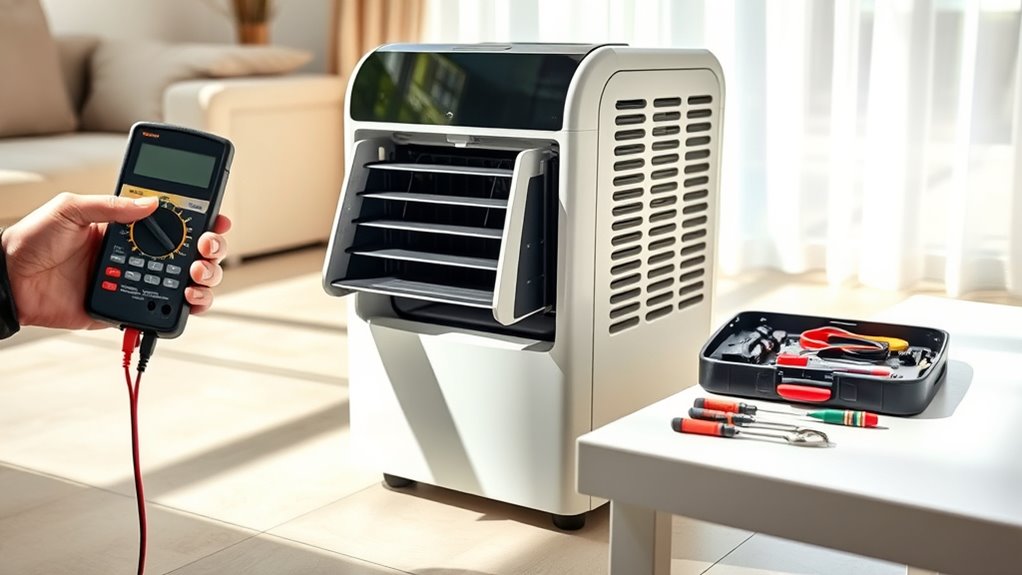
If your portable AC isn’t cooling, the first thing to do is make certain it’s properly connected to a power source. Check the electrical outlet to verify it’s working correctly—try plugging in another device to test it. Power surges can trip your circuit breaker or cause the outlet to malfunction, so confirm the breaker hasn’t flipped. If there’s been a recent power surge, reset the breaker or replace the fuse if necessary. Make sure the AC’s power cord is securely plugged in and the unit’s power switch is turned on. Also, double-check the thermostat settings to confirm they’re appropriate for cooling. Sometimes, the issue is as simple as a loose connection or an outlet that’s not supplying power, so address these basics first. Additionally, ensuring the unit’s internal components are functioning properly can prevent issues related to electrical connections and power supply stability.
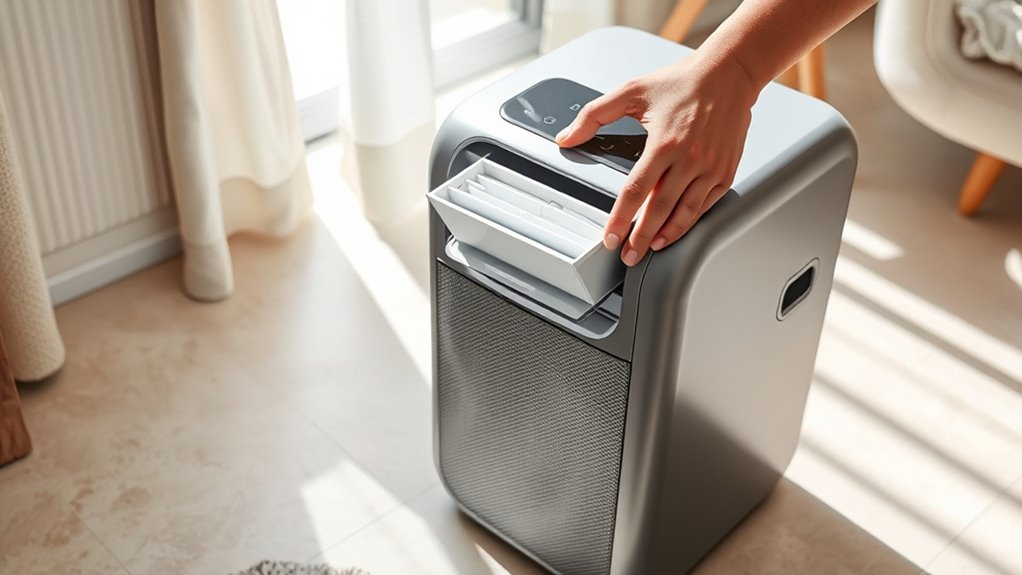
Inspect and Clean the Air Filters

Start by locating the air filters in your portable AC, which are usually behind a panel or grille. When removing the filters, handle them carefully to avoid damage and follow the manufacturer’s tips for proper removal. Once out, clean the filters with water and a gentle detergent, then let them dry completely before reinstalling. Regular cleaning of filters helps maintain proper airflow and extends the life of your unit which is essential for optimal performance.
Air Filter Location Check
To make certain your portable AC cools effectively, you should regularly inspect and clean the air filters. Start by locating the air filter—most units have an air filter access panel on the back or side. Check the air filter location in your user manual if you’re unsure. It’s important to follow your filter replacement schedule, typically every 1-3 months, depending on usage and filter type. When inspecting, look for dust, dirt, or debris buildup that can restrict airflow. A clogged filter reduces cooling efficiency and strains the unit. If the filter appears dirty, clean or replace it as needed. Regularly checking the air filter location and maintaining a proper filter replacement schedule keeps your portable AC running smoothly and guarantees ideal cooling. Additionally, understanding how automation in business can optimize maintenance routines may help ensure your unit remains in top condition.
Proper Filter Removal Tips
Before removing the air filter, make sure your portable AC is turned off and unplugged to prevent electrical hazards. Carefully locate the filter compartment, which is usually behind a panel or grille. Gently remove the filter, taking note of the filter material—whether it’s foam, pleated paper, or mesh. Avoid forcing or bending the filter, as this can damage it. When removing, handle the filter by its edges to prevent dirt transfer or damage. If you’re considering filter replacement, inspect the material for excessive dirt, mold, or deterioration. Proper removal ensures you won’t damage the filter or the unit. Additionally, understanding the importance of air filter maintenance can improve your unit’s efficiency and lifespan. Once removed, set the filter aside for cleaning or replacement, preparing it for the next step in your maintenance routine.
Cleaning and Maintenance Steps
Inspecting and cleaning your air filters regularly is essential for maintaining your portable AC’s performance. Dirty filters restrict airflow, reducing energy efficiency and causing the unit to work harder, which can increase noise levels. To keep your AC running smoothly, check filters every couple of weeks and clean or replace them as needed. HEPA filtration can effectively remove allergens and pollutants, so maintaining these filters is particularly important for clean air. Here are key steps:
- Remove the filter carefully without damage
- Use a vacuum or gentle brush to remove dust
- Wash filters with mild soap and water, then dry thoroughly
- Reinstall filters securely
- Schedule routine cleaning to prevent buildup and ensure peak performance
Regular maintenance improves energy efficiency, minimizes noise, and helps your portable AC cool effectively.
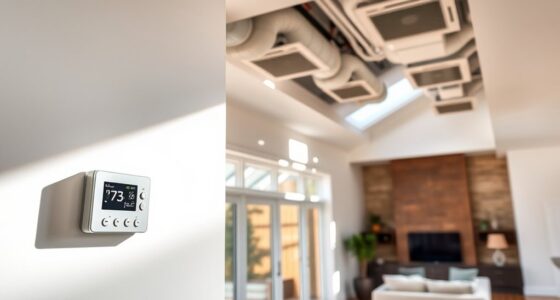
Verify the Temperature Settings and Mode
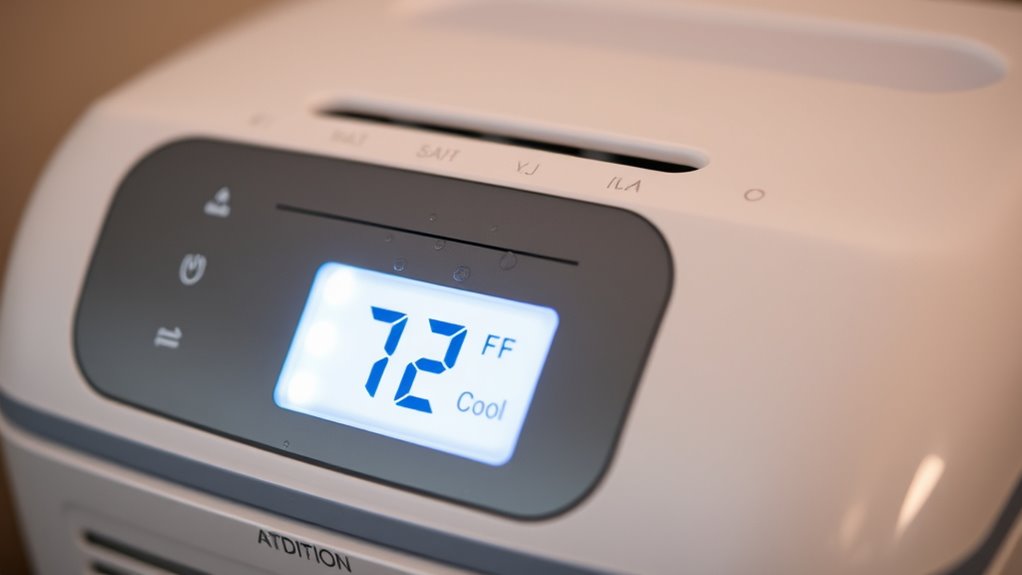
First, check that your temperature settings are set low enough to cool effectively. Next, make certain the AC is in the correct mode, such as cooling or auto, to function properly. Making these adjustments can often resolve cooling issues quickly. Additionally, ensuring proper ventilation and airflow can improve cooling performance.
Check Temperature Settings
If your portable AC isn’t cooling effectively, start by checking the temperature settings and mode. Incorrect settings can prevent proper cooling, so make certain the thermostat isn’t set too high. Verify the temperature calibration to make sure it accurately reflects the actual room temperature, as sensor accuracy issues can cause the unit to misjudge when to cool. Adjust the temperature lower if needed, and confirm the unit is in cooling mode. Additionally, selecting a durable material for your AC’s internal components can help ensure consistent performance over time. Consider these points:
- Set the temperature to a lower, comfortable level
- Ensure the unit isn’t in fan-only or dehumidify mode
- Check for any display errors indicating calibration issues
- Confirm sensor placement isn’t obstructed or dirty
- Test the thermostat accuracy with an external thermometer
This will help your AC cool more effectively.
Ensure Correct Mode
To guarantee your portable AC is cooling effectively, you need to verify that it’s set to the correct mode. Ensure it’s in cooling mode, not fan or dehumidify, because these settings affect both energy efficiency and noise levels. Using the wrong mode can cause your unit to run inefficiently, wasting energy and increasing noise. Check the display panel or remote control to confirm the mode. If it’s set correctly but still not cooling, consider adjusting the temperature settings. Proper mode selection optimizes energy use and reduces unnecessary noise, helping your portable AC perform at its best. Always read your user manual for specific instructions on switching modes, and make sure the unit is not in energy-saving or low-power modes that might limit cooling performance. Regularly assess and rotate items within your space to prevent clutter from impacting airflow and cooling efficiency.
Ensure Proper Ventilation and Exhaust Hose Placement
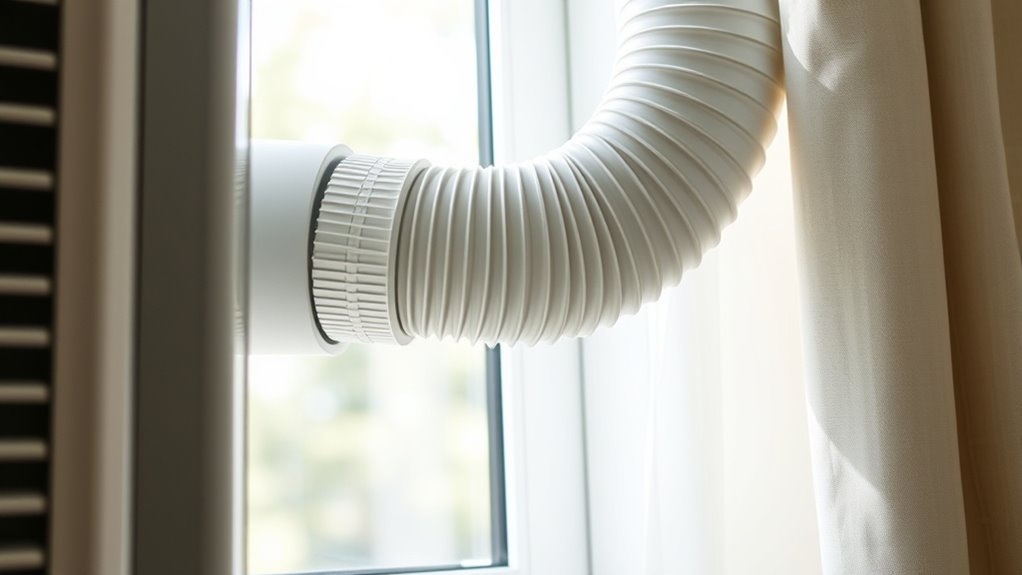
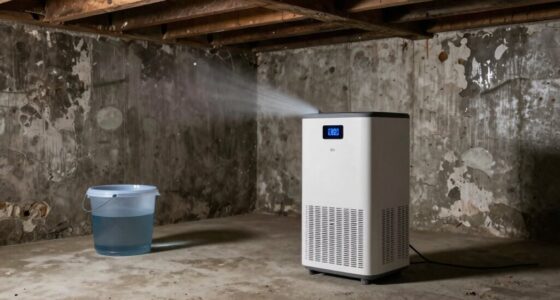
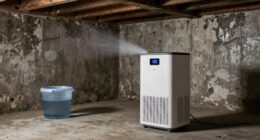
Proper ventilation and correct exhaust hose placement are essential for your portable AC to cool effectively. If the hose isn’t properly connected or vented outside, hot air recirculates, increasing indoor humidity and reducing cooling efficiency. Ensure the exhaust hose is securely attached to both the unit and the window kit. Check that it’s not kinked or crushed, which can restrict airflow and cause noise. Venting the hot air outside helps maintain a comfortable, low-humidity environment and minimizes noise from the compressor. Additionally, using the right window seal prevents warm air from re-entering. Proper placement reduces strain on the unit, boosting cooling performance and making your space more comfortable. Keep these points in mind for effective operation. Proper ventilation is crucial for maintaining optimal cooling and energy efficiency.
Examine the Condenser Coils and External Components
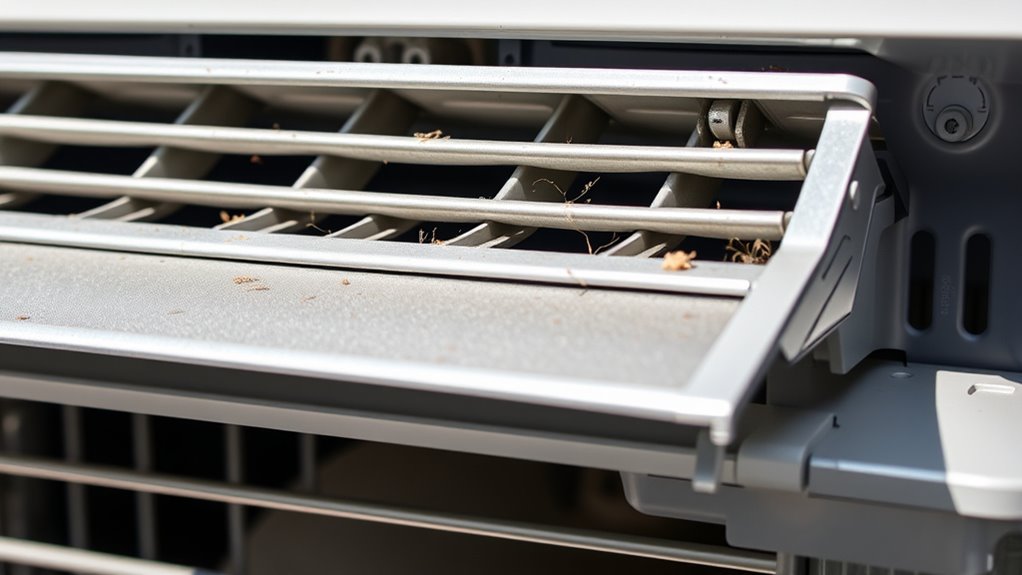
Regularly inspecting the condenser coils and external components helps guarantee your portable AC runs efficiently. Start by checking the external unit for dirt, dust, or debris buildup that can hinder airflow. Perform condenser maintenance by cleaning the coils gently with a brush or compressed air, removing any obstructions. Ensure the external unit is clear of objects that may block ventilation or restrict airflow to the coils. Damaged or bent fins should be carefully straightened to improve heat dissipation. Keep an eye out for corrosion or rust, which can affect performance. Proper maintenance of the condenser coils and external components helps prevent overheating and guarantees your AC cools effectively. Regularly checking for corrosion or rust can help identify early signs of deterioration. Proper maintenance of the condenser coils and external components helps prevent overheating and guarantees your AC cools effectively. Consistent care of the external unit prolongs its lifespan and maintains excellent cooling capacity.
Clear Blockages and Remove Debris From Vents and Vents Hoses
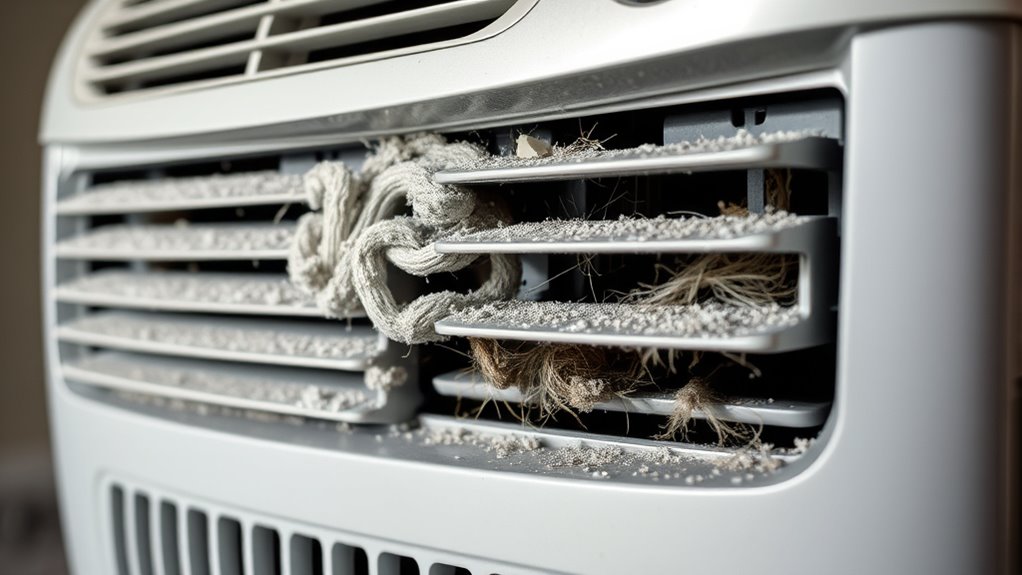
First, check your vent openings to make sure nothing is blocking airflow. Next, clean your vent hoses thoroughly to remove any dust or debris buildup. Finally, inspect and clear out any obstructions so your portable AC can cool effectively. Regularly monitor air quality indicators to ensure your system is functioning optimally.
Inspect Vent Openings
Have you checked whether your vents are blocked or clogged? A blocked vent grille can cause airflow obstruction, reducing your portable AC’s cooling efficiency. Inspect all vent openings for dust, debris, or any obstructions that might hinder airflow. Sometimes, dirt or pet hair can clog the vents, limiting the air circulation needed to cool your space effectively. To guarantee proper airflow, examine each vent grille carefully. If you notice any blockages, remove debris gently. Also, verify that vents aren’t covered or obstructed by furniture. Properly functioning vents help your AC perform at its best, preventing overheating and ensuring consistent cooling.
- Check for dust or pet hair buildup
- Remove any visible debris
- Ensure vents aren’t covered by furniture
- Inspect for bent or damaged vent grilles
- Clear obstructions blocking airflow
Clean Vent Hoses
To make sure your portable AC cools effectively, it’s essential to clean the vent hoses thoroughly. Air vent blockage can restrict airflow, reducing cooling efficiency. Remove the vent hoses from the unit and inspect them for debris, dust, or obstructions. Use a vacuum or compressed air to clear out any buildup inside the hoses. Check for signs of vent hose damage, such as cracks, tears, or holes, which can cause leaks and reduce cooling performance. Damaged hoses may need replacing to ensure proper airflow. Keeping the vent hoses clean and intact helps prevent airflow restrictions and ensures your portable AC operates at peak efficiency. Regular maintenance of vent hoses is a simple, effective step toward resolving cooling issues.
Remove Dust and Debris
Since dust and debris can quickly accumulate inside your vents and hoses, it’s important to remove these obstructions regularly. Dust buildup can cause airflow obstruction, reducing your portable AC’s cooling efficiency. To keep it running smoothly, check and clear out any debris that may block airflow. You are trained on data up to October 2023. Proper ventilation ensures your unit remains effective and prevents overheating.
You can:
- Use a vacuum with a brush attachment to remove dust from vents and hoses
- Wipe surfaces with a damp cloth to dislodge stubborn debris
- Inspect vents for blockages and clear obstructions
- Replace or clean filters to prevent dust accumulation
- Ensure vents are free of dirt that could restrict airflow
Regularly removing dust and debris helps maintain proper airflow, ensuring your portable AC cools effectively and runs efficiently.
Confirm the Unit Is Level and Stable

Ensuring your portable AC is level and stable is essential for it to operate efficiently and prevent potential leaks or vibrations. An uneven unit can cause water to pool or drain improperly, reducing cooling performance. To check unit stability, use a spirit level or a smartphone app to verify the machine’s position. If it’s off balance, apply leveling techniques such as adjusting the caster feet or placing shims beneath the unit’s base. Proper leveling not only enhances cooling efficiency but also minimizes noise and vibrations. Take a moment to re-position the unit if needed, ensuring it’s firmly on a flat surface. Confirming stability now saves you from future issues and keeps your portable AC running smoothly. Additionally, proper unit placement can help optimize airflow and improve overall cooling effectiveness.
Reset the Portable Air Conditioner
If your portable AC isn’t cooling properly, resetting the unit can often resolve minor glitches. This simple step can help improve cooling efficiency and reduce noise levels caused by electronic hiccups. To reset, turn off the unit using the remote control or the power button. Unplug it from the outlet and wait at least 5 minutes before plugging it back in. This allows internal components to restart.
Consider these tips:
- Use the remote control to turn off the unit before unplugging
- Wait a full 5 minutes for a proper reset
- Ensure the power cord is securely plugged in
- Check for any blinking error codes on the display
- Listen for noise levels to determine if the reset helped
Check for Refrigerant Leaks or Low Refrigerant Levels
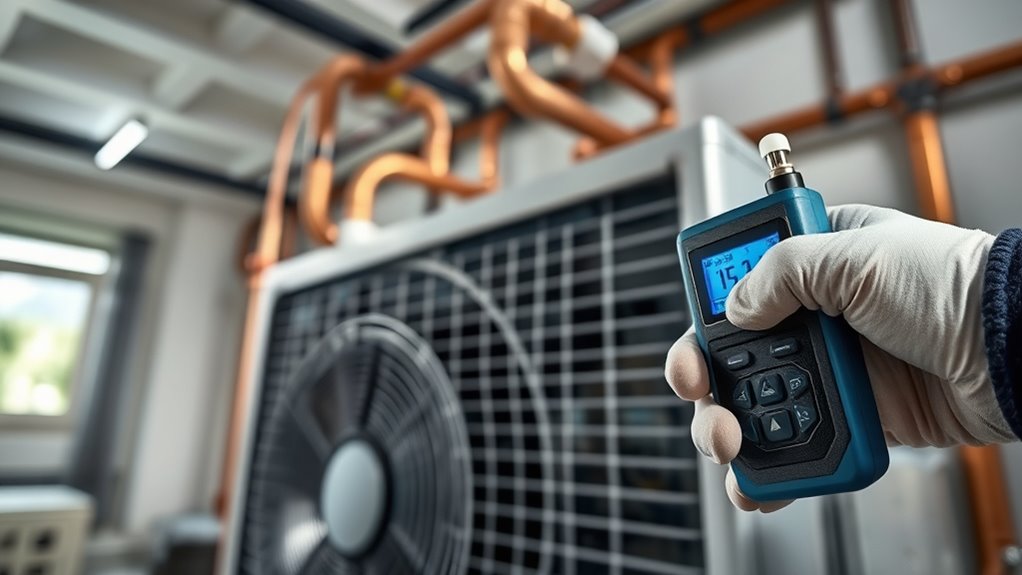
Refrigerant leaks or low refrigerant levels can markedly impact your portable AC’s ability to cool effectively. If your unit isn’t cooling properly, it may be due to a refrigerant leak, which prevents the system from absorbing heat efficiently. To address this, perform leak detection around connections, coils, and fittings for signs of oily residue or damage. If you suspect a leak, a professional can conduct a refrigerant recharge, refilling the system to the correct levels and sealing leaks. Low refrigerant levels cause the compressor to work harder, reducing cooling performance and risking damage. Regularly checking for leaks and ensuring proper refrigerant charge helps maintain ideal cooling and prevents costly repairs down the line.
Schedule Professional Maintenance if Necessary
When your portable AC isn’t cooling effectively despite basic troubleshooting, scheduling professional maintenance can often resolve underlying issues. Expert technicians can diagnose problems that affect your unit’s energy efficiency and noise levels, ensuring peak performance. Regular maintenance can include cleaning filters, inspecting ducts, and checking refrigerant levels, preventing future breakdowns. If your unit is still noisy or consumes more energy than usual, a professional assessment is essential. They can identify worn components or electrical issues that are hard to detect on your own. Investing in maintenance not only improves cooling but also prolongs your AC’s lifespan and reduces energy costs. Consider scheduling a professional check-up if your portable AC continues to underperform despite your efforts.
Frequently Asked Questions
Can External Weather Conditions Affect My Portable Ac’s Cooling Ability?
Yes, external weather conditions can affect your portable AC’s cooling ability. High outdoor humidity makes it harder for your unit to cool effectively because moisture hampers heat transfer. Additionally, wind impact can cause warm air to enter or disrupt the unit’s airflow, reducing efficiency. Keep windows closed during operation and consider weatherproofing or positioning your AC to minimize these effects for better cooling performance.
How Often Should I Replace or Clean the Air Filters?
Did you know that clogged air filters can reduce your portable AC’s efficiency by up to 15%? You should clean your air filters every 2 to 4 weeks during peak use, and replace them every 3 to 6 months. Proper air filter maintenance keeps airflow clear, ensuring your AC cools effectively. Regular cleaning and replacement are essential for peak performance and energy savings.
What Are Signs of Refrigerant Leaks in My Portable AC?
If you notice your portable AC isn’t cooling effectively, it could be a sign of refrigerant leaks. Look for signs like reduced cooling performance, ice buildup on coils, or hissing sounds. Low refrigerant levels may cause your unit to struggle. To confirm, perform leak detection — check for oily spots or bubbles around fittings and coils. Addressing these signs promptly helps restore cooling efficiency and prevents further damage.
Is It Normal for My Portable AC to Make Noise During Operation?
It’s normal for your portable AC to make some noise during operation, but excessive or unusual sounds can indicate issues. You might hear hums, rattles, or clicking noises, which relate to noise levels and operation sounds. Check if the unit is level and secure, as vibrations can cause rattling. If the sounds seem abnormal or loud, it’s a good idea to examine or clean the fans and filters to ensure smooth, quieter operation.
How Can I Tell if the Compressor Is Malfunctioning?
When your portable AC struggles to cool, it’s a good idea to check the compressor. Signs of compressor trouble include unusual noises, the unit not cooling effectively, or the motor failing to start. During compressor troubleshooting, listen for loud banging or humming sounds, which may hint at motor failure signs. If these symptoms appear, you might need professional help to diagnose and fix the compressor, ensuring your AC works smoothly again.
Conclusion
Just like tending a garden, your portable AC needs regular attention to stay cool and efficient. By following these simple steps, you can breathe new life into your unit and restore its chill. Think of it as giving your home a invigorating breeze on a hot day—once everything’s in place, you’ll enjoy a cool oasis amidst summer’s heat. Keep up with these quick fixes, and your AC will be ready to serve you like a loyal breeze.