
To stop drips and improve airflow, start by turning off the power and removing the fan cover. Clean the grille and blades with soap or vinegar, then vacuum or brush away dust from the motor and duct. Check for blockages in the exhaust duct and clear any debris. Reassemble and restore power, then test your fan. Following these steps will help guarantee your bathroom stays dry and fresh—learn more to get every detail right.
Key Takeaways
- Turn off power and carefully disassemble the fan to access all components safely.
- Clean and soak the fan cover, grille, and blades with gentle cleaner to remove dust and grime.
- Inspect and clear ductwork of debris or blockages to ensure unobstructed airflow.
- Reassemble all parts securely, checking wiring connections and securing screws before restoring power.
- Test the fan to verify smooth operation and optimal airflow, addressing any issues for improved ventilation.
Gather Your Cleaning Supplies and Prepare the Area
Before you start cleaning your bathroom fan, gather all necessary supplies to make the process smooth and efficient. Put on cleaning gloves to protect your hands from dust and grime. You’ll need a gentle cleaner or vinegar solution to tackle stubborn stains and built-up grease. Have a soft brush or microfiber cloth ready for scrubbing delicate parts without scratching surfaces. A small screwdriver might be useful if you plan to remove the fan cover later. Keep a dust mask nearby to avoid inhaling dust particles. Make sure the area around the fan is clear, so you have plenty of space to work. Gathering everything beforehand prevents interruptions, saving you time and frustration during your deep clean. Proper preparation sets the stage for a thorough and effective bathroom fan cleaning.
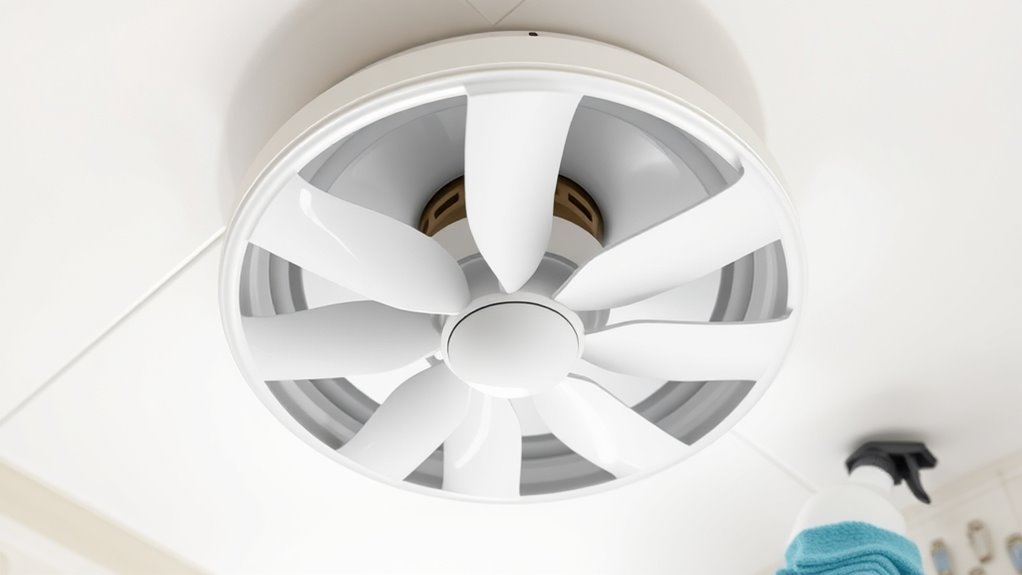
Turn Off Power and Remove the Fan Cover
Turning off the power is a essential first step to guarantee your safety while cleaning the bathroom fan. Before you start, locate the circuit breaker and switch it off to prevent any risk of electrical shock. Electrical safety is critical, so double-check that the power is fully disconnected by testing the fan with a non-contact voltage tester. Once you’re sure it’s safe, remove the fan cover carefully. Use a screwdriver if necessary, and keep track of the screws. Removing the cover exposes the blades and motor, making fan maintenance tips easier to follow later. Always handle components gently to avoid damage. Taking these precautions ensures a safer, more effective cleaning process and sets the stage for ideal fan performance. Additionally, being aware of electrical safety protocols can help prevent accidents during maintenance.
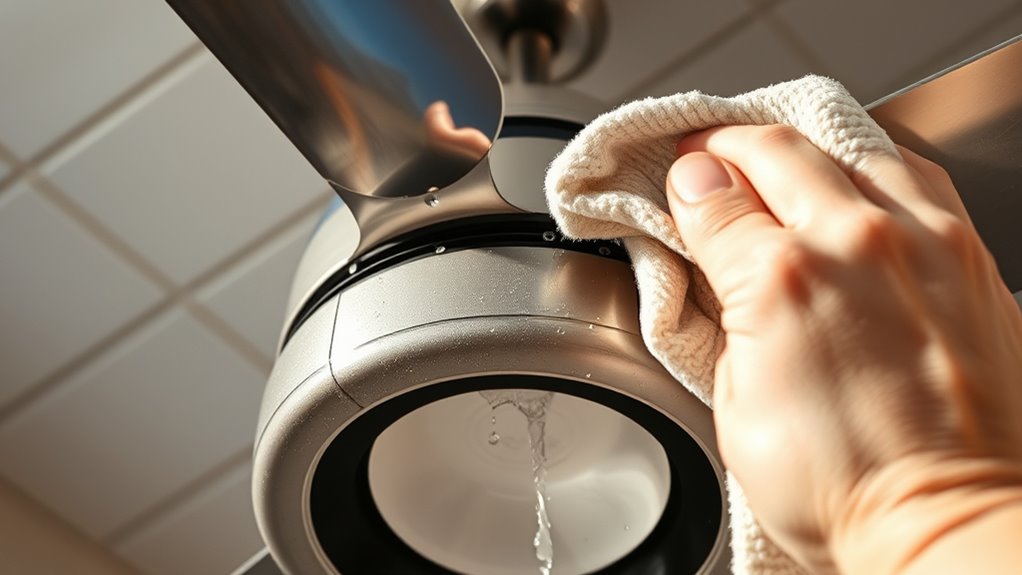
Clean the Fan Cover and Grille
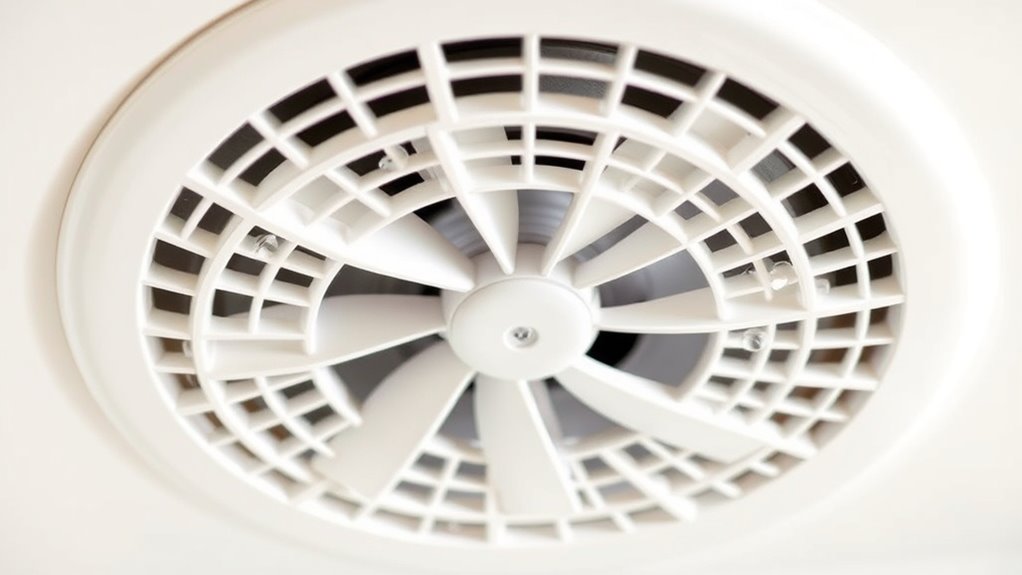
Start by removing the fan cover and grille from your bathroom fan. Wash the cover with warm, soapy water to make sure all dust and grime are cleared away. Then, scrub the grille thoroughly to ensure all buildup is removed before reinstalling. Using the right cleaning tools and techniques can help maintain the fan’s efficiency and prolong its lifespan, especially when combined with regular deep cleaning of ventilation systems.
Remove and Wash Cover
To effectively clean the fan cover and grille, you’ll need to remove them from the bathroom fan first. Start with fan cover removal by gently unscrewing or unclipping it, depending on your model. Once removed, you can apply cleaning techniques like soaking the cover in warm, soapy water to loosen dust and grime. Use a soft brush or cloth to scrub away stubborn dirt, making sure to reach all corners. Rinse thoroughly with clean water and let it dry completely before reinstalling. Proper removal and cleaning of the cover prevent dust buildup and improve airflow. Taking your time during fan cover removal and using effective cleaning techniques will make your deep clean more efficient and help keep your bathroom fresh and ventilated. Regular maintenance and choosing durable materials designed for kitchen use can also enhance longevity and performance.
Scrub Grille Thoroughly
After removing the fan cover and grille, it’s time to scrub them thoroughly to remove any remaining dust, dirt, and grime. Pay attention to the grille material—whether it’s metal or plastic—as different materials require specific cleaning methods. Use a soft brush or sponge with warm, soapy water to clean the grille, ensuring you reach all crevices. For stubborn buildup, soak the grille in a vinegar solution for 10-15 minutes before scrubbing. Incorporate this step into your regular cleaning schedule to prevent dust accumulation and maintain *ideal* airflow. Rinse thoroughly and dry completely before reinstalling. Regularly scrubbing the grille keeps your bathroom fan functioning efficiently and reduces drips or odors caused by dirt buildup. Additionally, filter maintenance is essential for keeping the entire ventilation system in top condition.
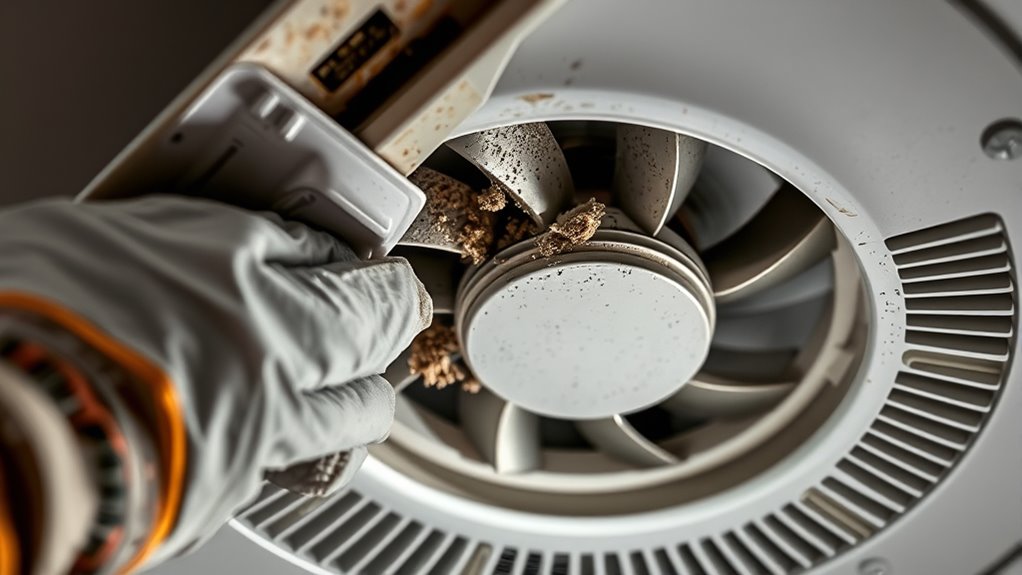
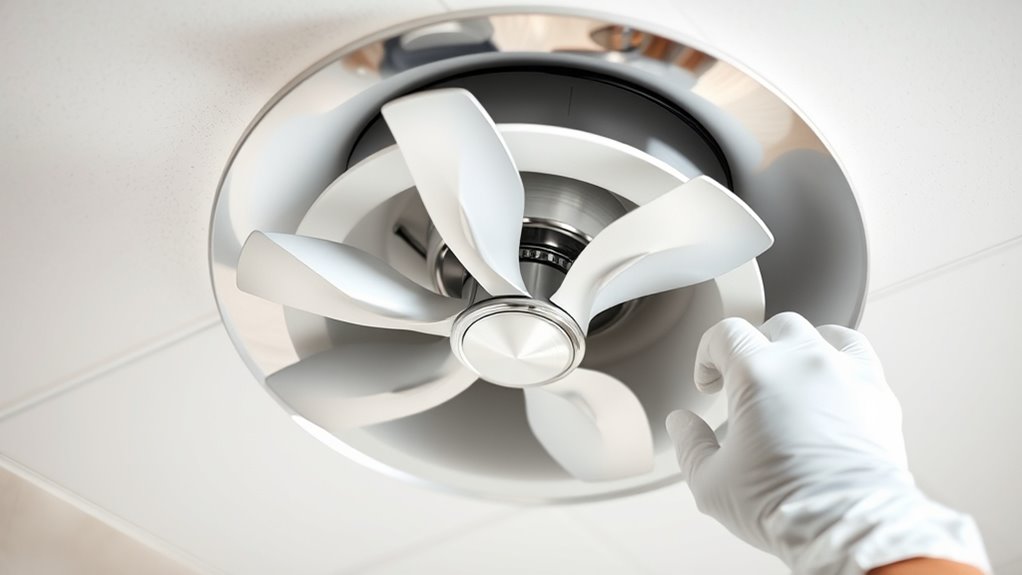
Vacuum or Brush Away Dust and Debris From the Fan Motor and Blades
Before you begin cleaning, unplug the fan to guarantee safety. Use a vacuum with a brush attachment or a soft brush to carefully remove dust and debris from the fan motor and blades. This step is essential for proper fan motor maintenance and effective dust removal. Gently brush or vacuum along the blades and around the motor housing, taking care not to damage any components. Dust buildup can hinder airflow and cause noise, so thorough debris removal improves performance. Avoid using excessive force, and ensure all loose dust is cleared away. This process keeps your fan running efficiently and prevents future issues caused by accumulated dirt. Proper maintenance techniques are key to ensuring longevity and optimal performance of your bathroom fan. Once you’ve cleared the dust, you’re ready for a more detailed cleaning of the fan components.
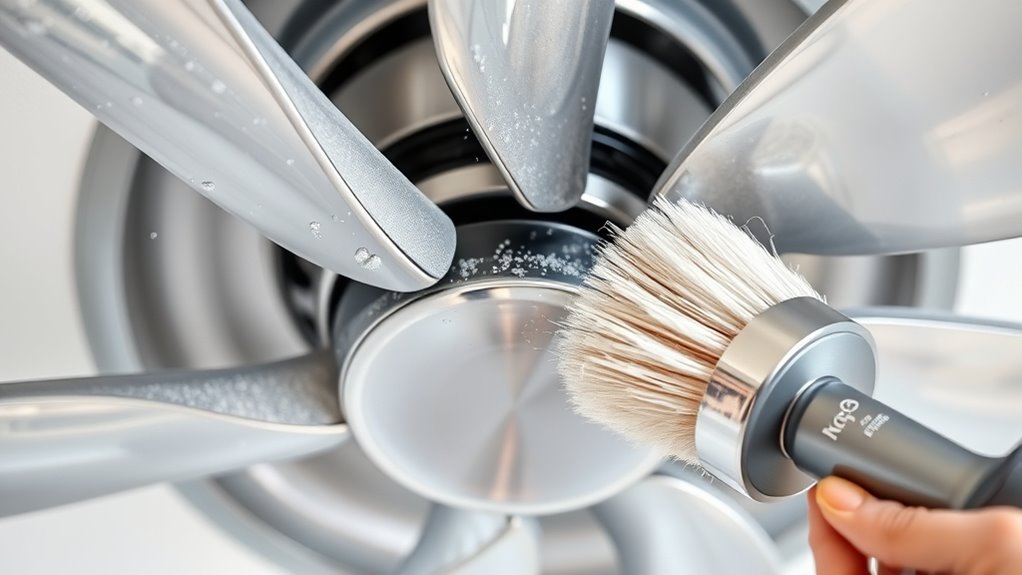
Wipe Down the Fan Components With a Damp Cloth
Wiping down the fan components with a damp cloth helps remove any remaining dust and grime that cleaning tools might have missed. Focus on the fan blades, inspecting them for dirt buildup or damage, and guarantee they’re clean for ideal airflow. When wiping, gently remove moisture to prevent rust or corrosion, especially around electrical parts. Use a soft cloth dampened with water or a mild cleaner, then follow up with a dry cloth to guarantee thorough moisture removal. This step keeps the fan running smoothly and extends its lifespan. Regular maintenance and proper ventilation can also help prevent dust accumulation and ensure continued efficient airflow.
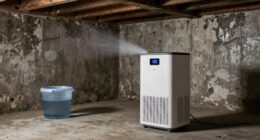
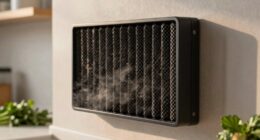
Check and Clear the Exhaust Duct for Blockages
You should inspect the exhaust duct for any obstructions or debris that might block airflow. If you notice buildup, carefully remove all debris and clear the duct path. This step helps guarantee your bathroom fan works efficiently and prevents future issues. Regular maintenance of the duct can also prevent blockages that could lead to increased energy consumption and reduced airflow.
Inspect Duct for Obstructions
Inspecting the exhaust duct for obstructions is a crucial step in deep cleaning your bathroom fan. A duct blockage can cause airflow obstruction, reducing the fan’s efficiency and increasing moisture buildup. Start by visually inspecting the duct from the vent opening to identify any visible debris or damage. Feel for resistance or reduced airflow when the fan is running, which can signal a blockage. Use a flashlight to check inside the duct if accessible. Remember, even small obstructions like lint, dust, or debris can considerably impair airflow. Ensuring the duct is clear promotes proper ventilation, helps stop drips, and prevents mold growth. Taking the time to inspect thoroughly now saves you from bigger issues later. Additionally, understanding suction power metrics can help you gauge your fan’s performance and effectiveness after cleaning.
Remove Debris and Blockages
To guarantee your bathroom fan operates efficiently, it’s essential to remove any debris and blockages from the exhaust duct. Over time, dust, lint, and other debris can accumulate, reducing ventilation efficiency and causing your fan to work harder. Start by disconnecting the fan from the power source, then carefully inspect the duct for obstructions. Use a long brush or vacuum attachment to clear out debris from inside the duct, ensuring airflow isn’t restricted. If you notice any buildup or blockages, remove them promptly. Proper debris removal helps improve ventilation efficiency, prevents moisture buildup, and reduces the risk of mold. Regularly checking and cleaning your exhaust duct keeps your bathroom fan functioning at its best and maintains a fresh, dry environment. Additionally, understanding Pet Hair Management can be useful if you have pets that shed around the bathroom area, as pet fur can also contribute to duct blockages and airflow issues.
Reassemble the Fan and Restore Power
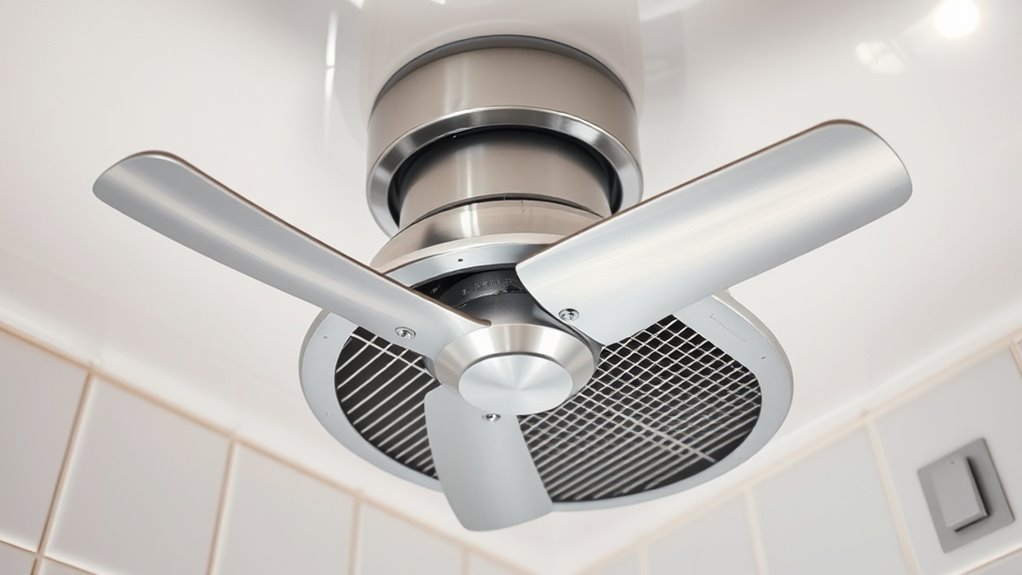
Once the fan components are thoroughly cleaned and dry, it’s time to reassemble the unit and restore power. To guarantee electrical safety, double-check that all wiring connections are secure and undamaged. Follow these fan maintenance tips to finish the job safely:
- Carefully align the fan housing and reattach screws, ensuring everything fits snugly.
- Reconnect the wiring, making sure each connection is tight and correct.
- Turn the power back on at the circuit breaker and test the fan’s operation.
- Regular inspections and updates can help prevent issues such as malfunctioning components and ensure the fan continues to operate efficiently.
Always prioritize electrical safety by turning off the power before handling wiring. Proper reassembly ensures optimal airflow and reduces drips, keeping your bathroom fresh and safe.
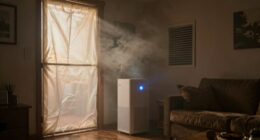
Test the Fan for Proper Operation and Airflow

After reassembling the fan and restoring power, it’s important to test its operation to guarantee everything works correctly. Start by turning on the fan and observing its performance. Use fan testing to ensure it runs smoothly without unusual noises or vibrations. Next, perform airflow measurement by holding a tissue or smoke near the vent to check for consistent airflow. If airflow seems weak or uneven, double-check the installation or consider cleaning the vent duct. Keep in mind, proper airflow guarantees ideal moisture removal and energy efficiency. Here’s a quick overview:
| Test Step | What to Look For | Action Needed |
|---|---|---|
| Fan operation | Smooth start, no noise, steady run | Re-adjust or replace if needed |
| Airflow measurement | Tissue/smoke moves consistently | Clean ducts or tighten connections |
| Overall performance | No dripping or humidity buildup | Inspect for blockages or leaks |
Additionally, ensuring the fan’s proper airflow can help prevent issues like drips and humidity buildup in the bathroom.
Frequently Asked Questions
How Often Should I Deep Clean My Bathroom Fan?
You should deep clean your bathroom fan at least once every six months to maintain ideal ventilation efficiency. Regular cleaning prevents dust and grime buildup, which can hinder airflow and cause drips. If you notice reduced ventilation or persistent moisture, increase the cleaning frequency to every three to four months. Keeping your fan clean ensures it functions properly, reduces mold risk, and keeps your bathroom fresh and dry.
Can I Use Harsh Chemicals to Clean the Fan?
You shouldn’t use harsh chemicals on your bathroom fan because they can damage the fan’s components and compromise fan safety. Instead, opt for gentle cleaners like vinegar or mild soap, which effectively remove grime without risking corrosion or electrical issues. Harsh chemicals may seem effective, but they often cause more harm than good. Prioritize safe, non-abrasive cleaning methods to keep your fan working efficiently and safely.
What Signs Indicate My Fan Needs a Deep Clean?
You’ll notice your fan making excessive noise or struggling to vent humidity, which indicates it’s time for a deep clean. Dust buildup and reduced airflow can also shorten your fan’s lifespan, so cleaning it thoroughly helps maintain peak performance. If your fan sounds louder than usual or isn’t working efficiently, don’t wait—clean it to stop drips, reduce noise, and extend its life.
Is It Necessary to Replace the Fan Entirely if It’s Dirty?
You don’t need to replace your fan if it’s just dirty; cleaning is often enough to restore proper airflow and eliminate drips. Regular cleaning highlights the importance of maintenance, preventing the need for fan replacement. If your fan still struggles after a deep clean, then replacement might be necessary. Usually, a thorough clean extends its lifespan, saving you money and hassle, so prioritize cleaning before considering a replacement.
How Can I Prevent Mold Buildup After Cleaning?
To keep mold at bay, don’t let it slip through your fingers—stay proactive with moisture control and mold prevention. After cleaning, guarantee your bathroom is well-ventilated, run the fan during and after showers, and fix leaks promptly. Use a dehumidifier if needed, and wipe down surfaces to remove excess moisture. These steps help prevent mold buildup and keep your bathroom fresh and healthy.
Conclusion
With a fresh breeze now flowing freely, your bathroom feels brighter and more inviting. By giving your fan a gentle revitalization, you’ve cleared away the hidden shadows of dust and drips, allowing fresh air to dance effortlessly through the space. A simple deep clean transforms your bathroom into a peaceful oasis, where every breath is lighter and more invigorating. Enjoy the renewed comfort—your space is now truly ready to breathe easy.