
To clear foggy shower doors, try a DIY hydrophobic trick by creating a water-repelling coating with household items like silicone spray, natural oils, alcohol, or vinegar. Clean and dry your doors thoroughly before applying a thin, even layer of your homemade solution using a cloth or spray. Let it cure, then enjoy fog-free, easier-to-clean glass. Want expert tips on perfecting this method? Keep exploring to discover how to maximize the effects.
Key Takeaways
- Clean shower doors thoroughly with non-abrasive cleaner or vinegar solution before applying the hydrophobic coating.
- Apply a DIY hydrophobic mixture evenly using a lint-free cloth or spray, following manufacturer instructions.
- Allow the coating to cure completely without disturbance, ensuring it forms a durable water-repellent barrier.
- Regularly reapply the hydrophobic coating every few months to maintain fog resistance and water repellency.
- Use a squeegee after each shower and clean with gentle solutions to prevent soap scum and mineral buildup.
Understanding Hydrophobic Coatings and Their Benefits
Hydrophobic coatings are specialized layers that repel water and other liquids, preventing them from soaking into surfaces. Thanks to nanotechnology applications, these coatings achieve their water-resistant properties at the microscopic level, creating a barrier that causes droplets to bead up and roll off easily. This technology not only enhances the durability of surfaces but also reduces maintenance needs, saving you time and effort. For example, Honda Tuning techniques like ECU remapping and performance upgrades can optimize the effectiveness of hydrophobic coatings on vehicle surfaces. However, it’s important to contemplate the environmental impacts of certain hydrophobic coatings, as some contain chemicals that may harm ecosystems if not disposed of properly. By understanding both their benefits and potential risks, you can make informed choices about using hydrophobic coatings for your DIY projects, ensuring effectiveness while minimizing negative environmental effects.
Gathering Common Household Items for the DIY Solution

To create your DIY hydrophobic coating, start by gathering common household items that are easy to find and safe to handle. You’ll need spray bottles, which are perfect for applying the solution evenly. Keep some old cloths or microfiber towels for cleaning and wiping down the shower door seals before application. Vinegar or lemon juice can help with bathroom cleaning, removing soap scum and residues that might interfere with adhesion. You might also want a small bowl for mixing ingredients. If you have rubbing alcohol or isopropyl alcohol, they can help prep the surface and improve the coating’s effectiveness. Additionally, understanding industry trends can help you choose the most effective DIY solutions and techniques. All these items are typically found around the house, making this project simple, affordable, and safe while ensuring your shower doors stay clearer longer.
Preparing Your Shower Doors for Application
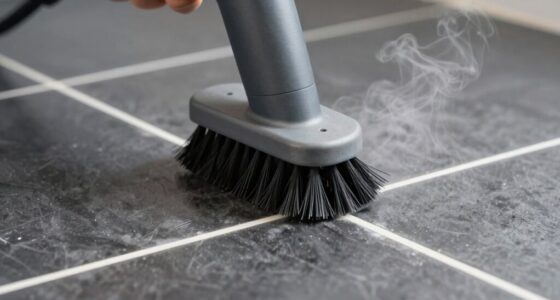
Before applying the hydrophobic coating, make sure your shower doors are spotless. Use a suitable cleaner to remove soap scum, grime, and residues. Once cleaned, dry the surface completely to guarantee the solution adheres properly. Ensuring a clean surface also helps the coating last longer and perform effectively. Effective cleaning is crucial for achieving optimal hydrophobic results.
Clean Surface Thoroughly
Start by giving your shower doors a thorough cleaning to guarantee the hydrophobic coating adheres properly. Remove soap scum buildup and water stains that can interfere with the coating’s effectiveness. Use a non-abrasive cleaner or a mixture of vinegar and water to break down stubborn residue. Pay special attention to corners and edges where soap scum tends to accumulate. Rinse the doors well to eliminate any lingering cleaning solution. Dirt, grime, and mineral deposits from water stains can create a barrier that prevents the coating from bonding properly. Ensuring a spotless surface is essential for the hydrophobic trick to work effectively. Additionally, understanding the horsepower of electric dirt bikes can help you appreciate the importance of a smooth, clean surface for optimal application. Once the doors are clean and free of debris, you’re ready to move on to the next step in the process.
Dry Completely Before Application
After thoroughly cleaning your shower doors, it’s important to make certain they are completely dry before applying the hydrophobic coating. Residual moisture can hinder proper adhesion and reduce the effectiveness of the water repellent surface preparation. Use a clean, dry microfiber cloth or a squeegee to remove all water droplets, paying attention to corners and edges. Ensure no streaks or damp spots remain, as these can compromise the coating’s ability to bond securely. Proper drying creates an ideal surface for the hydrophobic treatment to form a durable, water-repellent layer. Skipping this step may result in uneven coverage or reduced longevity of the coating. Taking the time to dry thoroughly ensures your DIY project achieves the best possible surface preparation for a clear, fog-resistant shower door. Additionally, understanding Dog names can help you choose a fitting name for your pet after completing your DIY project.
Creating the Hydrophobic Mixture at Home
Creating a hydrophobic mixture at home is simpler than you might think, and it requires just a few basic ingredients. This process taps into hydrophobic science, which explains how certain substances repel water. Using DIY chemistry, you can create a solution that coats your shower glass with water-resistant properties. Typically, you’ll combine common household items like silicone-based sprays or natural oils with alcohol or water to enhance spreadability. The key is understanding how these ingredients interact to form a durable, water-repelling layer. Carefully measure and mix your components, ensuring thorough blending. This homemade mixture is cost-effective and customizable, making it an excellent DIY solution for foggy shower doors. Just remember, precision in your measurements helps guarantee the best hydrophobic performance. Additionally, understanding surface tension can help optimize the effectiveness of your coating.
Applying the Solution to Your Shower Glass

Before applying your hydrophobic solution, make certain the shower glass is clean and dry. Different shower door materials, like glass or acrylic, may require slightly different cleaning methods, but a thorough wipe with a household item alternative like vinegar and water ensures all residues are removed. Use a lint-free cloth or paper towels to avoid streaks. Once the surface is spotless, evenly spray or apply the coating with a soft cloth, working in small sections. Keep a steady hand and avoid oversaturating the area. Make sure the solution covers every inch of the glass, especially at edges and corners. Proper application guarantees the hydrophobic layer adheres well, providing a clear, water-repellent finish that lasts longer and resists fogging.
Allowing the Coating to Set Properly

To guarantee your hydrophobic coating bonds properly, give it enough time to set undisturbed. Proper curing is essential for maximizing hydrophobic durability and ensuring the coating adheres firmly to the glass. Avoid touching or cleaning the surface during this period, as any disturbance can weaken the adhesion. Depending on the product used, setting times may vary from a few hours to overnight; follow the manufacturer’s instructions carefully. During this time, keep the shower area dry and free from humidity or moisture that could interfere with the bonding process. Allowing the coating to cure fully ensures it forms a strong, lasting barrier that repels water effectively. Patience now will pay off with a clearer, fog-free shower door for weeks to come. Additionally, understanding the material properties involved in the coating process can help you optimize the curing conditions for better results.
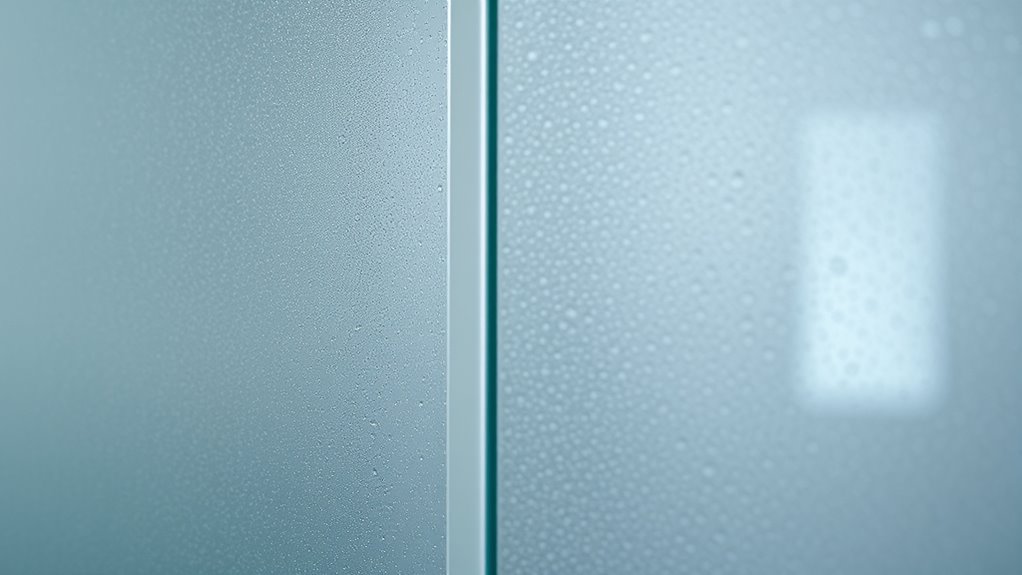
Tips for Maintaining a Clear, Fog-Free Surface
To keep your surface clear and fog-free, regular cleaning is essential to remove dirt and oils that can compromise the coating. Applying hydrophobic treatments properly will help maintain its water-repelling properties over time. Consistent upkeep guarantees your surface stays transparent and fog-free longer. Additionally, understanding AI security vulnerabilities can help you stay informed about emerging risks that could affect smart home devices or automated cleaning gadgets, ensuring your maintenance routines remain effective.
Regular Cleaning Practices
Regular cleaning is essential for keeping your surface clear and fog-free. Establish a consistent cleaning schedule to prevent soap scum and mineral buildup that cause fogging. Use a gentle, non-abrasive cleaner or vinegar solution to wipe down the glass after each shower. This routine minimizes dirt accumulation and maintains clarity. When choosing sealant options, consider applying a hydrophobic sealant periodically to reinforce the surface’s resistance to water and stains. Regular maintenance ensures your shower doors stay transparent and easy to clean, reducing the need for harsh scrubbing. Keep a squeegee nearby to remove excess water after each use. By sticking to a regular cleaning routine and exploring effective sealant options, you’ll keep your shower doors looking clear and fog-free longer. Incorporating vetted products designed specifically for hydrophobic coating can further enhance your results and prolong the clarity of your shower doors.
Applying Hydrophobic Coatings
Applying hydrophobic coatings correctly is key to maintaining a clear, fog-free surface. To achieve superior hydrophobic effects, clean the glass thoroughly before application, removing soap scum and residues. Follow the manufacturer’s instructions carefully, guaranteeing an even coating without streaks. Proper application enhances coating durability, making it last longer and resist wear from daily use. Avoid touching or rinsing the surface immediately afterward to allow the coating to set properly. Regular maintenance, like gentle cleaning, helps preserve the coating’s effectiveness over time. Keep in mind, a well-applied hydrophobic layer minimizes fogging and water spots, keeping your shower doors clear. Taking the time to apply the coating correctly ensures maximum hydrophobic effects and extends the coating’s lifespan. Surface preparation is essential for optimal results and long-lasting clarity.
Reapplying the Coating for Longevity

Reapplying the hydrophobic coating is essential to maintain its water-repelling effectiveness over time. As the coating’s durability decreases, your shower doors may fog up again. To guarantee longevity, follow these steps:
- Clean the surface thoroughly to remove soap scum and residues.
- Dry the area completely for maximum adhesion.
- Apply a fresh layer of hydrophobic solution evenly.
- Allow the coating to cure as per manufacturer instructions.
- Regular maintenance and reapplication help sustain the coating’s effectiveness, especially if your household has a Dog breed that may shed hair or leave residues on surfaces.
Regular reapplication boosts hydrophobic durability, preventing water spots and fogging. Remember, the key to long-lasting results is consistent maintenance. Recoating every few months ensures your shower doors stay clear and water-resistant, saving you time and effort while keeping your bathroom pristine. Proper coating reapplication is your best defense against foggy, streaky glass.
Troubleshooting Common Issues

If you notice persistent fog or cloudiness after applying your hydrophobic coating, it can be frustrating. Sometimes, uneven application or contaminants cause these issues, making it hard to achieve clear results. Proper cleaning and maintenance of the shower door surface before application can significantly improve the coating’s effectiveness. Let’s explore how to identify and fix common problems with applying hydrophobic coatings effectively.
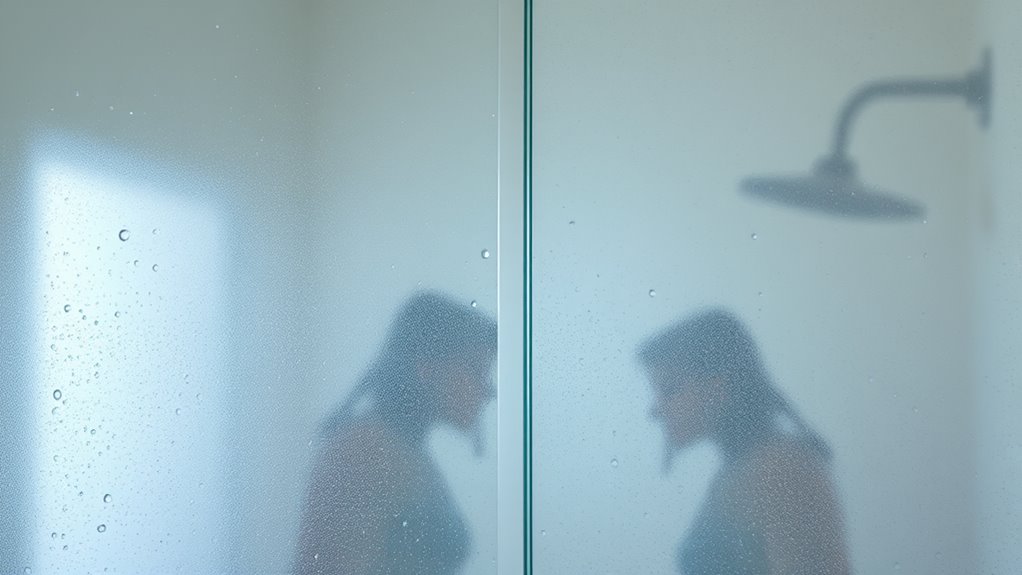
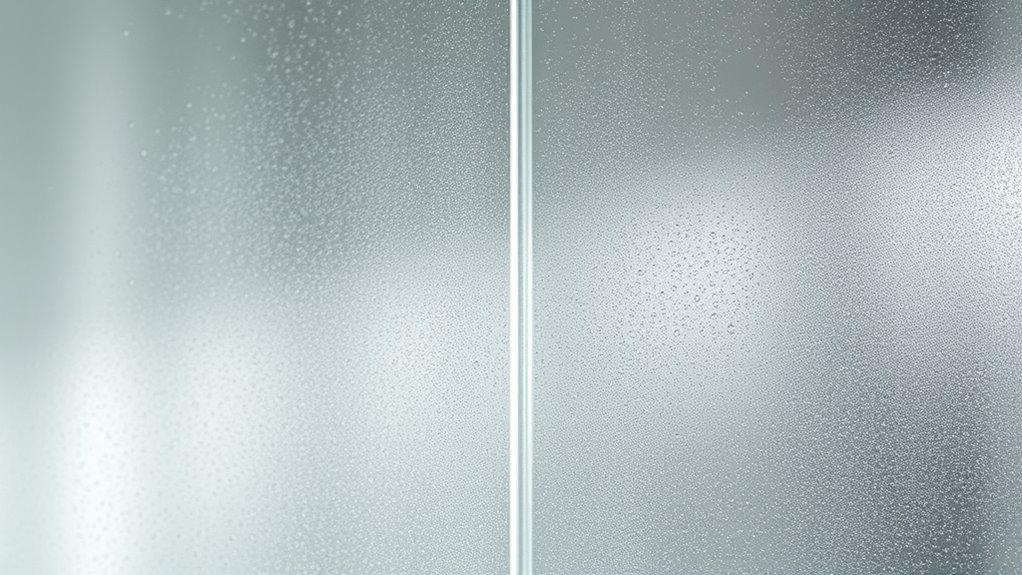
Spotting Persistent Fog
Persistent fog on your hydrophobic surface can be frustrating, but recognizing the signs early helps you troubleshoot effectively. Common indicators include uneven fogging, lingering moisture, visible streaks, and patches that resist cleaning. Steam buildup often causes frequent fog, especially after hot showers, while mineral deposits from hard water can leave stubborn spots that trap moisture. If fog persists despite cleaning, it’s likely due to these deposits or improper application of the hydrophobic coating. You might notice areas where fog recurs quickly or fog that doesn’t clear easily. Addressing these issues involves identifying whether steam or mineral buildup is the culprit. Regular cleaning with vinegar or descaling solutions can reduce mineral deposits, while improving ventilation minimizes steam buildup, helping your surface stay clear longer. Additionally, technological advancements in hydrophobic coatings are improving their resistance to fogging and buildup, making maintenance easier over time.
Applying Hydrophobic Coatings
Applying hydrophobic coatings can sometimes lead to issues if the surface isn’t properly prepared or the application isn’t done correctly. Poor surface cleaning can hinder the coating’s ability to bond, reducing its hydrophobic properties and leading to uneven coverage. Make sure you thoroughly clean the glass, removing soap scum, mineral deposits, and oils. If you don’t, the coating’s durability may suffer, causing it to peel or wear off faster. When applying, use a steady hand and follow the manufacturer’s instructions carefully. Avoid over-application, which can cause streaks or bubbles. Properly prepared surfaces and careful application ensure that the coating maintains its hydrophobic properties longer, providing a clear, fog-resistant shower door. Troubleshooting these issues helps maximize coating durability and effectiveness.
Additional Tips for Keeping Shower Doors Sparkling
Keeping your shower doors sparkling doesn’t have to be a constant battle. Simple habits can make a big difference:
- Improve bathroom ventilation to reduce humidity and prevent soap scum buildup.
- Regularly wipe down doors after each shower to remove excess water.
- Use a squeegee or microfiber cloth to eliminate moisture, reducing fog and streaks.
- Tackle soap scum removal promptly with a vinegar solution or commercial cleaner before it sets in.
These steps help maintain clarity and shine. Proper bathroom ventilation minimizes moisture, lowering the chance of foggy, stained doors. Quick soap scum removal prevents stubborn buildup, making deep cleaning easier. Consistent upkeep keeps your glass looking clear and new, saving you time and effort in the long run.
Frequently Asked Questions
How Long Does the Hydrophobic Coating Last Before Reapplication Is Needed?
The hydrophobic coating typically lasts around 6 to 12 months before you need to reapply. Its coating durability depends on factors like water usage, cleaning habits, and soap buildup. To maintain its effectiveness, you should reapply the coating when you notice water no longer beads or the foggy appearance returns. Regular reapplication ensures your shower doors stay clear and streak-free longer, keeping your glass looking new.
Can I Use This DIY Method on Tinted or Frosted Shower Doors?
You can use this DIY hydrophobic method on tinted glass or frosted finish shower doors, but proceed with caution. Test a small, inconspicuous area first to verify the coating doesn’t affect the appearance or texture. While the coating should work, it might not adhere as well or last as long on these surfaces compared to clear glass. Follow all instructions carefully for best results and avoid damaging the finish.
Is It Safe to Use Household Items for Creating the Coating?
Using household items for creating a hydrophobic coating is like playing chemist in your bathroom—exciting but risky. You might be safe if you stick to common, non-toxic household safety guidelines, but beware of unpredictable chemical reactions. Some ingredients could damage your shower doors or cause harmful fumes. Always research thoroughly, use proper ventilation, and prioritize safety to avoid turning your DIY project into a hazardous experiment.
Will the Coating Affect the Appearance or Color of My Shower Doors?
The coating generally won’t affect the appearance or cause color change of your shower doors if applied correctly. It creates a clear, hydrophobic layer that maintains the original look, so your doors should stay transparent and shiny. However, improper application or using low-quality products might cause a slight appearance impact or uneven finish. To avoid this, follow instructions carefully and choose products suited for glass surfaces.
Are There Any Surfaces or Materials That Should Not Be Treated With This DIY Solution?
You should avoid treating delicate surfaces like natural stone or soft plastics, as the DIY hydrophobic solution might damage or discolor them. Also, steer clear of heat-sensitive materials such as certain adhesives or electronic components, which could be compromised by the chemicals or application process. Always test a small, inconspicuous area first, and follow the manufacturer’s instructions to prevent any unintended damage.
Conclusion
With this DIY hydrophobic trick, your shower doors will stay crystal clear and fog-free for ages—no more scrubbing or endless streaks! Imagine gliding your hand over glass that stays spotless, like magic, turning your bathroom into a sparkling oasis. Say goodbye to foggy nightmares and hello to a shower so pristine, it’s practically a mirror! Just follow these simple steps, and you’ll have the clearest, most dazzling shower doors you’ve ever seen—ready to impress every guest!