
Ensuring proper curing and moisture control after pouring concrete is key to a durable tile surface. You should start curing within a few hours and keep the concrete moist for at least a week, using plastic covers or curing compounds. Monitor moisture levels regularly with testing tools, and control the environment with proper ventilation and temperature. Address any signs of excess moisture early to prevent issues. Keep going to discover more tips for a perfect tile installation.
Key Takeaways
- Begin curing within hours of pouring and maintain moisture for at least 7 days to ensure concrete strength.
- Use appropriate moisture barriers like polyethylene or liquid membranes based on environment and surface needs.
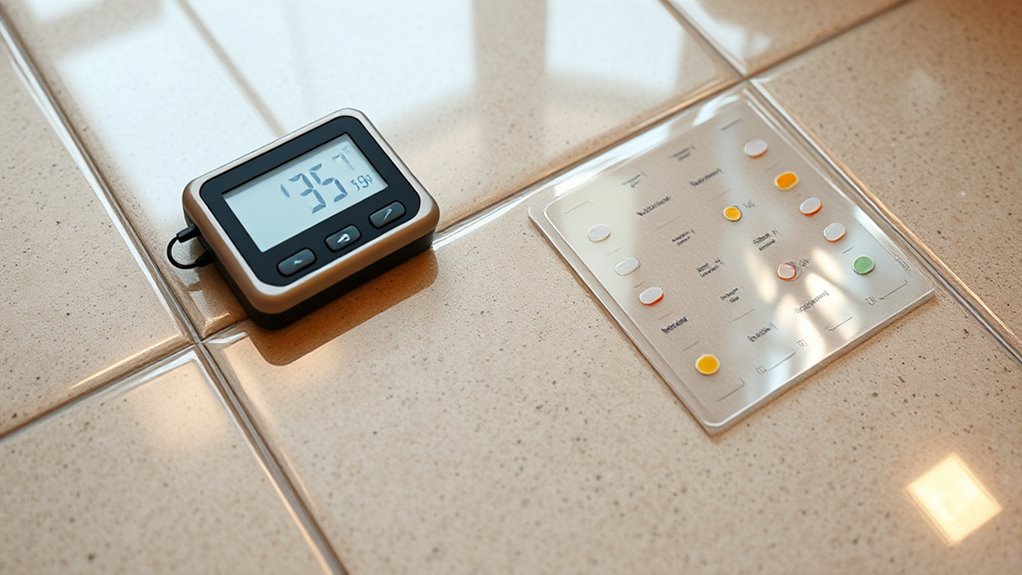
- Regularly test substrate moisture with pinless or pin-type meters during curing to detect early moisture issues.
- Control environmental conditions—maintain 50-85°F and 40-60% humidity—to promote even curing and prevent surface flaws.
- Ensure tiles and grout are fully dry before exposure, and perform ongoing maintenance to prevent moisture-related damage.
Understanding the Importance of Proper Curing
Proper curing is essential to make certain the strength and durability of your concrete. When you properly cure, it allows moisture to stay in the concrete, enabling the chemical reactions that strengthen it over time. Without adequate curing, your concrete can crack, weaken, or develop surface flaws. You need to keep the surface moist and at the right temperature during the initial days after pouring. This process ensures the cement particles hydrate fully, resulting in a solid, long-lasting surface. Additionally, understanding the importance of proper curing techniques can help prevent common issues like surface cracking and uneven curing. Skipping or rushing curing can compromise your project, leading to costly repairs or replacements later. By understanding why proper curing matters, you set the foundation for a resilient, high-quality surface that will stand the test of time.
Timing Your Post-Pour Curing Process
Once you’ve poured the concrete, timing your curing process correctly becomes essential to achieving the desired strength and durability. You should begin curing as soon as the surface is manageable, typically within a few hours after pouring. Avoid letting the concrete dry out too quickly, which can cause cracking. Depending on weather conditions, you might need to keep it moist for at least 7 days for standard concrete or longer for high-strength mixes. During this period, consistent moisture is key—covering the surface with plastic or applying curing compounds can help. Don’t rush the process; premature drying or curing delays can compromise the concrete’s integrity. Proper timing ensures the concrete reaches ideal strength, providing a solid base for your tile installation. Additionally, understanding the timing of moisture retention can improve the overall curing effectiveness.
Choosing the Right Moisture Barriers and Barriers Types

Selecting the right moisture barrier is essential to prevent water vapor from penetrating the concrete and damaging your tile installation. Your choice depends on the moisture levels and environment. Here are common barrier types:
| Barrier Type | Ideal Use | Benefits |
|---|---|---|
| Polyethylene Sheets | High moisture areas, basements | Cost-effective, easy to install |
| Liquid Membranes | Complex surfaces, cracks | Flexible, seamless |
| Vapor Retarders | Indoor spaces with moderate moisture | Prevent vapor transmission |
Consider your project’s specific needs—whether it’s waterproofing, crack resistance, or cost. Properly choosing and installing the right barrier safeguards your tile for the long run. Ensuring the barrier’s compatibility with lifestyle considerations can also enhance durability and ease of maintenance.
Techniques for Moisture Testing and Monitoring
Choosing the right moisture meter is vital for accurate testing, and understanding how to monitor moisture levels over time helps guarantee a proper cure. You need reliable tools and a plan for ongoing checks to catch any issues early. Regularly inspecting the moisture levels and performing necessary adjustments ensures the longevity and quality of your tile installation. Let’s explore the best techniques to keep moisture levels in check throughout your project.
Moisture Meter Selection
When it comes to monitoring moisture levels effectively, selecting the right moisture meter is essential. You need a device that provides accurate, reliable readings suited to your specific substrate. Pin-type meters are ideal for measuring deep moisture content in concrete slabs, while pinless meters offer quick, non-destructive scans of larger areas, ideal for initial assessments. Consider the meter’s measurement range; ensure it covers the moisture levels typical for your project. Ease of use is also important—look for a device with clear displays and simple calibration. Durability matters too, especially if you’ll be working in harsh environments. Investing in a high-quality moisture meter tailored to your needs guarantees accurate readings, helping you make confident decisions and prevent moisture-related issues down the line. Additionally, understanding moisture testing techniques can further enhance your ability to assess and monitor moisture levels accurately.
Ongoing Moisture Monitoring
Once you’ve selected the right moisture meter, maintaining ongoing moisture monitoring guarantees your project stays on track. Regular testing during curing helps catch moisture issues early, preventing tile failures. Use your meter to check substrate moisture levels at different stages—initially after pouring, midway through curing, and just before tile installation. Keep detailed records of each reading to identify trends or spikes in moisture. Consider using non-destructive methods like relative humidity probes or moisture sensors embedded in the substrate. Consistent monitoring guarantees the substrate remains within acceptable moisture limits, reducing the risk of bond failure or tile damage. Refer to proper storage methods to ensure the integrity of your materials during the process. Make this process part of your routine until the substrate reaches the specified moisture level, securing a solid foundation for your tile installation.
Proper Ventilation and Climate Control During Curing
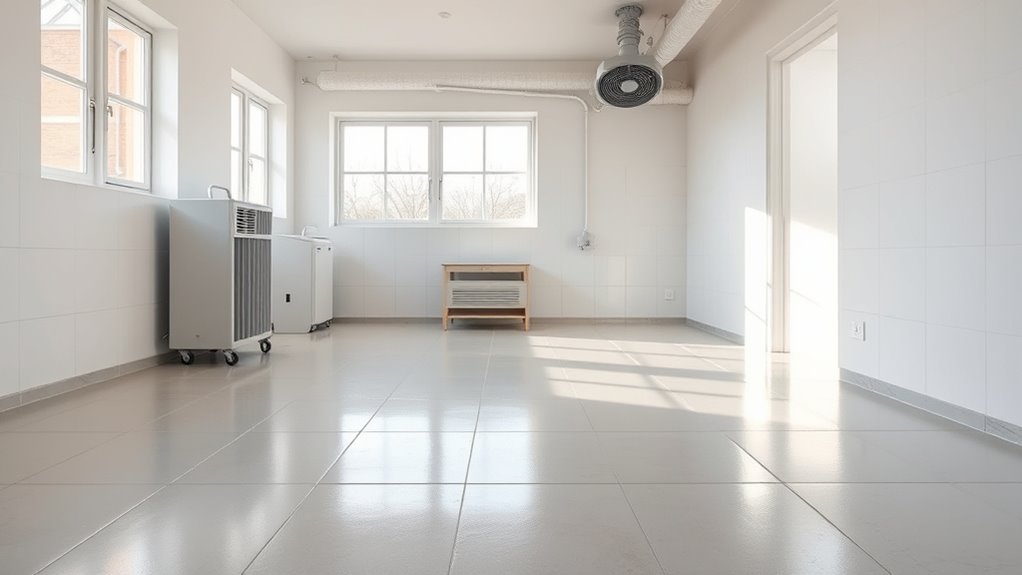
Proper ventilation and climate control are essential to guarantee your concrete cures evenly and gains strength as intended. Without proper airflow, moisture can linger, leading to uneven curing or surface defects. Keep the environment between 50-85°F (10-29°C) and maintain humidity levels around 40-60%. Use fans or open windows to promote air circulation, but avoid direct drafts on fresh concrete. A controlled climate prevents rapid drying or excessive moisture retention. Here’s a quick visual:
| Temperature Range | Humidity Level | Ventilation Method |
|---|---|---|
| 50-70°F | 40-50% | Gentle fans, natural airflow |
| 70-85°F | 50-60% | Exhaust fans, open windows |
| Below 50°F | N/A | Avoid curing below 50°F |
| Above 85°F | N/A | Use cooling measures |
| High Humidity | 60-80% | Dehumidifiers or ventilation |
Proper climate control ensures a strong, durable, and beautifully cured surface.
Step-by-Step Guide to Cleaning and Sealing Grout
After your concrete has fully cured and moisture levels are stable, it’s time to focus on maintaining its appearance and durability. Begin by thoroughly cleaning your grout to remove dirt, stains, and debris. Use a pH-neutral grout cleaner and a soft brush or sponge, avoiding harsh chemicals that could damage the grout or tile. Rinse well with clean water and dry with a clean cloth. Once the grout is clean, wait at least 48 hours before applying a sealant. Choose a high-quality penetrating or surface sealer suitable for your grout type. Use a brush or applicator bottle to apply the sealer evenly, ensuring all grout lines are covered. Wipe away excess to prevent haze or buildup. Proper cleaning and sealing protect against moisture penetration, stains, and wear. Additionally, understanding the importance of sealant types can help you select the most effective product for your specific needs.
Recognizing Signs of Excess Moisture or Improper Curing
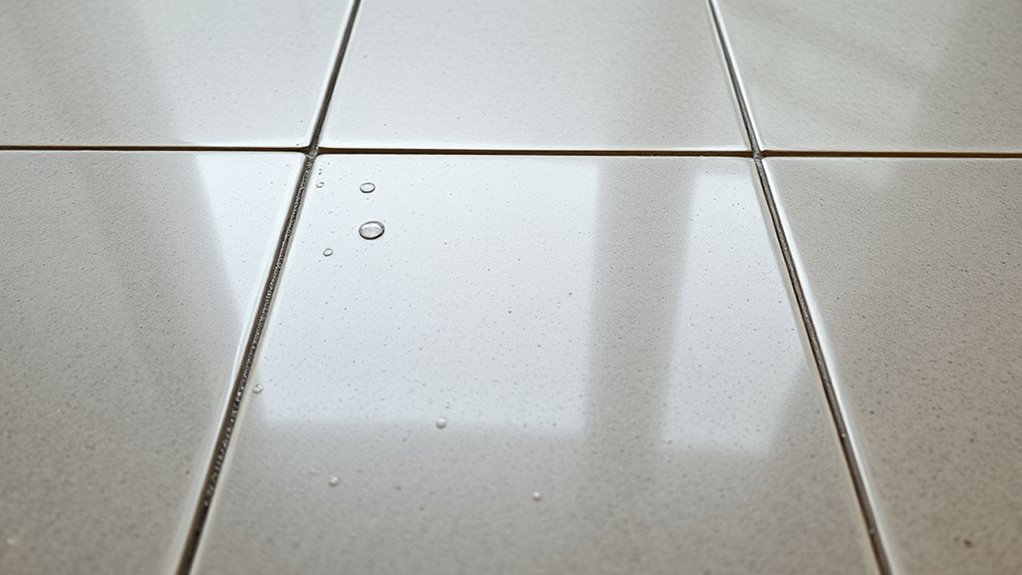
You should watch for an uneven tile surface, which can indicate improper curing or excess moisture. Persistent stains or water marks that won’t go away are also signs something’s off. Recognizing these issues early helps prevent long-term damage and guarantees a proper finish. Additionally, monitoring for excess moisture detection methods can help identify underlying problems before they worsen.
Uneven Tile Surface
Uneven tile surfaces often signal issues with moisture or curing processes. If you notice tiles are not level or have dips, it’s a clear sign that excess moisture may be affecting the setting. Improper curing can cause tiles to shift or settle unevenly, leading to an inconsistent surface. You might see these irregularities shortly after installation or once the adhesive starts to settle. Sometimes, moisture trapped underneath the tiles causes them to lift or create a wavy appearance. Addressing this early is vital to prevent further damage. Carefully inspect the tiles for gaps or height differences. If you suspect moisture issues, avoid walking on or applying additional weight until you resolve the underlying problem, ensuring your tile surface remains smooth and durable. Proper installation techniques and adequate curing time are essential for a long-lasting, even tile surface.
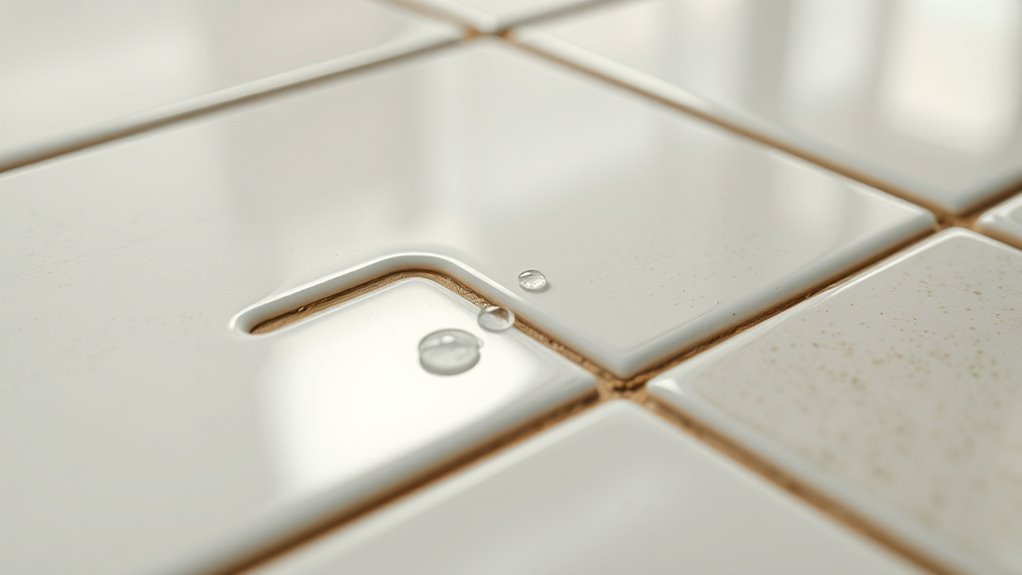
Persistent Moisture Stains
Have you noticed persistent stains on your tiles that won’t go away? These spots often indicate excess moisture or improper curing. Recognizing the signs early helps prevent long-term damage.
Consider these indicators:
- Discoloration or dark patches that stay even after cleaning.
- Mildew or mold growth appearing in grout lines or corners.
- Peeling or bubbling of sealant or surface coatings.
- Spongy or soft spots in the tile or substrate when pressed.
- Regularly monitoring the air quality in your space can help identify hidden moisture issues before they cause visible damage.
If you observe any of these signs, it suggests moisture is trapped beneath the surface. Addressing this promptly ensures your tile installation remains durable and visually appealing. Proper curing and moisture management are essential steps to prevent future staining and damage.
Preventing Common Post-Cure Issues: Cracks, Discoloration, Mold
To prevent common post-cure issues like cracks, discoloration, and mold, proper moisture management is essential. Confirm your tiles and grout are fully dry before exposing them to moisture or heavy use. Use dehumidifiers or fans to maintain low humidity levels during and after curing, especially in humid environments. Avoid rapid temperature changes that can cause expansion or contraction, leading to cracks. When cleaning, use non-abrasive, pH-neutral products to prevent discoloration and mold growth. Regularly inspect for signs of moisture intrusion or damage, and address issues promptly. Proper ventilation helps keep moisture out of the substrate and grout lines, reducing the risk of mold. Following these steps helps maintain the integrity and appearance of your tile installation long-term.
Best Practices for Maintaining Tile and Grout Durability
Maintaining tile and grout durability requires consistent care and proper techniques. First, regularly clean your tiled surfaces with a gentle, pH-neutral cleaner to prevent dirt buildup that can cause discoloration. Second, seal grout lines at least once a year to protect against moisture and staining. Third, avoid using harsh chemicals or abrasive tools that can scratch tiles or erode grout. Fourth, promptly wipe spills and excess water to minimize moisture infiltration, which can weaken the grout and tile bonds. By adhering to these practices, you preserve the integrity of your tile installation and extend its lifespan. Consistent maintenance not only keeps your space looking fresh but also prevents costly repairs caused by neglect.
Tips for Long-Term Moisture Management in Tiled Spaces
Effective long-term moisture management in tiled spaces requires proactive strategies to prevent water infiltration and damage. First, guarantee proper sealing of grout lines with high-quality, water-resistant sealers. Regularly inspect and reapply sealant as needed to maintain its effectiveness. Ventilation is vital; install exhaust fans or open windows to reduce humidity and promote airflow. Use moisture-resistant materials for areas prone to water exposure, like bathrooms and kitchens. Address leaks immediately to prevent water from seeping behind tiles or into the substrate. Keep surfaces clean and dry, avoiding standing water that can weaken grout and tile bonds over time. By staying vigilant and maintaining these practices, you’ll protect your tiled spaces from moisture-related issues for years to come.
Frequently Asked Questions
How Long Should I Wait Before Walking on Newly Cured Tiles?
You should wait at least 24 to 48 hours before walking on your newly cured tiles. This allows the adhesive and grout to set properly, ensuring your tiles don’t shift or crack. If you’ve used a thicker layer or a challenging material, wait closer to 72 hours. Always check the manufacturer’s recommendations, and avoid heavy foot traffic until you’re certain the surface is fully hardened and moisture levels are stable.
Can Improper Curing Cause Long-Term Structural Damage?
Yes, improper curing can cause long-term structural damage. When concrete or tile materials don’t cure properly, they may develop cracks, weaken, or become more susceptible to moisture infiltration. This can compromise the stability of the entire structure over time. To avoid this, make certain you follow recommended curing times and methods, like keeping surfaces moist and protected from rapid drying, to maintain strength and durability in the long run.
What Are the Best Products for Sealing Cured Grout?
You should choose a high-quality penetrating sealer, like a silicone or fluoropolymer-based product, to protect your cured grout. These sealers infiltrate the grout’s surface, blocking moisture and stains effectively. Make sure the product is compatible with grout and follow the manufacturer’s instructions for application and curing times. Regular resealing, typically every 1-2 years, maintains the barrier, keeping your grout looking fresh and preventing long-term damage.
How Often Should Moisture Levels Be Checked During Curing?
You should check moisture levels daily during curing to guarantee ideal conditions. Use a moisture meter to get accurate readings at different spots, especially in areas prone to humidity or temperature fluctuations. Consistent monitoring helps you catch issues early, preventing problems like grout cracking or mold growth. By staying vigilant and maintaining proper moisture, you ensure your tile installation cures properly, resulting in a durable, professional finish.
Are There Eco-Friendly Moisture Barriers Available?
Yes, eco-friendly moisture barriers are available. You can choose options like polyethylene sheets made from recycled materials or bio-based membranes derived from natural substances. These barriers effectively control moisture while reducing environmental impact. Look for products labeled as eco-friendly or sustainable. By selecting these, you help protect the environment without compromising the quality of your tile installation. Always check product details to guarantee they meet your project’s moisture control needs.
Conclusion
By paying close attention to curing and moisture management, you’re laying a solid foundation for stunning, long-lasting tile. Think of proper curing as watering a delicate plant—you nurture it carefully to ensure it thrives. With the right techniques, you’ll prevent issues like cracks or mold from sneaking in, keeping your tiled space beautiful and durable for years to come. Mastering moisture control is your secret weapon for a flawless, enduring finish.