
To fix a faulty mixer yourself, start by checking the power supply—ensure it’s plugged in properly, test the outlet, and inspect the cord for damage. Next, examine the switches and controls for looseness or sticking, replacing any faulty parts. If the mixer overheats, let it cool down and clear vents of dust. For drive issues, remove and clean attachments and inspect the drive mechanism. Continuing with these steps can help you troubleshoot common problems effectively.
Key Takeaways
- Check the power supply, outlet, and power cord for damage or tripping circuits.
- Inspect and test switches and controls for proper operation and smooth movement.
- Allow the mixer to cool down and clear debris around vents to prevent overheating.
- Remove, clean, and reattach attachments, and inspect the drive mechanism for damage.
- Consult the user manual and reset circuits if issues persist; seek professional help for complex repairs.
Have you ever struggled with a mixer that suddenly stops working or doesn’t operate smoothly? It can be frustrating, especially when you’re in the middle of a recipe. The good news is, many mixer issues are simple to diagnose and fix with a little troubleshooting. When it comes to kitchen appliances, understanding common problems and how to troubleshoot them can save you time and money. Before rushing to replace your mixer, try these troubleshooting tips to identify and resolve the issue yourself.
First, ensure the mixer is properly plugged in and the power source is functioning. Sometimes, the problem is as simple as a loose connection or a blown fuse. Check the outlet with another device to confirm it’s working. If the outlet is fine, inspect the power cord for any visible damage. If you notice frayed wires or cuts, replacing the cord might be necessary, or consider consulting a professional.
Always check the outlet and power cord for damage before troubleshooting your mixer.
Next, examine the mixer’s controls and switch. Sometimes, the speed control or on/off switch can become stuck or faulty. Turn off the appliance, unplug it, and gently move the switch back and forth to see if it’s stuck or loose. If the switch feels loose or doesn’t click properly, replacing it could restore functionality. Be cautious and ensure you’re comfortable working with electrical components, or seek professional help to avoid risks.
Another common issue is overheating. Mixers can overheat if used continuously for too long or if they’re clogged with debris. Allow the mixer to cool down for at least 15-30 minutes before trying again. While it’s cooling, check for any obstructions or buildup around the motor vents. Clearing dust or debris can improve airflow and prevent overheating in the future. Additionally, proper airflow around the unit is essential for maintaining overall air purifier maintenance dos and don’ts, which helps prevent overheating and prolongs the lifespan of the appliance.
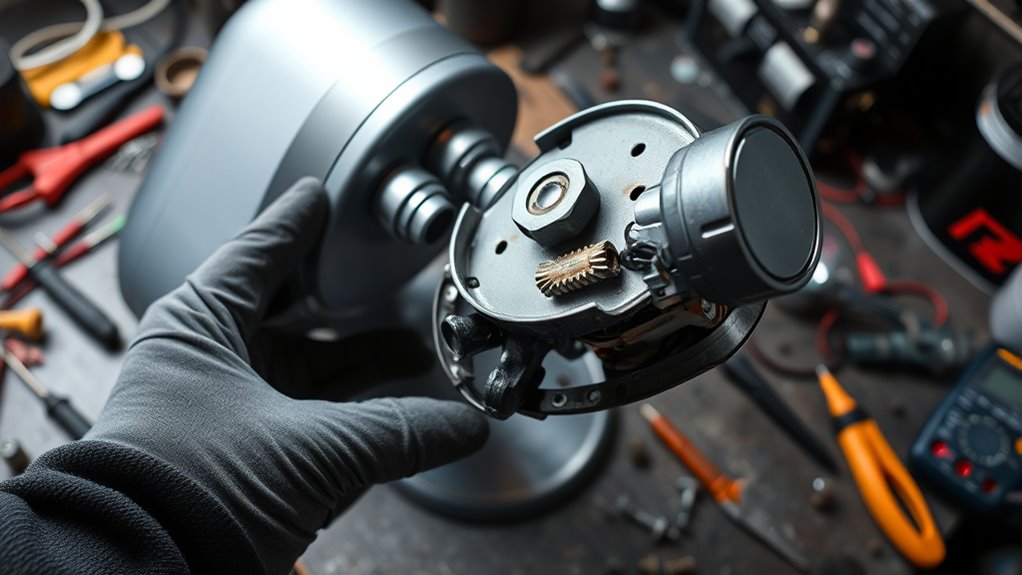
If your mixer isn’t spinning or blending properly, the problem might be with the attachments or the drive mechanism. Remove the beaters or blades and inspect them for damage or buildup. Clean the attachments thoroughly and reattach them securely. Also, check the drive shaft inside the mixer head for any broken or worn parts. If the drive mechanism is damaged, it may require professional repair or replacement of specific parts.
Finally, if your mixer isn’t working despite these steps, consult the user manual for specific troubleshooting tips relevant to your model. Sometimes, resetting the appliance or resetting circuit breakers in your home can resolve hidden electrical issues. Remember, safety comes first—if you’re unsure or uncomfortable working with electrical components, don’t hesitate to contact a qualified technician. With patience and careful inspection, many mixer problems can be fixed at home, extending the life of your kitchen appliances and keeping your cooking smooth and enjoyable.
Frequently Asked Questions
How Do I Identify if the Motor Is Faulty?
You can identify if the motor is faulty by performing motor testing with a multimeter to check for continuity and proper resistance levels. Look for fault symptoms like unusual noises, inconsistent speeds, or the mixer not turning on at all. If the motor doesn’t respond to testing or exhibits these issues, it’s likely defective. Address these signs quickly to prevent further damage and ensure your mixer runs smoothly again.
Can I Replace Mixer Parts Myself Safely?
You can definitely replace mixer parts yourself, but safety precautions are essential to avoid disaster. Before starting, unplug the mixer and wear protective gear. Use authentic replacement parts to guarantee proper fit and function. Follow manufacturer instructions carefully, and if you’re unsure, consult online tutorials or a professional. Doing it right keeps you safe and your mixer working like new—no need to face a kitchen catastrophe!
What Tools Are Needed for Mixer Repair?
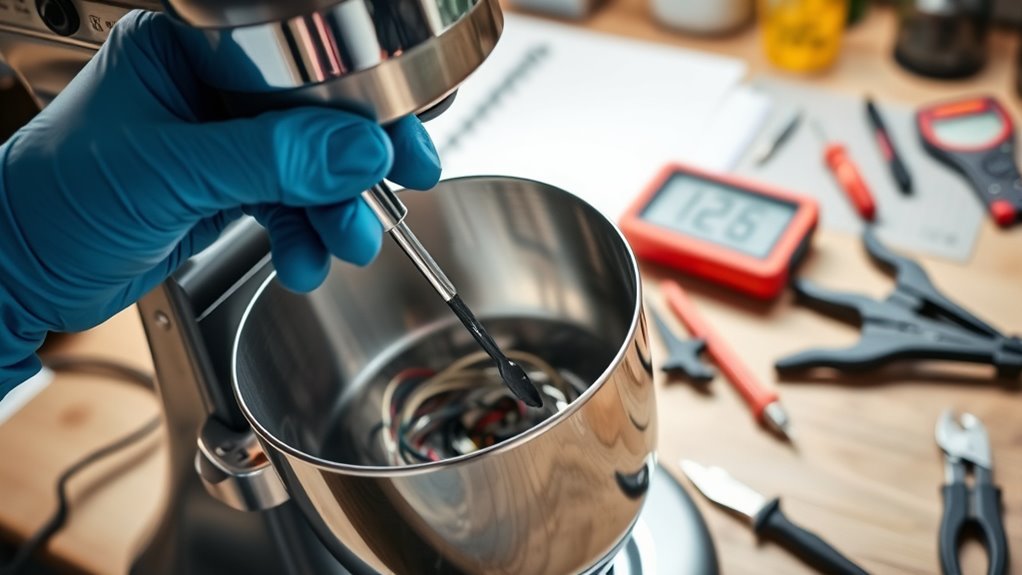
You’ll need basic electrical tools like screwdrivers, pliers, and a multimeter to repair your mixer safely. Make sure to unplug the device before starting, and wear insulated gloves for safety. A small socket set can help remove stubborn parts, while a soldering iron may be necessary for electrical repairs. Always follow safety precautions, and double-check connections before powering up again to prevent accidents.
How Long Does a Typical Mixer Repair Take?
A typical mixer repair can take anywhere from 30 minutes to a few hours, depending on the problem. As you work, you might notice strange mixer noise or speed issues that slow you down. The suspense builds as you diagnose whether it’s a loose belt, worn-out motor, or faulty wiring. Stay focused, and you’ll have your mixer running smoothly again, often faster than you think.
When Should I Consider Professional Repair Instead of DIY?
You should consider professional repair if you’re unsure about safety precautions or if attempting DIY could void your warranty. If your mixer has complex electrical issues or stubborn mechanical problems, it’s safer to rely on experts. Trying to fix it yourself might cause further damage or pose safety risks. Always check warranty implications before proceeding, and when in doubt, consulting a professional guarantees your mixer gets proper care without risking safety or warranty coverage.
Conclusion
So, next time your mixer decides to act up, remember—it’s probably just throwing a tantrum. Who knew a simple device could cause such drama? With a little DIY magic, you can tame that temper and save yourself a trip to the repair shop. After all, it’s just a faulty mixer, not a broken heart. Happy fixing, and don’t forget—sometimes the tiniest tweak makes the biggest difference!