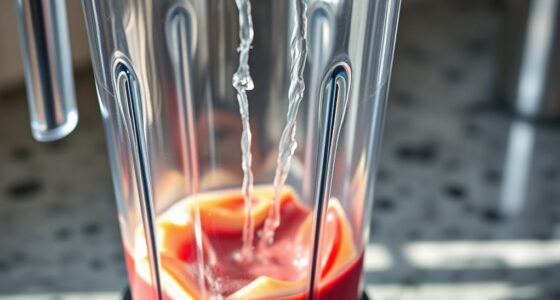
To dehydrate like a pro, you need to understand how your food dehydrator circulates warm air evenly to dry foods without cooking them. Choose a model that fits your batch size and features adjustable temperatures and timers for different foods. Prepare produce by washing, slicing uniformly, and organizing trays properly. Always maintain safe temperatures, monitor humidity, and store dried items in airtight containers in cool, dark places. Keep learning and refining your technique for perfect results every time.
Key Takeaways
- Ensure even drying by arranging food in a single layer and rotating trays regularly.
- Maintain proper temperature (125°F–135°F) and monitor drying times to preserve flavor and nutrients.
- Choose the right dehydrator size and features based on your batch size and drying preferences.
- Prepare fruits, vegetables, and herbs thoroughly, using uniform cuts and clean, fresh produce for best results.
- Store dried foods in airtight, dark containers with moisture absorbers to prolong shelf life and prevent spoilage.
How Food Dehydrators Work
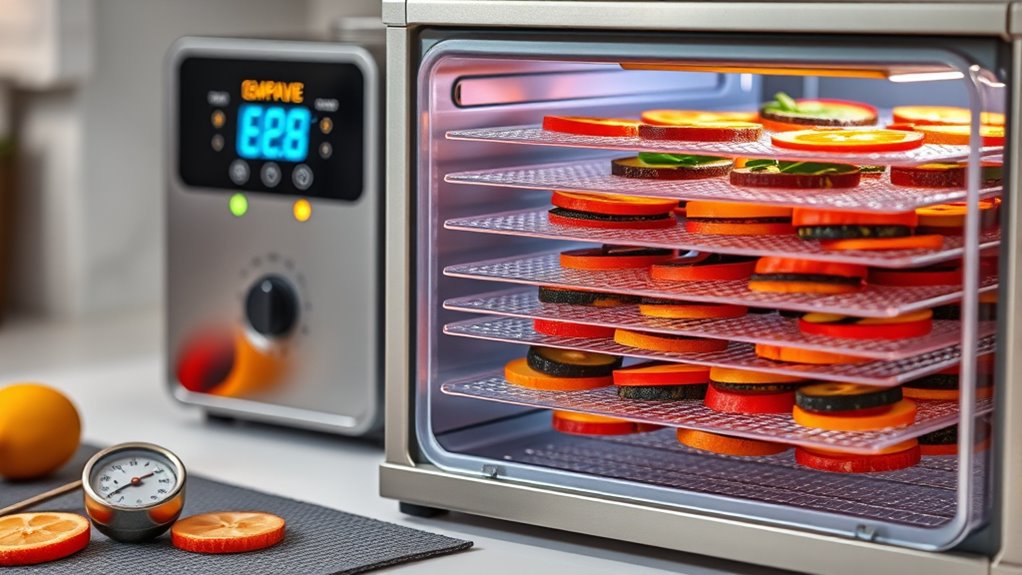
Food dehydrators work by circulating warm air around your food to remove moisture efficiently. The airflow mechanics are designed to guarantee even distribution of air across all trays, preventing uneven drying. This is achieved through a fan that pulls in air, which then passes over the heating elements to warm it up. The heating elements are responsible for generating consistent heat, which helps accelerate the dehydration process without cooking the food. As the heated air flows through the unit, it absorbs moisture from the food, evaporating water content. Good airflow mechanics and reliable heating elements work together to maintain a steady temperature and airflow, ensuring your food dries uniformly and retains its flavor and nutrients. Proper design of these components is key to effective dehydration.
Choosing the Right Dehydrator for Your Needs

When selecting a dehydrator, consider how much space you need and how many batches you’ll process at once. Look for features and settings that match your drying preferences and the types of foods you plan to preserve. Making the right choice guarantees your dehydrator fits your needs without unnecessary extras. Additionally, understanding different dehydration techniques can help you choose a model that supports your preferred methods.
Size and Capacity
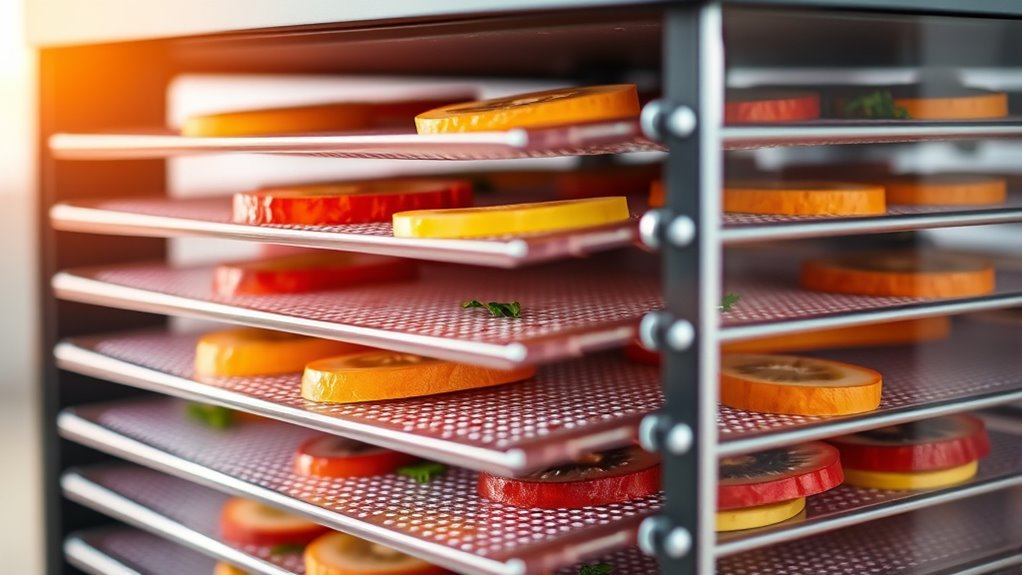
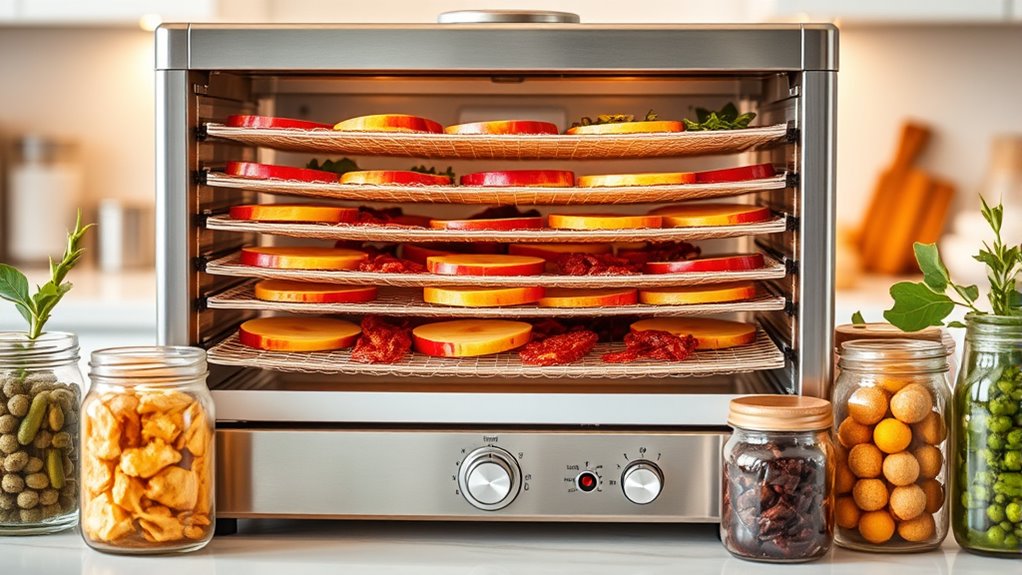
Choosing the right dehydrator size depends on how much you plan to process at once. If you often make large batches of fruit, herbs, or jerky, you’ll want a dehydrator with bigger capacity. Consider the dehydrator dimensions and how they fit your space and batch sizes. Smaller units are perfect for occasional use or small quantities, while larger models handle bigger loads efficiently. Think about your typical batch sizes and how frequently you’ll dehydrate. A compact dehydrator might have 4 to 6 trays, ideal for small projects. Larger models can have 12 or more trays, suitable for serious dehydration work. Keep in mind, bigger dehydrators may take up more counter or storage space but save time when processing large batches. Additionally, selecting a size that aligns with your organization and storage capacity can help maintain an efficient dehydrating process. Choose a size that matches your needs without sacrificing convenience.
Features and Settings
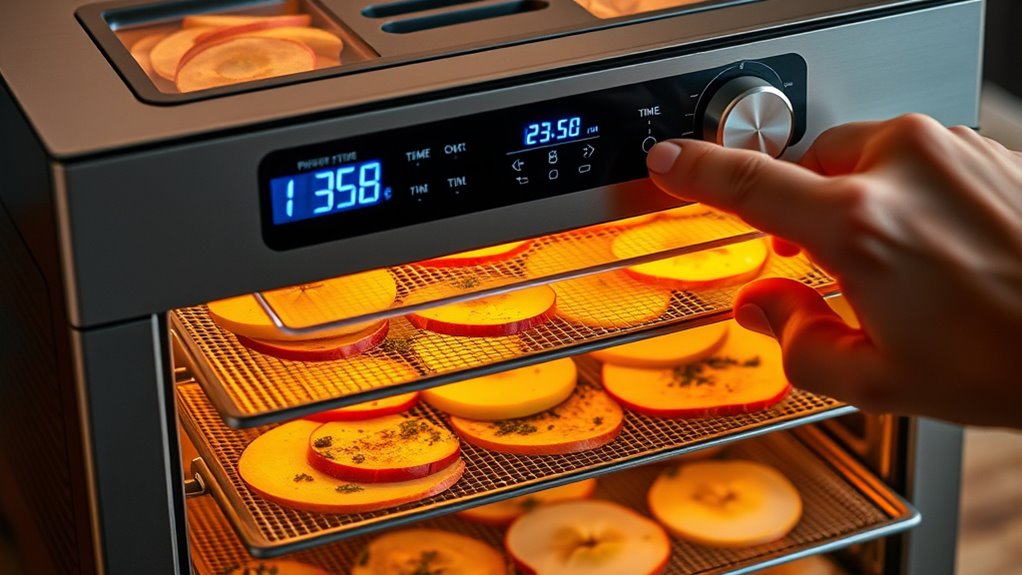
Features and settings play a crucial role in tailoring your dehydrating experience to your specific needs. Digital controls make it easy to set precise temperatures and timers, giving you more control over the drying process. Adjustable settings allow you to customize drying times and temperatures for different foods, ensuring ideal results. Look for models with intuitive interfaces so you can quickly select the right options without hassle. Some dehydrators offer preset programs for common items like herbs or jerky, simplifying the process. A dehydrator with versatile features lets you experiment and perfect your recipes. Prioritizing adjustable temperature ranges and user-friendly digital controls ensures you can achieve consistent, high-quality dried foods with less guesswork. Additionally, choosing a dehydrator with easy-to-clean components can save you time and effort during maintenance. Choosing the right features helps you maximize your dehydrator’s potential.
Preparing Fruits, Vegetables, and Herbs for Drying

To get started, choose fresh, ripe produce that’s free from bruises or blemishes. Next, wash everything thoroughly and cut it into uniform pieces for even drying. Proper cleaning and preparation guarantee your fruits, vegetables, and herbs dry evenly and retain their quality. Incorporating automation technologies can also help streamline the preparation process and improve consistency.
Selecting Fresh Produce
Have you ever wondered how the quality of your dried produce depends on selecting the right fresh fruits, vegetables, and herbs? To guarantee the best results, focus on choosing organic produce whenever possible, as it’s free from pesticides and chemicals. Selecting seasonal fruits and vegetables assures peak flavor and freshness, which translates into better drying outcomes. When picking produce, look for:
- Bright, vibrant colors indicating ripeness
- Firm texture without soft spots or bruises
- Fresh aroma, free of mold or sour smells
- Uniform size for even drying
- Leaves and herbs that are lush and fragrant
Making mindful selections at the start sets the foundation for delicious, nutrient-rich dried goods. Properly chosen produce yields superior texture, flavor, and longevity in your dried creations. Additionally, selecting produce free from symptoms of breast cancer ensures that your ingredients are healthy and free from potential contaminants.
Preparing and Cutting
Wondering how to prepare your produce for drying? The key is using proper knife skills and cutting techniques to guarantee even dehydration. Start by selecting a sharp knife and a stable cutting surface. Use consistent cuts to promote uniform drying, whether slicing fruits into rings or chopping herbs finely. For even results, cut thicker pieces into smaller, uniform sizes. Here’s a quick guide:
| Produce Type | Recommended Cut | Thickness |
|---|---|---|
| Fruits | Slices or wedges | ¼ inch |
| Vegetables | Sticks or rounds | ¼-½ inch |
| Herbs | Chopped finely | N/A |
| Berries | Whole or halved | N/A |
Mastering these techniques will help you achieve ideal drying results, preserving flavors and nutrients while preventing uneven moisture removal. Incorporating proper dehydration methods can further optimize the process for the best results.
Proper Cleaning Techniques
Before drying your produce, it is vital to thoroughly clean fruits, vegetables, and herbs to remove dirt, bacteria, and pesticides. Establish a cleaning schedule to guarantee consistent hygiene. Use effective sanitizing methods such as rinsing with cold water, soaking in a vinegar solution, or using a produce wash. Be sure to scrub firm-skinned items gently with a brush, and remove any damaged areas. Dry each item with a clean towel or air dry before slicing. Visualize the process:
- Rinsing under a steady stream of water
- Soaking in a vinegar solution for 5 minutes
- Gently scrubbing with a soft brush
- Removing stems, leaves, or damaged parts
- Patting dry with a clean cloth
Additionally, paying attention to food safety practices ensures your produce is clean, safe, and ready for dehydration.
Setting Temperature and Time for Optimal Results
Setting the right temperature and time is essential for drying food effectively and safely. Proper settings ensure humidity control and energy efficiency, preventing spoilage and saving power. For most fruits and vegetables, set the temperature between 125°F and 135°F, and dry for 6 to 12 hours. Use a timer to avoid over-drying, which wastes energy and can degrade quality. Here’s a quick guide:
| Food Type | Temperature | Approximate Time |
|---|---|---|
| Fruits | 130°F | 8-12 hours |
| Vegetables | 125°F | 6-10 hours |
| Herbs & Spices | 125°F | 2-4 hours |
Adjust based on moisture content and thickness. Proper temperature and time optimize dehydration without sacrificing flavor or nutrients. Additionally, understanding net worth growth hacks can help you invest in quality equipment and resources for better food preservation.
Ensuring Even Drying and Preventing Spoilage
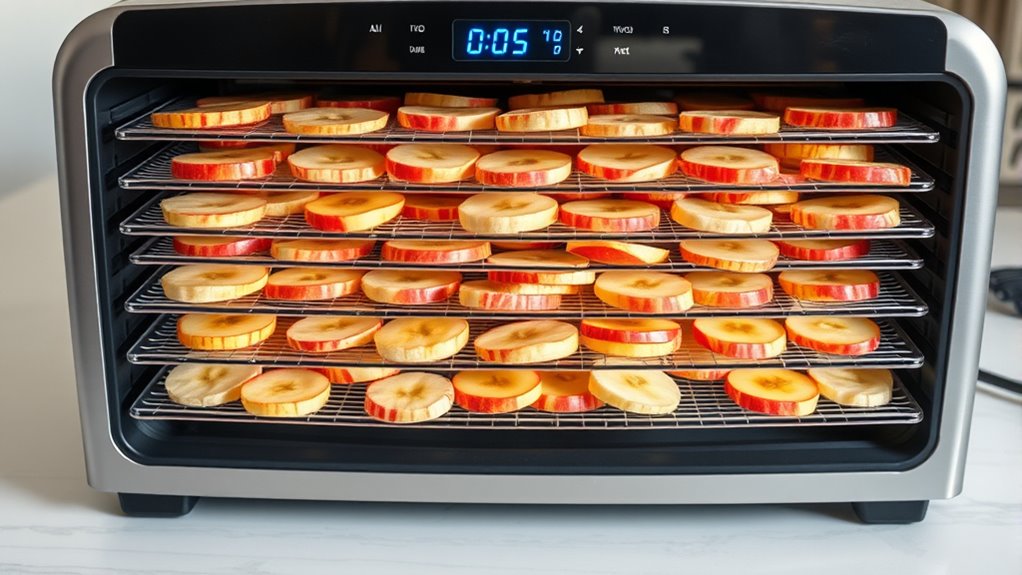
To achieve consistent drying and prevent spoilage, it’s important to focus on airflow and food placement inside your dehydrator. Proper air circulation ensures all items dry evenly, while effective moisture control prevents mold and spoilage. Arrange your food in a single layer, avoiding overlaps that block airflow. Use the following tips to enhance even drying:
Ensure even drying by organizing food in a single layer and maintaining proper airflow inside your dehydrator.
- Space items apart for ideal air circulation
- Rotate trays periodically for uniform moisture removal
- Use mesh sheets to prevent sticking and promote airflow
- Maintain a clean dehydrator to avoid moisture buildup
- Monitor humidity levels to prevent excess moisture retention
- Select a best airless paint sprayer to facilitate quick and efficient projects, reducing the risk of uneven application that could lead to spoilage or waste.
Safety Precautions During the Dehydration Process
Ensuring safety during the dehydration process is essential to prevent accidents and guarantee food quality. You should always follow proper hygiene practices, such as washing your hands thoroughly before handling food and keeping your work area clean. Make sure the food is fresh and free of mold or damage before dehydration, as contaminated or spoiled items can compromise safety. Use a reliable food thermometer to verify that the dehydrator reaches the correct temperatures for each type of food, reducing the risk of bacteria growth. Avoid overcrowding trays, which can hinder proper airflow and uneven drying. Regularly inspect your dehydrator for damage or malfunction, and never leave it unattended during operation. Additionally, understanding the benefits of Glycolic Acid Exfoliating Toner can help you incorporate safe skincare practices into your routine. These precautions help maintain food safety and ensure your dried foods are safe to enjoy.
Storing and Preserving Dried Foods
Proper storage is key to maintaining the quality and safety of your dried foods. To keep them fresh and prevent spoilage, use airtight containers and vacuum sealing to eliminate air exposure. Moisture control is essential—store dried foods in a cool, dark, and dry place to prevent mold and rehydration. Consider these storage visuals:
- Vacuum-sealed bags tightly packed on shelves
- Mason jars filled with dried fruit, labeled clearly
- Airtight containers stacked neatly in a pantry
- Desiccant packets tucked inside storage bins
- Cool, dark drawers keeping foods fresh and safe
- Implementing storage techniques can further extend the shelf life of your dried foods.
Troubleshooting Common Dehydrator Issues

Even with careful storage, dehydrators can sometimes encounter issues that affect the quality of your dried foods. If your dehydrator produces excessive noise, check for loose or misaligned parts, like the fan or motor. Tighten or reposition them as needed. For uneven drying, ensure that food slices are uniformly cut and spaced properly on trays. Rotate trays during the drying process to promote even airflow. Also, verify that the dehydrator’s temperature setting is accurate using a thermometer, as incorrect temps can lead to inconsistent results. Clean the vents and fans regularly to prevent dust buildup, which can cause noise and uneven drying. Regular maintenance and understanding of dehydrator operation can help prevent these issues. Addressing these common issues helps guarantee your dehydration process is smooth, quiet, and produces perfectly dried foods every time.
Frequently Asked Questions
How Long Can Dried Foods Be Stored Safely?
You can usually store dried foods safely for 6 months to a year if kept in airtight containers and cool, dark places. Watch for spoilage indicators like mold, off smells, or discoloration, which signal it’s time to toss them. Proper storage prolongs shelf life, but always check for these signs before consuming. Regularly inspecting your dried foods helps prevent eating spoiled items and ensures your supplies stay fresh longer.
Can I Dehydrate Meats or Dairy Products?
Yes, you can dehydrate meats and dairy products, but you need to follow proper safety guidelines. Dehydrated meats, like jerky, are great for meat preservation when prepared correctly, guaranteeing they reach safe internal temperatures. Dairy shelf life shortens considerably; cheese or yogurt need thorough dehydration and proper storage to prevent spoilage. Keep in mind that meat and dairy require precise handling to avoid bacteria growth and ensure safe, long-lasting results.
What Are the Signs of Spoilage in Dried Foods?
You’ll notice spoilage in dried foods if you see mold growth or detect unusual odors. Mold appears as fuzzy patches or discoloration, indicating microbial activity. Unpleasant or sour smells also signal that the food has gone bad. Always inspect your dried foods carefully before consuming, and if you spot mold or smell something off, it’s safest to discard the item to prevent health risks.
Is It Safe to Use a Damaged or Old Dehydrator?
Using a damaged or old dehydrator is like sailing on a leaky boat—risks increase. You shouldn’t ignore signs of wear, as it can compromise food safety. Prioritize proper dehydrator maintenance to prevent mold, bacteria, and spoilage. If your unit shows cracks, rust, or malfunction, replace it. Always follow food safety precautions, ensuring your dried foods stay safe and delicious, not a health hazard.
How Do I Sanitize My Dehydrator Before Use?
To sanitize your dehydrator before use, start by cleaning all surfaces with warm, soapy water. Rinse thoroughly, then apply a sanitizing solution like a mixture of water and white vinegar or a mild bleach solution. Wipe down all parts, especially trays and vents, and let everything air dry completely. This guarantees you eliminate bacteria and residues, keeping your dehydrated foods safe and your equipment in top condition.
Conclusion
Just like tending a garden, dehydrating food requires patience and attention, but the rewards are worth it. I once tried drying herbs, and seeing them turn crisp and vibrant reminded me that with the right steps, you’re cultivating pantry treasures. By understanding your dehydrator and following safety tips, you’ll turn fresh produce into lasting goodness, just like a pro. Soon, your dried foods will become your go-to snack or ingredient — a tasty harvest all year round.