
To stop leaving streaks with your wet/dry vacuum on hard floors, make sure to adjust the settings for your floor type, use the right attachments, and maintain a steady, gentle pace. Avoid oversaturating the surface or using dirty water, and always dry the floor thoroughly afterward to prevent water spots. Proper technique and equipment care are key. Keep exploring these tips to master streak-free finishes every time.
Key Takeaways
- Use the appropriate vacuum settings and attachments designed for hard floors to prevent streaks.
- Maintain a steady, overlapping cleaning technique to ensure even water and debris removal.
- Ensure water levels are correctly adjusted; avoid oversaturating the surface to prevent streaks.
- Regularly clean and maintain filters, brushes, and tanks for optimal performance.
- Dry floors thoroughly after vacuuming with microfiber cloths or dry mops to prevent water spots and streaks.

Shark VACMOP Cordless Hard Floor Cleaner, Vacuum and Spray Mop, Powerful Suction, Lightweight, LED Headlights, Includes 4 Disposable Pads, 12oz Multi-Surface Cleaning Solution, Gray, VM252
POWERFUL SUCTION MEETS SPRAY MOPPING: Vacuums and locks away debris, then spray mops tough messes— a complete clean…
As an affiliate, we earn on qualifying purchases.
As an affiliate, we earn on qualifying purchases.
How to Achieve Streak-Free Hard Floors With Your Wet/Dry Vacuum
To achieve streak-free hard floors with your wet/dry vacuum, preparing your cleaning process properly is essential. Start by maintaining your vacuum through regular vacuum maintenance; check filters, brushes, and seals to guarantee optimal performance. A well-maintained vacuum prevents dirt from spreading or causing streaks. Establishing consistent cleaning schedules helps avoid dirt buildup that can smudge or scratch your floors. Before cleaning, clear debris and dust from the surface, and ensure the vacuum’s water tank is clean and filled with fresh water. Using a clean, damp cloth or mop attachment prevents dirt from redistributing. Following these steps ensures your floors stay shiny, clean, and streak-free while prolonging the life of your vacuum. Proper preparation turns cleaning into a quick, effective routine.

18" Professional Microfiber Mop Floor Cleaning mop, Flat Mop with Stainless Steel Handle,4 Reusable Washable Mop Pads and mop Pads Brush,Microfiber Mop for Hardwood (18" Microfiber Mop)
【18" Aluminum Mop Head】With it’s large 18 Inch base can cover a lot of areas in a single…
As an affiliate, we earn on qualifying purchases.
As an affiliate, we earn on qualifying purchases.
Choose the Right Vacuum Settings for a Flawless Finish
Have you ever wondered if your vacuum settings are optimized for perfectly clean, streak-free hard floors? Proper vacuum maintenance starts with adjusting the settings to match your floor type. Set your wet/dry vacuum to a low or medium power to prevent streaks and avoid pushing dirt around. Confirm the vacuum’s brush or roller is turned off or set to a soft brush mode to protect sealed floors from scratching. If your floor isn’t well-sealed, use gentler settings to prevent damage and to keep dirt from settling into cracks. Regularly checking and maintaining your vacuum’s settings helps achieve a flawless finish. Additionally, understanding Free Floating and its impact on your flooring can be useful for selecting the right equipment for your home setup. Being aware of proper equipment maintenance ensures your vacuum performs optimally and prolongs its lifespan. Maintaining correct vacuum technique can also help prevent streaks and achieve a more professional-looking clean. Remember, well-maintained equipment and appropriate settings work together to keep your floors looking pristine and streak-free every time. Incorporating appropriate cleaning tools into your routine can further enhance your results and help prevent damage.

Olutacot 4 Pcs Multicolor Extra Large Microfiber Cleaning Cloth 30 x 20 Inch Reusable Thick Cleaning Towel Washable Solid Color Microfiber Towel for Home Office Window Cars Glass
SET PACKAGE – You will receive 4 pieces large microfiber towels in 4 colors,sufficient quantity, enough for you…
As an affiliate, we earn on qualifying purchases.
As an affiliate, we earn on qualifying purchases.
Select the Best Attachments and Tools for Hard Floors

Choosing the right attachments can make cleaning your hard floors much easier. Look for suitable brush attachments that gently but effectively pick up dirt without scratching surfaces. Additionally, effective crevice tools help you reach tight corners and along baseboards with ease. Being aware of early warning signs can also help prevent potential damage caused by improper cleaning techniques. Regularly inspecting your vacuum’s brush roll can ensure it remains effective and safe for your floors. Moreover, selecting appropriate cleaning tools designed specifically for hard surfaces ensures a thorough and safe cleaning process, prolonging the life of your floors. Ensuring your vacuum has adequate power output can also significantly improve cleaning efficiency on hard floors, reducing streaks and residue.
Suitable Brush Attachments
Selecting the right brush attachments can make a significant difference when cleaning hard floors, as they help loosen dirt without scratching the surface. Look for brushes designed specifically for hard floors, ensuring compatibility with your vacuum’s brush compatibility. A soft-bristled brush can gently lift debris without leaving streaks. Proper attachment storage keeps your tools organized and accessible, preventing damage. Additionally, choosing appropriate measurement tools can help you monitor and maintain optimal cleaning conditions for your floors. Regularly inspecting your vacuum brush settings ensures consistent performance and prevents unnecessary wear. Using proper brush alignment can also improve cleaning efficiency and prolong the lifespan of your vacuum. For optimal performance, consider top-rated gaming gear that enhances your cleaning experience and efficiency. Incorporating regular maintenance routines can help ensure your vacuum operates at peak performance over time.
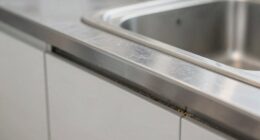
Effective Crevice Tools
Are you making the most of your crevice tools when cleaning hard floors? Effective crevice tools help you reach tight corners, along baseboards, and around furniture without disturbing your vacuum’s vacuum filtration system. To maximize their efficiency, choose a tool with a narrow, flexible design that easily maneuvers into tight spots. Good cord management is essential; a tangled cord can limit your reach and cause frustration. Keep your vacuum’s cord organized to ensure consistent suction and prevent damage, which helps maintain excellent vacuum filtration. Using the right crevice tools minimizes streaks and debris left behind, giving your hard floors a thorough clean. Properly selected attachments and careful cord handling make your vacuuming quicker, easier, and more effective. Additionally, understanding vacuum maintenance techniques can prolong the life of your appliance and ensure it performs optimally over time. Regularly inspecting your attachments and cleaning filters will also contribute to better cleaning results and extend your vacuum’s lifespan. Incorporating attachment tips that focus on efficient cleaning can further enhance your cleaning efficiency and reduce streaks. Paying attention to proper storage of your tools can also help preserve their effectiveness and make your cleaning routine smoother.

WORKSHOP Wet/Dry Vacs Shop Vacuum Accessories WS12502A Crevice Tool Attachment for Wet Dry Vacuum Cleaners, Fits 1-1/4-inch Extension Wands and Hoses
A wet dry vacuum crevice tool lets a user gets into tight spaces
As an affiliate, we earn on qualifying purchases.
As an affiliate, we earn on qualifying purchases.
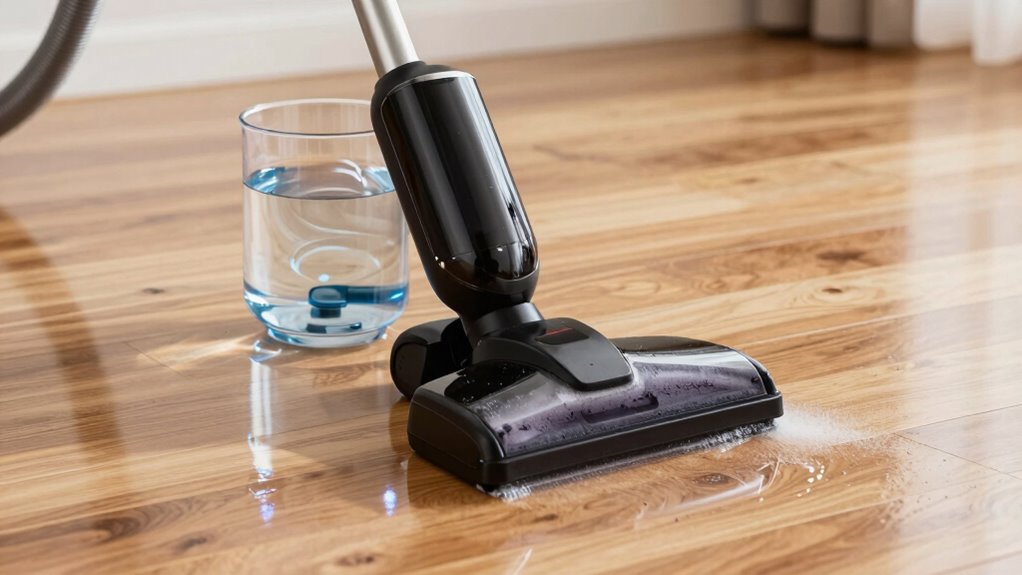
Use Proper Technique to Prevent Streaks and Water Spots

To keep your floors looking spotless, maintain a steady pace while cleaning. Be sure to use the right water level and overlap your passes carefully to avoid streaks. These simple techniques help prevent water spots and guarantee a professional finish. For added security, consider integrating smart locks into your home to protect your space while you clean. Additionally, choosing a vetted vacuum with adjustable settings can further enhance your cleaning results. Remember, proper water extraction techniques are essential for effectively drying your floors and preventing damage. Optimizing your engine feel and ensuring your equipment operates smoothly can also contribute to achieving a streak-free, spotless shine.
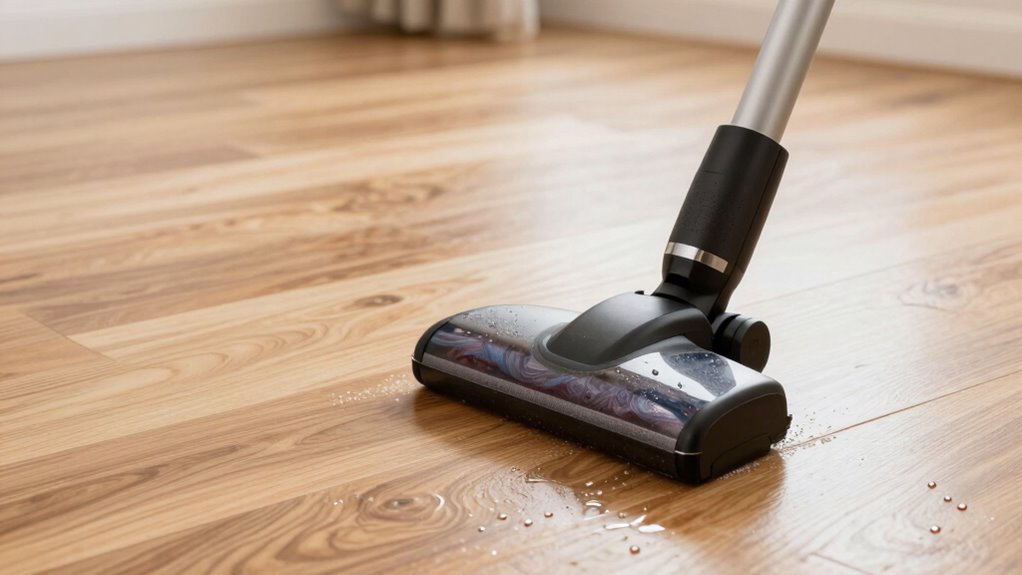
Maintain Consistent Speed
Maintaining a steady, consistent speed while vacuuming is essential to achieving a streak-free and spotless finish on hard floors. When you keep your pace uniform, you ensure better speed consistency, which helps prevent uneven cleaning and water spots. Controlling your pressure is equally important; press too hard, and you risk pushing water or debris around, creating streaks. Move the vacuum at a steady rhythm, neither rushing nor lingering in one spot. Focus on smooth, even strokes to allow the vacuum to pick up water and dirt efficiently. Consistent speed and pressure control work together to produce a professional-looking finish, leaving your floors clean and streak-free without causing damage or leaving behind water marks.
Use Adequate Water Levels
Using the right amount of water is essential for preventing streaks and water spots on hard floors. If you use too much water, it can leave behind streaks or cause water spots, while too little may reduce cleaning effectiveness. Adjust the water levels on your vacuum to match the floor’s needs, ensuring the water is sufficient to loosen dirt without oversaturating. Proper vacuum pressure also plays a role—too high pressure can push excess water into seams and crevices, increasing streaking, while too low might not clean effectively. Regularly check and adjust both water levels and vacuum pressure during your cleaning to maintain *ideal* results and prevent unsightly streaks or water spots.
Overlap Passes Carefully
Careful overlap passes are key to avoiding streaks and water spots when cleaning hard floors. Maintain a consistent vacuum height to ensure even coverage and prevent excess water accumulation. Overlapping each pass by about a third helps avoid missed spots and uneven streaks. Keep noise levels in check to stay aware of your movements and avoid rushing, which can cause uneven cleaning. Adjust your vacuum’s height for different floor types to optimize water pickup and minimize water spots.
| Overlap Percentage | Vacuum Height | Noise Levels |
|---|---|---|
| 25% | Slightly higher | Keep steady, moderate |
| 33% | Ideal | Maintain consistent |
| 50% | Slightly lower | Avoid abrupt movements |
Practicing these techniques guarantees streak-free, spotless floors.
Common Mistakes That Leave Residue and How to Avoid Them

One common mistake that can leave residue on hard floors is using the wrong type of vacuum or setting it improperly. This often happens when you use incorrect water temperature or improper cleaning solutions. If the water is too hot, it can cause streaks or damage the floor finish; if it’s too cold, dirt may not lift effectively. Additionally, using harsh or inappropriate cleaning solutions can leave behind sticky residue or film. To avoid these issues:
Using improper water temperature and harsh cleaners can leave residue on hard floors.
- Always check the recommended water temperature for your vacuum.
- Use floor-safe, pH-neutral cleaning solutions.
- Rinse the floor with clean water to remove leftover soap or cleaner residue.
Sticking to proper water temperature and cleaning supplies helps prevent streaks and ensures a thorough, residue-free clean.
Tips for Drying and Polishing Floors After Vacuuming
After vacuuming your hard floors, proper drying and polishing are essential to achieve a spotless, streak-free finish. Use effective mop techniques, such as moving in straight lines or figure-eights, to prevent streaks and guarantee even coverage. Wring out your mop thoroughly to avoid excess water, which can cause streaks or damage. Incorporate a regular cleaning schedule to maintain your floors’ shine and reduce buildup. After mopping, dry the floor with a clean microfiber cloth or a dry mop to remove any remaining moisture quickly. For added polish, consider using a suitable floor polish or a mixture of water and a small amount of vinegar. Consistency in your cleaning schedule and proper drying techniques will keep your floors looking pristine and streak-free.
Maintain Your Wet/Dry Vacuum for Optimal Hard Floor Cleaning

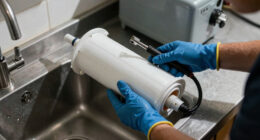
To keep your wet/dry vacuum performing at its best for hard floor cleaning, regular maintenance is essential. Start by checking and replacing vacuum filters to ensure ideal airflow and suction. Clean the tank drainage after each use to prevent mold and odor buildup, which can affect performance. Additionally, inspect hoses and attachments for clogs or debris that might hinder cleaning efficiency.
Regularly check filters, drain tanks, and inspect hoses to keep your wet/dry vacuum in top shape for spotless floors.
- Replace or clean vacuum filters regularly to maintain suction power
- Drain the tank thoroughly after each use to prevent odors and mold
- Check hoses and attachments for blockages or debris that could impair cleaning
Performing these simple steps keeps your vacuum running smoothly and prolongs its lifespan, ensuring your hard floors stay streak-free and spotless with less effort.
Troubleshoot Persistent Streaks and Residue on Hard Floors

Persistent streaks and residue on your hard floors can be frustrating, but many issues stem from cleaning techniques or equipment problems. To troubleshoot, start by checking if your vacuum’s floor polishing attachment is clean and properly adjusted. Residue often occurs if you use too much cleaning solution or don’t rinse thoroughly, so switch to a minimal amount of stain removal product, ensuring it’s compatible with your floor type. Avoid over-wetting the surface, as excess moisture causes streaks. Also, make sure your vacuum’s brush roll isn’t clogged or worn, which can spread dirt instead of lifting it. Regularly cleaning your vacuum filter helps maintain suction and cleaning efficiency. These steps will help you achieve streak-free, spotless floors with ideal stain removal results.
Frequently Asked Questions
Can I Use a Wet/Dry Vacuum on Sealed Hardwood Floors?
Yes, you can use a wet/dry vacuum on sealed hardwood floors, but you need to prioritize vacuum maintenance and hardwood floor care. Make sure to use a soft brush or setting that won’t scratch the surface. Always check the vacuum’s attachments and clean filters regularly. Avoid leaving excess water or moisture, as it can damage the finish. Proper care guarantees your floors stay beautiful and your vacuum functions efficiently.
How Often Should I Replace Vacuum Filters for Best Results?
Did you know that replacing vacuum filters every 3 to 6 months can improve air quality and extend your vacuum’s lifespan? For best results, you should monitor filter maintenance regularly, especially if you use your vacuum frequently. Dirty filters restrict airflow, making your vacuum work harder. By replacing filters on schedule, you guarantee ideal performance and protect your investment, keeping your floors clean without streaks or debris buildup.
Are There Specific Detergents Recommended for Wet/Dry Vacuums on Floors?
For effective vacuum cleaning and floor maintenance, use mild, pH-neutral detergents designed for wet/dry vacuums on floors. Avoid harsh chemicals that can damage your vacuum or leave residue. Check your vacuum’s manual for recommended cleaning solutions, and always dilute detergents properly. Using the right detergent guarantees a thorough clean, prevents streaks, and extends your vacuum’s lifespan, helping you keep your floors spotless and streak-free.
Should I Vacuum Before or After Mopping on Hard Surfaces?
You should vacuum before mopping on hard surfaces to achieve pristine floors. Vacuuming timing is essential; it removes dust and debris that could turn into muddy streaks if you mop first. By doing the vacuuming sequence first, you prevent dirt from spreading and creating streaks, leaving your floors sparkling. Skipping this step might leave grit behind, making your mopping less effective and your floors less shiny.
Is It Safe to Use a Wet/Dry Vacuum on Delicate Tile Surfaces?
Yes, it’s safe to use a wet/dry vacuum on delicate tile surfaces if you verify its floor safety and vacuum compatibility. Make sure your vacuum has adjustable settings or gentle suction options to prevent damage. Always test in a small, hidden area first. Using the right vacuum ensures your tiles stay intact and clean without risking scratches or cracks, making your cleaning routine more effective and safe.
Conclusion
By mastering these tips, you’ll transform your hard floors from dull, streaky messes into gleaming masterpieces so flawless, they’ll make mirrors jealous. Say goodbye to endless cleaning battles and hello to floor perfection that dazzles everyone who walks in. With the right technique, tools, and care, you’ll turn your wet/dry vacuum into a magic wand, leaving behind nothing but spotless, streak-free brilliance — because your floors deserve nothing less than extraordinary.