To safely remove mold under the sink within an hour, start by isolating the area with plastic sheeting to prevent spores from spreading. Wear gloves, a mold-rated mask, and goggles to protect yourself. Gently remove and seal any contaminated materials, then spray surfaces with a mixture of vinegar or baking soda to inhibit mold growth. Proper ventilation and thorough drying are key. If you want step-by-step details, you’ll find helpful tips to guarantee a safe, effective cleanup.
Key Takeaways
- Isolate the area with plastic sheeting and seal doors, vents, and openings to prevent spore spread.
- Wear protective gear like gloves, masks, and goggles before starting cleanup.
- Use natural remedies such as white vinegar or baking soda to disinfect surfaces safely.
- Thoroughly scrub surfaces with water and mild detergent, ensuring all mold residues are removed.
- Keep the area well-ventilated and dry, and apply mold-resistant paint to prevent future growth.
Assessing the Mold Situation and Gathering Supplies
Before you begin mold remediation under the sink, it’s essential to assess the extent of the mold problem and gather the right supplies. Start by identifying the mold types present—whether it’s surface mold or more invasive growth—to determine the best approach. Look for visible signs like black, green, or white patches, and check for musty odors. Pinpoint moisture sources, since mold thrives on excess humidity and leaks; common sources include leaking pipes, condensation, or poor ventilation. It’s also helpful to understand how contrast ratio affects the perception of mold issues in images, which can aid in visual assessment. Gather supplies like protective gloves, masks, cleaning solutions, scrub brushes, and disposable cloths. Having the right tools and understanding the mold types and moisture sources ensures you’re prepared to effectively tackle the problem safely and prevent future growth.
Protecting Yourself During the Cleanup
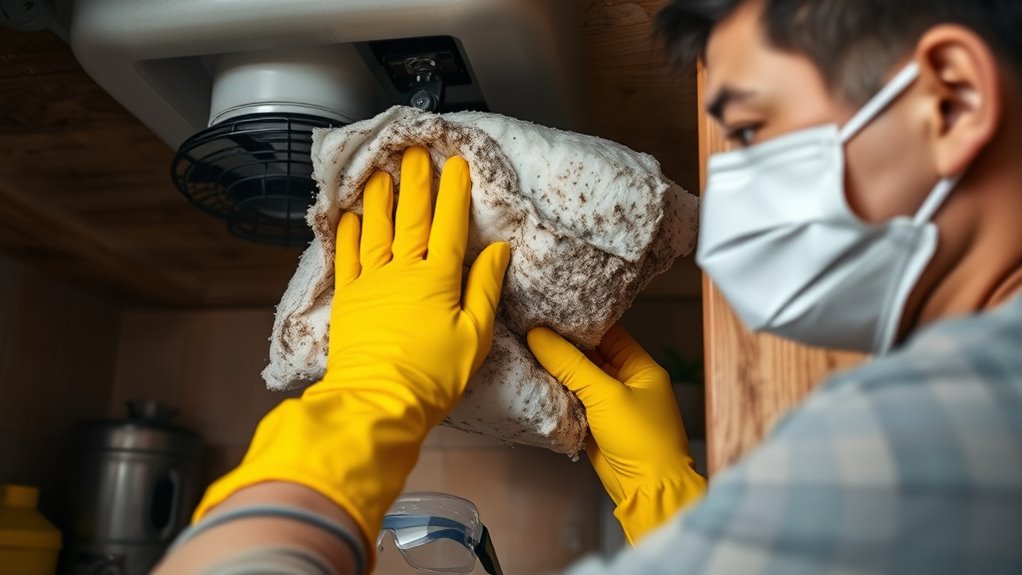
Protecting yourself during mold cleanup is essential to avoid health risks and prevent mold spores from spreading. Always wear the right personal protective equipment, such as gloves, a mask rated for mold spores, and goggles. This gear shields your skin, lungs, and eyes from mold exposure and minimizes contamination. Stay aware of mold’s potential health effects, especially if you have allergies or respiratory issues. Keep your workspace well-ventilated and wash your hands thoroughly afterward. Remember, mold awareness helps you identify hazards and respond safely. Understanding industry trends aids in recognizing emerging safety practices. By taking these precautions, you reduce the risk of spreading mold spores to other areas and protect your health throughout the cleanup process. Your safety depends on being prepared and cautious.
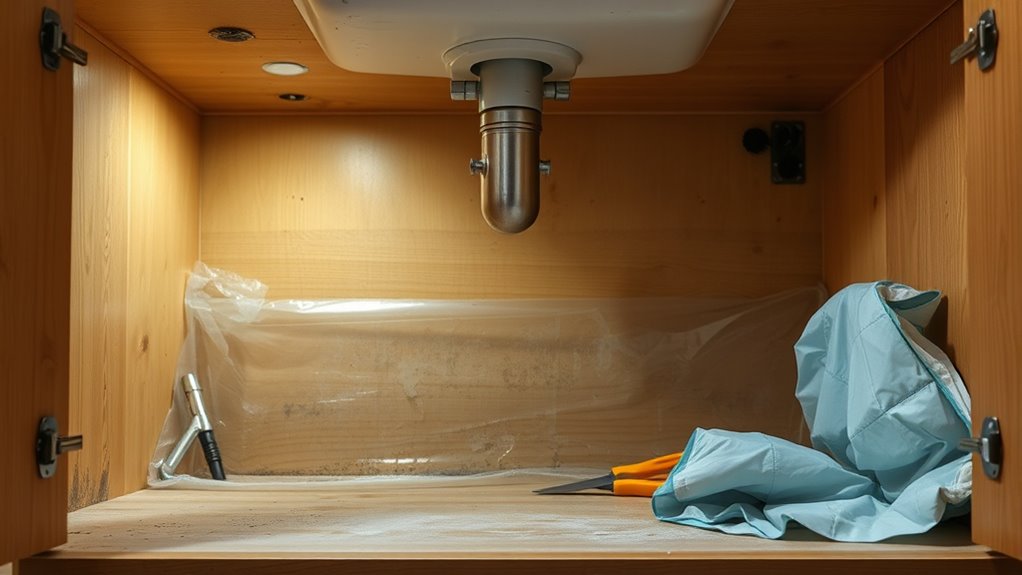
Isolating the Area to Prevent Cross-Contamination

Once you’ve put on your protective gear, the next step is to contain the mold-affected area. You need to control airflow to prevent mold spores from spreading. Use containment barriers, such as plastic sheeting or zippered enclosures, to isolate the space. Seal all doorways, vents, and any openings to create a sealed environment. Turn off HVAC systems and ensure that air vents don’t circulate contaminated air outside the containment. If possible, use negative air pressure with a HEPA-filtered fan to keep spores from escaping. Proper airflow control and containment barriers are essential to prevent cross-contamination, protecting your home and health during cleanup. Additionally, maintaining proper ventilation helps reduce moisture levels that contribute to mold growth. This step guarantees mold spores stay confined, making the removal process safer and more effective.
Removing Visible Mold and Damaged Materials
To effectively remove visible mold and damaged materials, start by donning your protective gear, including gloves, goggles, and a respirator, to prevent exposure to mold spores. Proper safety equipment is essential, as it shields you during mold identification and removal. Carefully inspect the affected area to confirm the extent of mold growth and note any materials that are too damaged to salvage. Use a utility knife or scraper to gently remove moldy drywall, wood, or other porous materials. Place contaminated debris into sealed bags to prevent spreading spores. Be cautious and avoid disturbing mold excessively, which can release spores into the air. Remember, your safety equipment and careful identification of mold are key to a successful and safe removal process. Additionally, implementing vertical storage solutions can help prevent future mold issues by promoting better ventilation and organization in your space.
Applying a Safe Mold-Remediation Solution
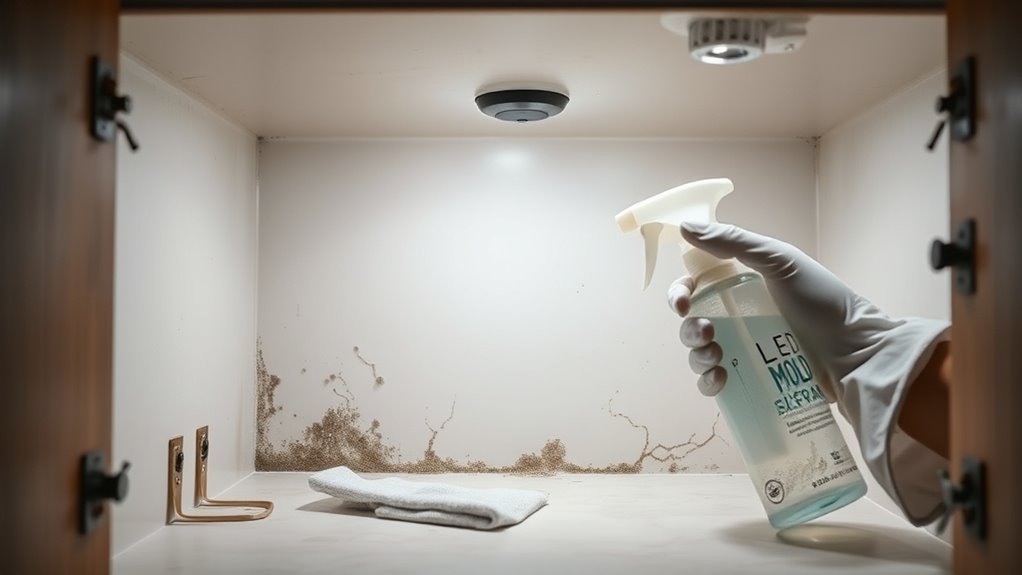
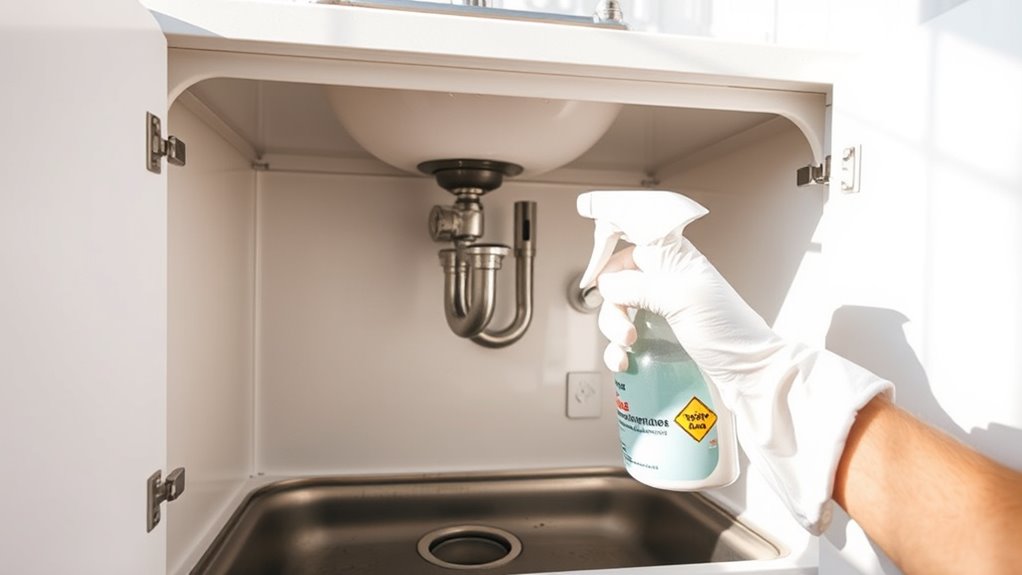
After removing visible mold and damaged materials, it’s important to apply a safe, effective mold-remediation solution to prevent future growth. You can use DIY remedies like a mixture of white vinegar or baking soda, which are natural mold preventatives. Spray or wipe the solution onto the affected areas, making sure to cover all surfaces thoroughly. These remedies help inhibit mold spores from settling and growing back. Always wear gloves and a mask for safety, and ensure proper ventilation during application. Using these safe solutions not only supports mold prevention but also reduces the need for harsh chemicals. Consistent application will help keep your under-sink area mold-free, protecting your home and health without complicating the cleaning process. Proper application techniques are essential to ensure the effectiveness of your mold-remediation efforts.
Allowing Proper Drying and Ventilation
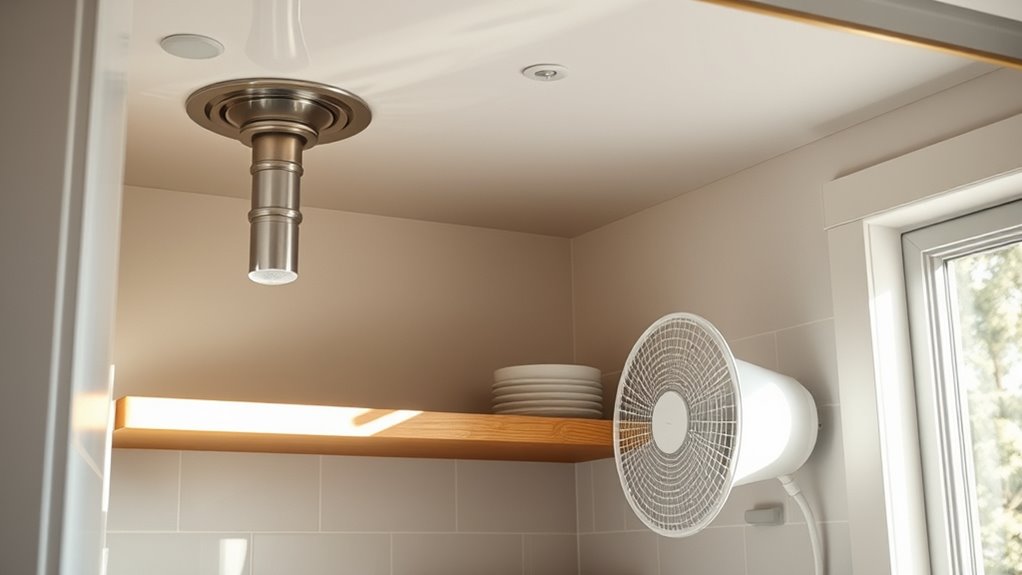
Ensuring the area dries completely and gets proper ventilation prevents mold from regrowing. To achieve this, you need to optimize airflow and control moisture levels. Use fans or open windows to increase ventilation, promoting rapid drying. Avoid covering vents or blocking airflow paths. Proper drying reduces residual moisture that fosters mold growth. Consider using a dehumidifier to maintain moisture control and prevent dampness. Here’s a quick guide:
| Step | Tip |
|---|---|
| Airflow Optimization | Use fans or open windows for better circulation |
| Moisture Control | Use a dehumidifier to keep humidity low |
| Drying Duration | Allow at least 1 hour for thorough drying |
| Ventilation Checks | Ensure vents remain unobstructed |
Additionally, properly maintaining your ventilation system can help prevent future mold issues. Following these steps guarantees your space dries properly, inhibiting mold’s return.
Disposing of Contaminated Materials Safely
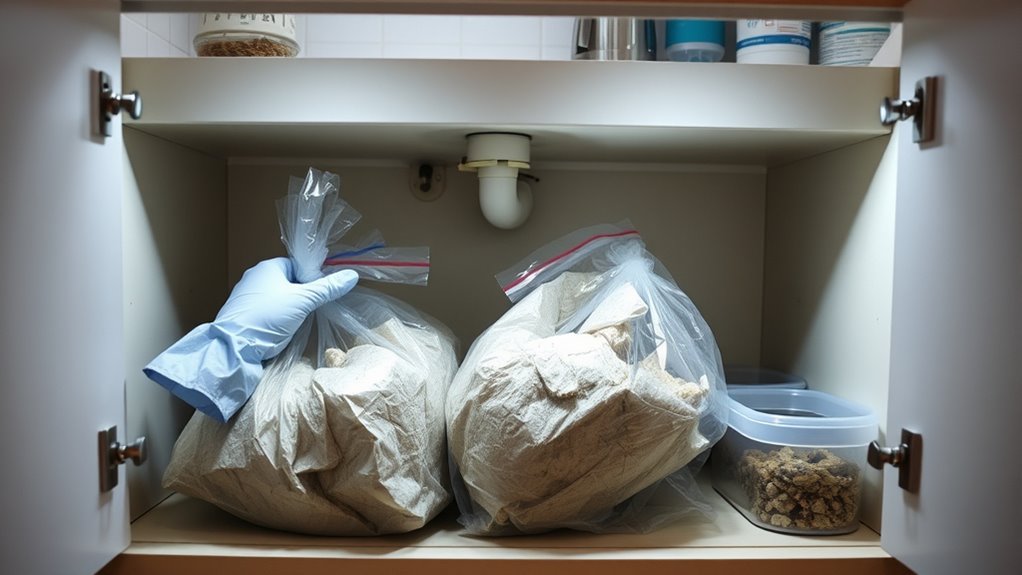
When disposing of contaminated materials, it is vital to handle them carefully to prevent mold spores from spreading further. Follow proper disposal guidelines to guarantee safety and minimize contamination risks. Use sturdy, sealed bags or containers to contain moldy debris, preventing spores from escaping during waste handling. Label these containers clearly as mold-contaminated waste, and avoid overfilling to prevent leaks. Always wash your hands and disinfect tools afterward. Remember these key points:
Handle mold waste carefully: use sealed bags, label properly, and wash hands after disposal.
- Use heavy-duty trash bags for containment
- Seal and label all contaminated waste securely
- Dispose of waste promptly according to local regulations
- Proper disposal methods are essential to prevent the spread of mold spores and ensure safety during cleanup.
Adhering to disposal guidelines helps protect your health and prevents mold from spreading to other areas. Proper waste handling is essential for a safe, effective mold remediation process.
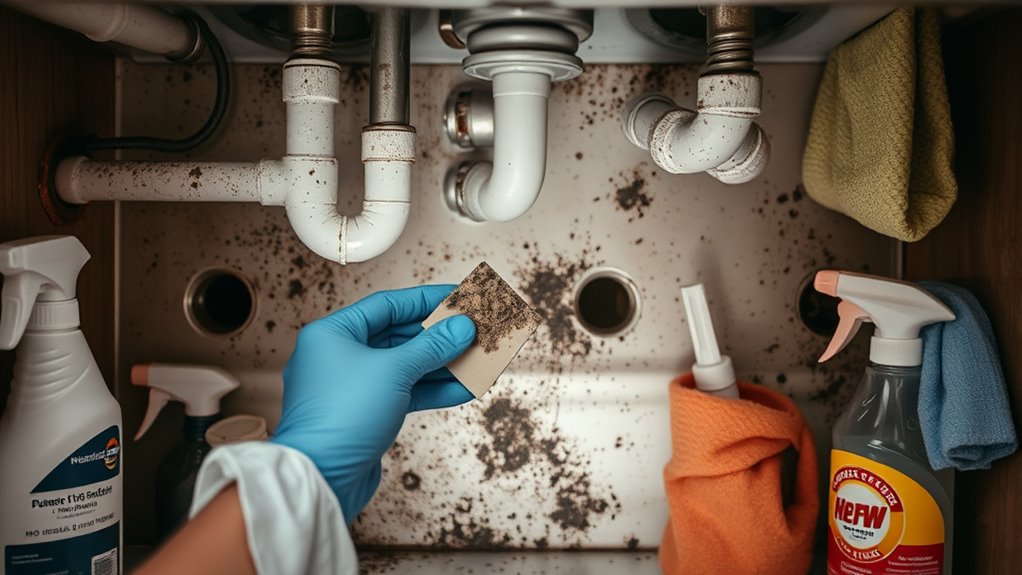
Cleaning and Sanitizing the Sink Area
To effectively clean and sanitize the sink area, you need to use proper techniques that remove mold and prevent its return. Applying disinfectants correctly is key to killing remaining spores and ensuring the surface stays safe. Incorporate the use of effective cleaning methods that target mold spores and support long-term cleanliness. We’ll share practical tips to help you get the job done efficiently and thoroughly.
Effective Cleaning Techniques
Cleaning and sanitizing the sink area thoroughly is essential for effective mold remediation. To do this, focus on eliminating mold spores and preventing future growth. Use a mixture of water and mild detergent to scrub surfaces, paying close attention to corners and seals. After cleaning, apply a mold resistant paint to surfaces prone to moisture, reducing mold’s ability to reestablish. Ensuring proper humidity control in the space also helps prevent mold recurrence. Consider these key techniques:
- Use a scrub brush or sponge for deep cleaning
- Keep the area dry with proper ventilation
- Regularly monitor humidity levels to stay below 60%
- Incorporate rustic decor elements to help maintain an authentic farmhouse atmosphere that discourages mold growth in moisture-prone areas
These methods keep your sink area mold-free and safe, making your remediation effort truly effective.
Disinfectant Application Tips
Applying disinfectant correctly is crucial for effectively sanitizing the sink area and eliminating lingering mold spores. To maximize disinfectant effectiveness, guarantee the surface stays wet for the recommended contact time. This allows the disinfectant to penetrate mold residues and bacteria thoroughly. Be sure to apply enough solution to cover all surfaces, including crevices and under any fixtures. Avoid wiping immediately; instead, let the disinfectant sit undisturbed for the required duration specified on the label. This ensures it kills microbes effectively. After the contact time, wipe away any remaining residue with a clean cloth and dry the area completely. Proper application and adherence to contact time are key to a safe, mold-free sink area. Additionally, understanding AI security measures can help ensure your home safety protocols are up to date.
Preventing Future Mold Growth With Maintenance Tips
You can prevent future mold growth by regularly inspecting your sink area for leaks or moisture buildup. Ensuring proper ventilation helps keep the space dry and reduces humidity that mold needs to thrive. Incorporating natural lighting can also help reduce dampness and improve overall airflow in the space. By staying proactive with these maintenance tips, you’ll protect your home from mold issues before they start.
Regular Inspection Practices
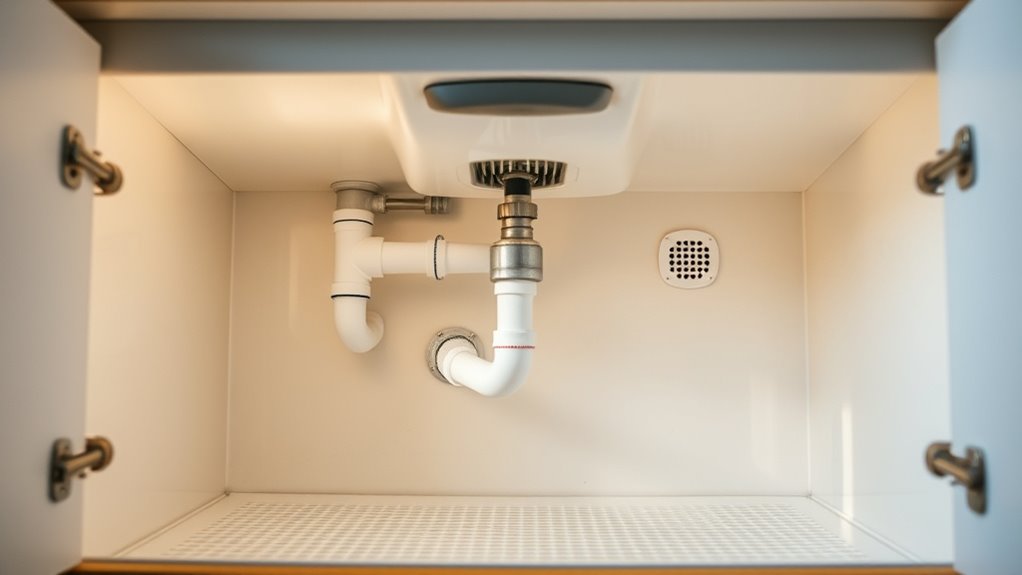
Regular inspections under the sink are essential for catching potential mold problems early before they become serious. By checking regularly, you can identify issues like leaks or increased humidity levels that promote mold growth. Focus on:
- Monitoring humidity control to keep moisture levels low
- Inspecting pipes and fittings for leaks or drips
- Looking for any signs of water stains or mold spots
- Understanding how proper filtration systems can help reduce dust and allergens that contribute to mold proliferation
Keeping humidity in check and promptly fixing leaks prevent mold from taking hold. Regular inspections help you stay ahead of problems, saving time and money. Don’t wait until you notice a musty smell or visible mold—being proactive guarantees your space remains mold-free and safe. Make inspection part of your routine to protect your home from future mold issues effectively.
Proper Ventilation Strategies
Proper ventilation is key to preventing mold growth under the sink, especially in areas prone to humidity. You should guarantee good air circulation by opening windows or installing vents to reduce moisture buildup. Using exhaust fans in the kitchen or bathroom helps remove excess humidity and keeps air moving. Turn on these fans during and after activities like washing dishes or running water to prevent moisture from lingering. Regularly check that exhaust fans are functioning properly and clean the vents to maintain ideal airflow. If your sink area lacks adequate ventilation, consider adding a vent or installing a small exhaust fan. Effective air circulation helps dry out damp surfaces quickly, making it harder for mold to take hold. Implementing proper home energy efficiency measures can also help control indoor humidity levels. Consistent ventilation is a simple yet essential step to keep your under-sink area mold-free.
Frequently Asked Questions
How Do I Identify Hidden Mold Behind Walls or Beneath Fixtures?
You can identify hidden mold behind walls or beneath fixtures by looking for signs of mold detection, such as musty odors, discoloration, or peeling paint. Check for hidden moisture issues by inspecting for water stains, warped surfaces, or dampness around pipes and fixtures. Use a moisture meter or a borescope to examine inaccessible areas. If you suspect mold, consider professional testing to confirm its presence and guarantee safe removal.
What Are the Best Protective Gear Options for Mold Cleanup?
Ever wonder how to stay safe during mold cleanup? You should wear protective clothing to shield your skin from spores, and a respirator mask to prevent inhaling mold particles. Look for masks rated N95 or higher for effective filtration. Gloves and goggles are also essential to protect your hands and eyes. Are you prepared with the right gear to keep yourself safe while tackling mold?
Can I Use Household Cleaning Products to Remove Mold Safely?
You can use household solutions like white vinegar or baking soda to remove mold safely. These options are effective for mild cases and help prevent mold from returning when used regularly. Always wear protective gear, like gloves and masks, and guarantee proper ventilation. While household cleaning products work for small mold spots, for larger infestations, consider professional mold prevention methods to keep your space safe and mold-free long-term.
How Long Should I Wait Before Using the Sink After Remediation?
Don’t rush to use the sink right after mold remediation; give it time to breathe. You should wait at least 24 hours, ensuring proper air circulation and moisture control. This allows any residual moisture to evaporate and reduces mold regrowth risk. Keep the area well-ventilated during this waiting period, and make sure the space is completely dry before putting the sink back into regular use.
When Should I Consider Professional Mold Remediation Services?
You should consider professional mold remediation services if DIY solutions haven’t fully eliminated the mold or if it keeps returning despite your efforts. Mold prevention is key, but extensive or hidden growth may require experts to safely remove it and prevent future issues. If you notice persistent mold, health symptoms, or structural damage, don’t hesitate to call professionals to ensure thorough cleanup and long-term protection.
Conclusion
With quick action, you can turn a mold problem into a thing of the past before it takes root. Think of it as nipping a weed in the bud—preventing bigger headaches down the road. By following these simple steps, you’re not just cleaning; you’re fortifying your space against future growth. Keep vigilant and maintain your sink area regularly—because a dry, well-kept space is the best shield against mold’s silent invasion.