To avoid waterproofing failures like pinholes, laps, and poorly sealed corners, verify proper surface preparation, use high-quality compatible materials, and apply sealants evenly and firmly. Overlap sheets adequately and seal all joints thoroughly. Pay close attention to corners and penetrations, using flexible sealants and fitted collars. Regular inspection helps catch weak spots early. Continuing to learn about best practices ensures your waterproofing system remains effective and durable over time.
Key Takeaways
- Ensure proper surface cleaning and drying before applying waterproofing materials.
- Use high-quality, compatible materials and follow manufacturer application instructions carefully.
- Overlap sheets by 2-4 inches and reinforce laps with fabric or mesh when needed.
- Seal around penetrations and corners thoroughly with flexible, high-quality sealants.
- Conduct detailed inspections to identify and repair weak spots, pinholes, or improperly sealed joints.

Ames Maximum Stretch – Waterproof Sealant Membrane – Perfect For Roofing, Repairs, Concrete, EPDM & Wood – Liquid Rubber Sealer – Up To 650% Elastic – Made in USA, White, 4.6 Gallon (Pack of 1)
Ames Maximum-Stretch is a white, elastomeric, acrylic, rubberized roof coating & sealant with 650% elongation to resist cracking…
As an affiliate, we earn on qualifying purchases.
As an affiliate, we earn on qualifying purchases.
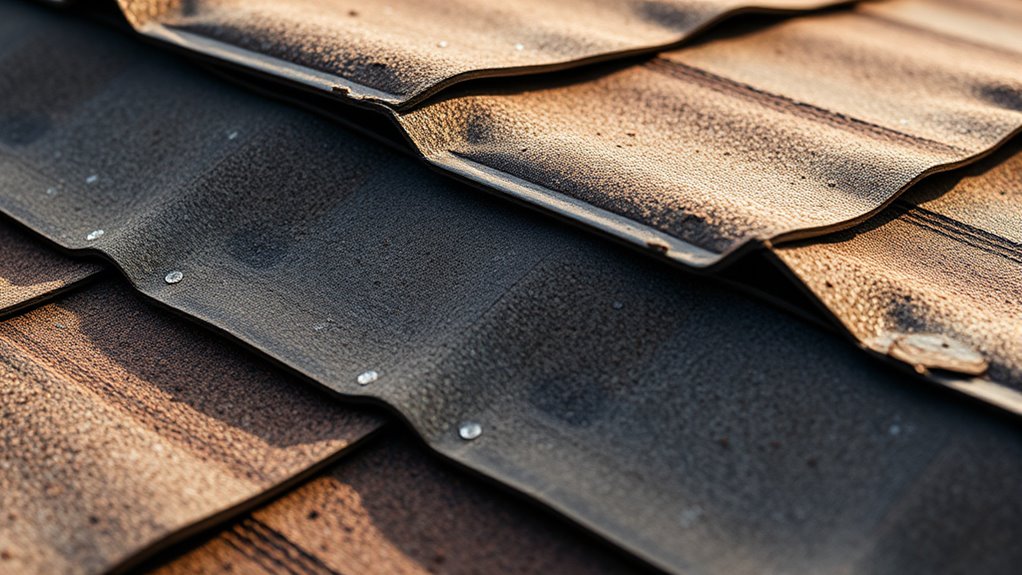
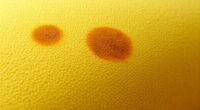
Common Causes and Consequences of Pinholes in Waterproofing Layers
Pinholes in waterproofing layers often result from a combination of manufacturing defects, improper application, or environmental factors. Manufacturing defects occur when materials have inconsistencies, such as air bubbles or debris trapped during production, weakening the layer. Improper application, like inadequate surface preparation, rushing the process, or inconsistent coating thickness, can leave tiny gaps or weak spots. Environmental factors such as temperature fluctuations, UV exposure, or moisture can also cause pinholes over time by degrading the waterproofing material. Additionally, color accuracy and material quality impact the durability of waterproofing layers, making high-quality materials essential. These tiny holes compromise the barrier, allowing water to penetrate and reach underlying structures. The consequences are serious: water ingress can lead to mold growth, structural damage, and costly repairs. Recognizing these causes helps you prevent pinholes and maintain effective waterproofing.
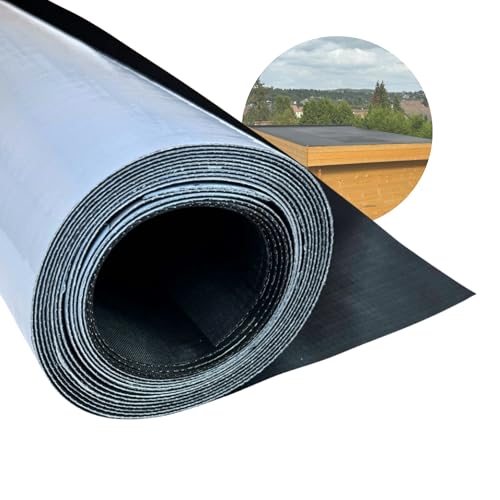
HSS EPDM Waterproofing Membrane EasyStick – 52 Mil – Reinforced – Waterproof – self-Adhesive – Longlasting flatroof Sheet – Black – 39 inch x 16 feet
Durable: The EPDM waterproofing membrane is extremely durable and has a life expectancy of over 50 years in…
As an affiliate, we earn on qualifying purchases.
As an affiliate, we earn on qualifying purchases.
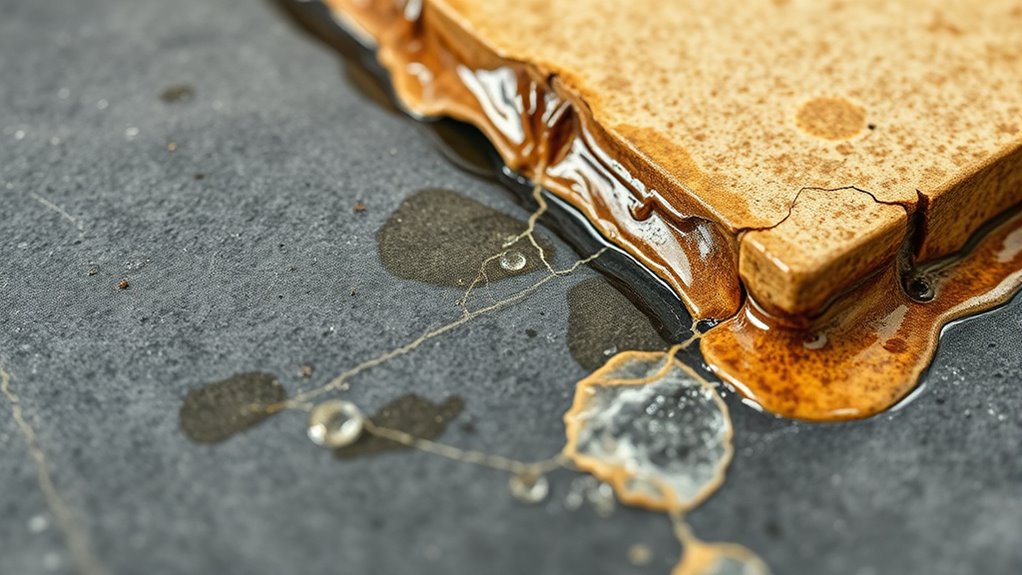
Proper Techniques to Seal Laps and Joints Effectively
To guarantee your waterproofing system remains continuous and effective, it’s essential to seal laps and joints properly. Start by cleaning the surfaces thoroughly to remove dirt, dust,, and debris. Ensure the area is dry before applying any sealant or membrane. Use compatible materials designed for your waterproofing system, and follow the manufacturer’s instructions carefully. Apply a generous, even layer of sealant or membrane, pressing firmly to eliminate air pockets and ensure good adhesion. When sealing laps, overlap sheets by at least 2-4 inches, and seal over the overlap with an additional bead of sealant. For joints, reinforce the area with a fabric or mesh if necessary, then seal over it to create a continuous, watertight barrier. Proper technique prevents leaks and prolongs your waterproofing system’s lifespan. Additionally, understanding the importance of proper sealing techniques can significantly enhance the durability of your waterproofing efforts.

Dicor CS112KIT Seal-Tite Corner Seal Kit – Flexible RV Weatherproofing – 1.5" x 50'
USE: Heavy-duty RV wall and ceiling exterior
As an affiliate, we earn on qualifying purchases.
As an affiliate, we earn on qualifying purchases.
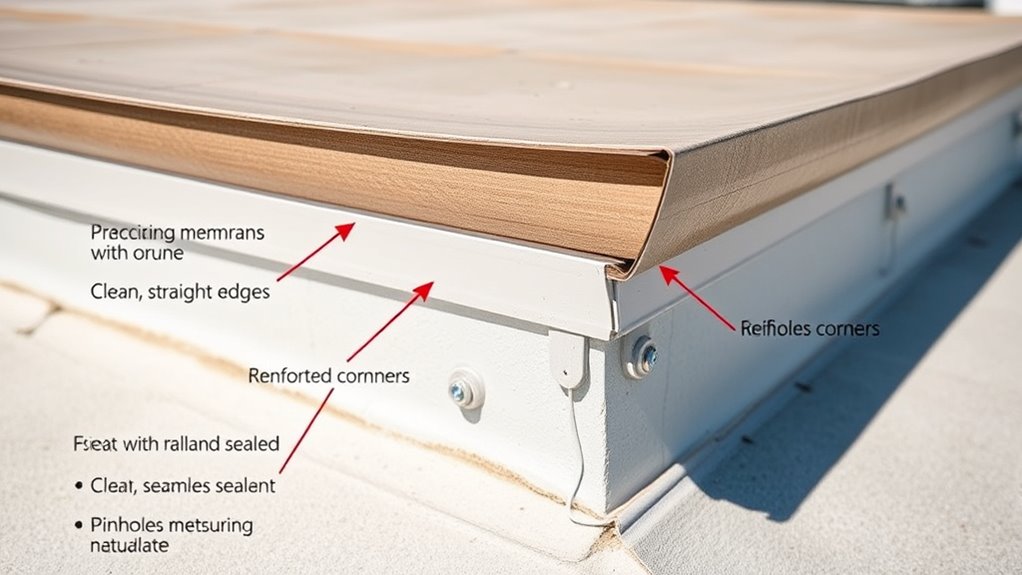
Best Practices for Waterproofing Around Corners and Penetrations

When waterproofing around corners and penetrations, careful attention to detail guarantees a seamless barrier. Begin by thoroughly cleaning the surface to remove dust, grease, and debris that could compromise adhesion. Use flexible, high-quality sealants or membranes designed for penetrations, ensuring they are compatible with the existing waterproofing system. Apply in layers, pressing firmly to eliminate air pockets and gaps. For corners, fold membranes neatly, avoiding overlaps that could trap water or create weak points. When sealing around pipes or conduits, use properly fitted boots or collars, then seal edges with compatible sealant. Always inspect your work, checking for missed spots or thin areas. Properly executed, these practices prevent water infiltration and extend the durability of your waterproofing system. Additionally, understanding common waterproofing failures can help you identify and prevent issues before they occur, ensuring long-lasting protection.

Yaxtida 2 Pack 4 Inches x 164 Feet Waterproofing Membrane Anti Fracture Fabric, Reinforcing Water Barrier Drywall Mesh Tape, Liquid Waterproof Membrane Fiberglass Tape for Shower Wall,Seam
【Extremely Water Barrier Capability and Anti Fracture】Composed of the denser reinforcing stitch-bonded polyester. Anti-fracture membrane drywall tape adds…
As an affiliate, we earn on qualifying purchases.
As an affiliate, we earn on qualifying purchases.
Frequently Asked Questions
How Can I Detect Hidden Pinholes Before Waterproofing Application?
You can detect hidden pinholes before waterproofing by applying a water-based spray or a light water test on the surface. Watch for areas where water seeps in or bubbles form, indicating pinholes. Use a flashlight at night to spot any light leaks, or employ a dye penetrant to identify small flaws. These methods help make sure your surface is thoroughly prepared, reducing the risk of future leaks.
What Materials Are Most Resistant to Lap Joint Failures?
You should choose flexible, high-quality membrane materials like PVC or TPO for lap joints, as they resist failure better than older options. These materials are engineered for durability, with strong seams and excellent adhesion properties. When properly installed, they expand and contract with temperature changes, reducing the risk of lap joint failure. Using reinforced membranes or incorporating mechanical fasteners can further enhance joint integrity and longevity.
Are There Specific Waterproofing Products Recommended for Corner Detailing?
For corner detailing, you should use flexible, high-quality waterproofing membranes like liquid-applied elastomers or sheet membranes specifically designed for corners. Products such as liquid rubber or PVC membranes conform well to complex shapes, providing seamless coverage. Guarantee you properly prepare the surface, apply multiple coats if needed, and reinforce corners with fabric or mesh to prevent cracking and leaks. Always follow manufacturer instructions for the best results.
How Often Should Waterproofing Joints Be Inspected After Installation?
You should examine waterproofing joints at least every six months, especially after heavy rain or temperature changes. Regular checks help you catch any signs of wear, cracking, or deterioration early. If you notice issues like cracks or gaps, address them promptly to prevent leaks. Consistent inspections ensure your waterproofing remains effective, protecting your structure from water damage over time. Stay vigilant and keep detailed records of each inspection.
What Are the Common Mistakes to Avoid During Waterproofing Around Penetrations?
Oh, sure, just ignore those penetrations—what could possibly go wrong? When waterproofing around them, you wanna avoid skipping proper sealing, rushing the application, and neglecting to check for gaps or cracks. Don’t overlook the importance of using compatible materials or forgetting to reinforce vulnerable spots. Remember, a tiny mistake here can turn your waterproof barrier into a leaky disaster. So, pay attention, or face the soggy consequences!
Conclusion
Think of your waterproofing like a finely woven net—each tiny hole or weak spot can let water slip through, risking damage. I once saw a small pinhole in a pool’s liner cause major leaks, reminding me how vital attention to detail is. By sealing laps tightly, avoiding corners pitfalls, and checking for pinholes, you create a resilient barrier. When you get these details right, your waterproofing becomes a fortress, keeping water out and peace of mind in.