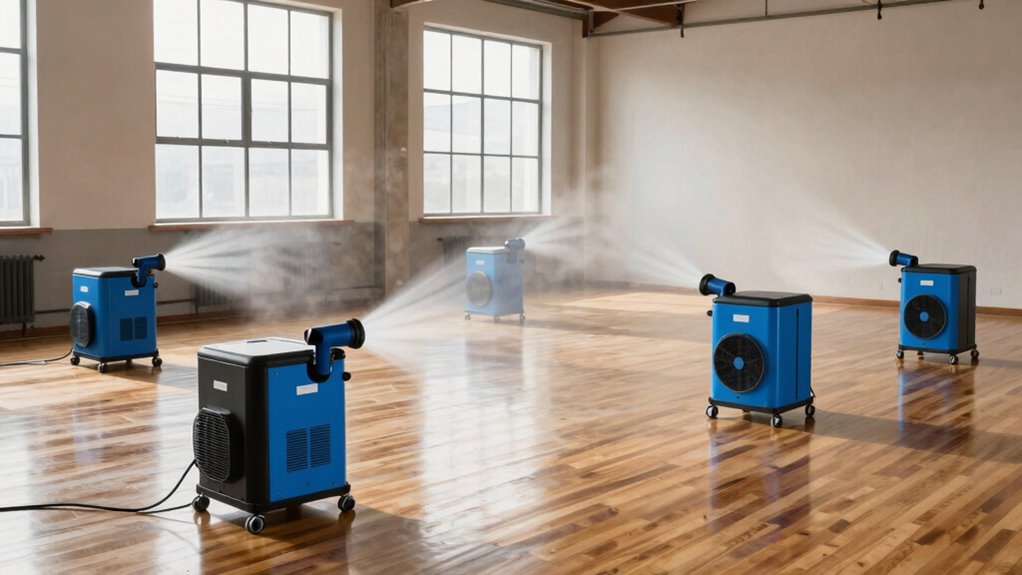

To cut dry time, position your air movers strategically by avoiding obstructions and ensuring even airflow across all wet surfaces. Use natural airflow clues, like stagnation points, to guide placement, and angle units to promote efficient evaporation. Keep units close enough for direct air contact but avoid turbulence. Don’t forget to check for furniture or walls that block airflow, as proper placement enhances drying speed. Learn more tips to maximize your setup and speed up the process.
Key Takeaways
- Position air movers at proper angles to maximize airflow across textured or uneven surfaces.
- Avoid blocking airflow paths by clearing furniture and ensuring unobstructed routes.
- Elevate units slightly off the ground to improve circulation and prevent stagnation.
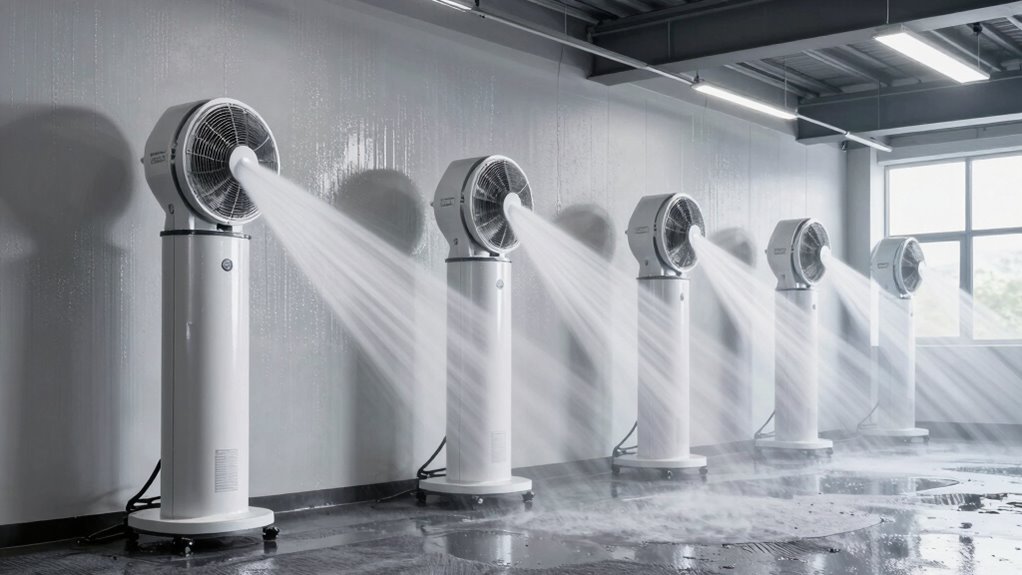
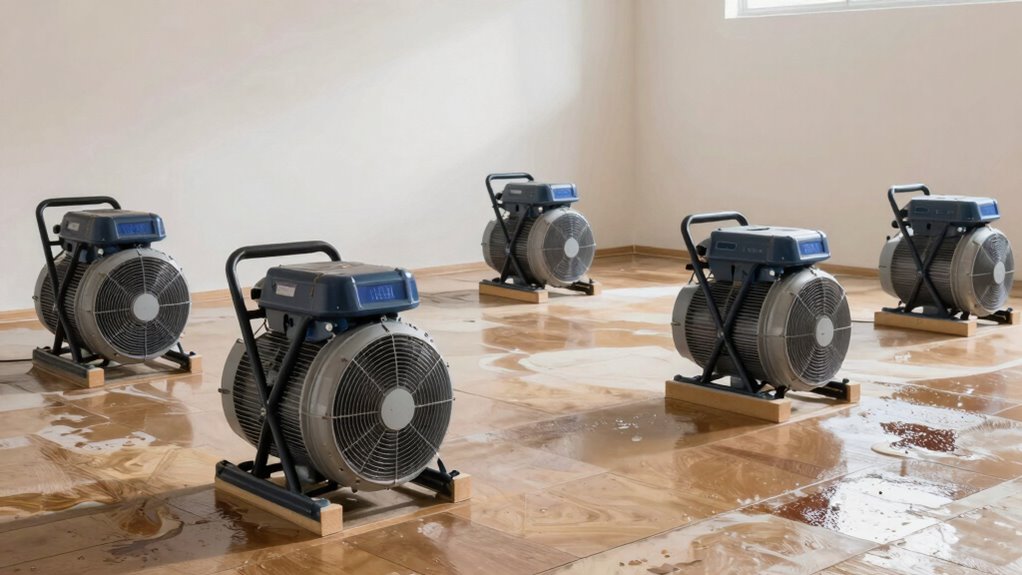
- Use multiple air movers strategically to promote even drying and prevent moisture pockets.
- Regularly assess and adjust placement based on airflow response and surface conditions.

VEVOR Air Mover, 1/4 HP 1000 CFM Carpet Dryer for Cooling and Ventilating, Portable Floor Blower Fan with 4 Blowing Angles and Time Function, for Janitorial, Home, Commercial Use
3 Blow Speeds: Power: 1/4 hp, 115V/60Hz. This carpet dryer offers three adjustable airflow options: 600, 800, and…
As an affiliate, we earn on qualifying purchases.
As an affiliate, we earn on qualifying purchases.
Why Proper Air Mover Placement Matters for Faster Drying
Proper air mover placement is essential because it directly impacts how quickly moisture is removed from surfaces. When you position your air movers correctly, you enhance air circulation around damp areas, which accelerates the drying process. Proper placement ensures that moist air is pushed away and replaced with drier air, preventing moisture buildup. If you place the air movers too far from the surface or in inefficient spots, airflow becomes weak, and moisture removal slows down considerably. By strategically positioning your air movers, you optimize airflow paths, ensuring consistent and effective drying. This not only speeds up the process but also reduces the risk of secondary damage like mold growth. Clear, targeted airflow is indispensable for efficient moisture removal, making placement a key step in drying success. Additionally, understanding airflow optimization can help you achieve faster drying times and more effective moisture control, especially when considering projector technology that relies on proper environmental conditions for optimal performance. Proper placement also allows for better energy efficiency, reducing unnecessary power consumption during the drying process. Moreover, employing proper air mover placement can help prevent secondary damages, which are costly and time-consuming to repair. In some cases, adjusting the airflow direction can further improve drying efficiency by targeting specific damp areas more effectively.

Lasko High Velocity Portable Utility Fan – Adjustable Air Mover Blower Fan for Bedroom, Office Desk, Garage, and Home – With 2 Outlets 120V – 3 Speeds – U12104 – 12" Tall – Black
COMPACT YET POWERFUL: Moves serious air, wherever you need it. This small portable fan delivers high-velocity airflow in…
As an affiliate, we earn on qualifying purchases.
As an affiliate, we earn on qualifying purchases.
How to Assess Your Space for the Best Air Mover Placement

To get the most out of your air movers, start by evaluating your space’s layout to find open areas that promote airflow. Next, identify any ventilation needs to guarantee fresh air circulation and avoid stagnation. Additionally, consider how airflow restoration can be optimized to ensure even drying throughout the area. Incorporating eco-friendly craft ideas can also help improve indoor air quality by reducing pollutants from synthetic materials. To enhance overall efficiency, it’s also helpful to understand the role of regional flavors and their influence on indoor environments, which can impact air quality and circulation. Recognizing air circulation patterns within your space can further help in strategically placing your air movers for maximum effectiveness and faster drying. Understanding the importance of support breakfast in maintaining a healthy indoor environment can also contribute to better air quality by promoting proper nutrition and wellness. Finally, place your air movers strategically to maximize airflow efficiency and speed up drying.
Evaluate Space Layout
Ever wonder how to find the ideal spot for your air mover? Start by evaluating your space layout. Look at the furniture arrangement—cluttered or tightly packed furniture can block airflow and slow drying. Clear pathways to ensure air circulates freely. Consider ceiling height as well; taller ceilings may require positioning air movers higher or using more units to promote even airflow. Take note of any obstructions or corners where moisture can get trapped, and avoid placing air movers there. You want to maximize coverage without creating dead zones. By assessing these factors, you can strategically place your air movers for optimal air circulation, speeding up the drying process and preventing secondary damage. Proper evaluation makes all the difference in efficient drying. Additionally, understanding your space layout allows for better planning of airflow patterns, ensuring comprehensive coverage across all areas. Recognizing airflow patterns helps you position the units more effectively for consistent drying.
Identify Ventilation Needs
Evaluating your space for ventilation needs begins with understanding how air naturally flows throughout the area. Observe areas where air stagnates or moves slowly, as these spots may require additional airflow. Consider existing ventilation strategies, such as windows, doors, or vents, and how they influence airflow. Identify obstacles like furniture or partitions that could hinder air movement and adjust accordingly. Proper assessment allows you to determine where to place air movers for ideal airflow, ensuring efficient drying. Focus on creating a balanced airflow pattern that circulates air evenly throughout the space. Additionally, understanding how air circulation impacts humidity levels can help optimize your drying setup for faster results. Recognizing the importance of proper ventilation assessment can also contribute to a more effective and harmonious drying process by promoting a proactive and confident mindset. Being aware of ventilation efficiency can further enhance your ability to make informed placement decisions. It’s also beneficial to consider natural airflow patterns, which can significantly influence the effectiveness of your drying strategy and reduce the need for excessive mechanical assistance.
Maximize Airflow Efficiency
Evaluating your space for the best air mover placement starts with observing how air naturally flows. Understanding airflow dynamics helps you identify the best spots to maximize circulation. Look for areas where air tends to stagnate or pockets of moisture that need quick drying. Proper equipment calibration ensures your air movers operate at ideal performance, delivering the right airflow without creating turbulence or noise. Position your units to promote even airflow across surfaces, avoiding obstructions like furniture or walls that disrupt circulation. Use multiple air movers strategically to create a consistent airflow pattern. Regularly assess and adjust placements based on how the space responds, ensuring you’re harnessing the full potential of your equipment. Airflow efficiency is essential for optimizing drying times and reducing energy use. This approach boosts efficiency and shortens drying times considerably.
Lasko High Velocity Portable Utility Fan – Adjustable Air Mover Blower Fan for Bedroom, Office Desk, Garage, and Home – With 2 Outlets 120V – 3 Speeds – U12104 – 12" Tall – Black
COMPACT YET POWERFUL: Moves serious air, wherever you need it. This small portable fan delivers high-velocity airflow in…
As an affiliate, we earn on qualifying purchases.
As an affiliate, we earn on qualifying purchases.
Best Practices for Positioning Air Movers to Speed Up Drying
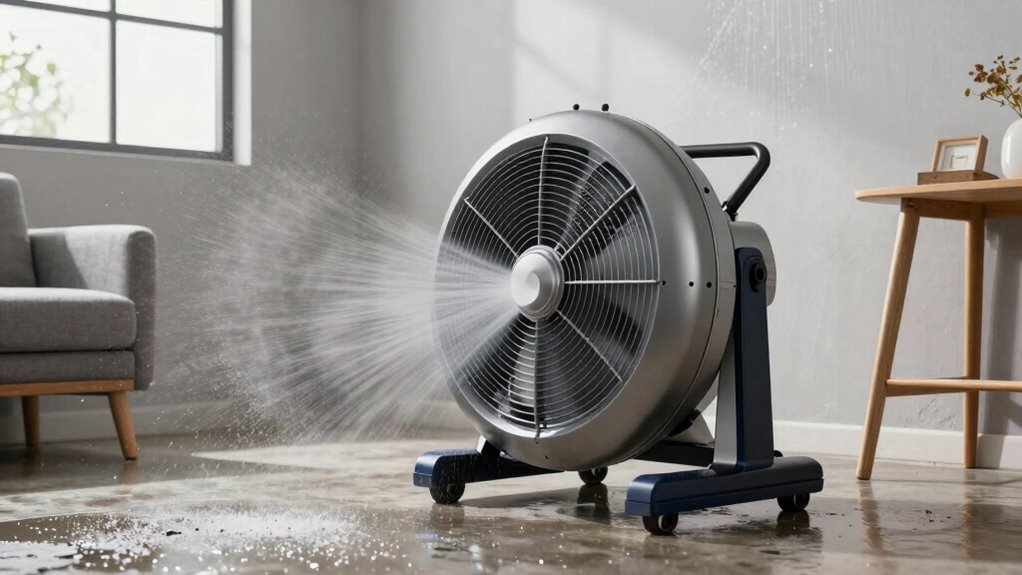
To maximize drying efficiency, proper placement of air movers is essential. Position them to promote even airflow across wet surfaces, avoiding stagnation zones. Keep air movers close enough to create direct contact with the affected areas but not so close that they cause turbulence or damage. Remember, humidity control plays a crucial role; use dehumidifiers alongside air movers to prevent moisture buildup that hampers drying. Regular equipment maintenance ensures ideal performance—clean filters, check for obstructions, and verify secure placement. Avoid stacking units or pointing them directly at walls, which can redirect airflow inefficiently. Ensuring proper airflow patterns can significantly improve drying outcomes and reduce treatment time. Monitoring air velocity and adjusting placement accordingly helps optimize drying efficiency. Additionally, understanding airflow dynamics can help you better position equipment for maximum effect. Early detection can significantly reduce treatment time and improve outcomes. Proper air mover placement enhances evaporation, reduces drying time, and minimizes secondary damage, making your drying process more effective and efficient.

XtremeDry Pro-DIY Restoration Clean-Up Tool Kit
Stens replacement parts have become a favorite among lawn and landscape professionals thanks to exceptional performance.
As an affiliate, we earn on qualifying purchases.
As an affiliate, we earn on qualifying purchases.
Top Placement Mistakes That Slow Drying and How to Avoid Them
One common mistake is placing air movers incorrectly, which can block airflow and slow down drying. You also want to avoid blocking airflow paths or positioning units too close to surfaces. Remember to contemplate surface angles, as improper placement can hinder moisture removal and extend the drying process. Additionally, understanding trust issues with equipment or misjudging the optimal placement can lead to inefficiencies in the drying process.
Incorrect Air Mover Placement
Incorrect placement of air movers can considerably slow down the drying process. Placement errors often cause airflow disruptions, preventing effective circulation of warm, dry air across surfaces. If you position air movers too close to walls or furniture, they may push air away instead of across the target area. Conversely, placing them too far away reduces the airflow’s intensity, making drying slower. Avoid aiming multiple units at the same spot, which can create turbulence rather than improve drying. Instead, position the air movers at suitable angles and distances to promote smooth, continuous airflow. Proper placement ensures even distribution of air, minimizes airflow disruptions, and accelerates drying, saving you time and effort. Correct positioning is key to maximizing your air mover’s efficiency.
Blocking Airflow Paths
Blocking airflow paths can substantially hinder the drying process, even if your air movers are positioned correctly. Airflow blockage occurs when furniture, walls, or other obstacles obstruct the direct path of air, reducing circulation efficiency. Poor equipment positioning that doesn’t account for natural airflow routes can create dead zones where moisture lingers. To avoid this, ensure your air movers are placed to promote unobstructed airflow, with no objects blocking the vents or outlets. Elevate equipment slightly off the ground if necessary, and keep pathways clear. Proper placement maximizes airflow coverage and prevents stagnation, speeding up drying. Remember, even small obstacles can greatly slow the process, so always double-check your setup for potential airflow blockage before turning on your air movers.
Ignoring Surface Angles
Have you ever overlooked the angle at which you place your air movers? Ignoring surface angles can considerably slow drying, especially on textured surfaces. Air movers should be positioned to optimize airflow across surface textures, ensuring air hits at a shallow angle rather than directly perpendicular. This promotes better evaporation and prevents moisture from settling in crevices. Adjusting placement based on surface angles helps achieve even drying. Use the table below as a quick guide:
| Surface Texture | Recommended Air Mover Placement |
|---|---|
| Smooth | Directly overhead or angled slightly downward |
| Rough/Porous | Angled more sharply to follow surface contours |
| Uneven surfaces | Position to target high and low points |
Ignoring these angles can trap moisture, prolong drying. Proper placement enhances efficiency and speeds up the process.
How to Use Multiple Air Movers Effectively
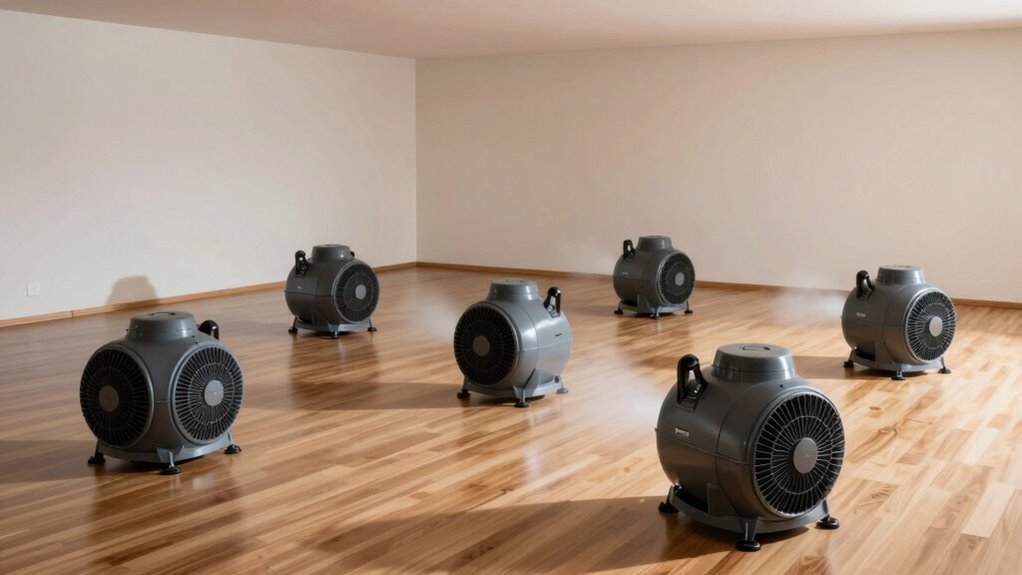
To use multiple air movers effectively, you need to strategically position them to maximize airflow and evaporation. Start by selecting the right air mover types for your situation, considering their power and size. Place units at different angles to ensure even coverage without creating turbulence. Keep noise levels in mind; quieter models help maintain a comfortable environment while still delivering strong airflow. Avoid stacking or crowding units, which can reduce efficiency. Instead, space them out so each covers a specific area. Use a combination of high-velocity and low-noise models if needed, balancing drying speed and comfort. Proper placement helps you avoid hotspots or dead zones, streamlining the drying process and saving time.
Troubleshooting Placement Problems for Faster Drying
When air movers are poorly positioned, drying slows down and hotspots can develop. Proper placement is key to efficient drying. To troubleshoot, focus on these areas:
- Ensure airflow is directed across the wet surface, avoiding stagnation zones.
- Regularly check equipment maintenance—dirty filters or damaged fans reduce effectiveness.
- Use humidity control tools to prevent excess moisture from lingering.
- Adjust placement if hotspots appear or drying stalls, moving air movers closer or changing angles.
Frequently Asked Questions
How Do Air Mover Placement Strategies Differ for Various Materials?
You should tailor your air mover placement strategies to each material for effective material specific drying. For porous surfaces like carpet, position the movers to maximize direct airflow and avoid stagnation. For non-porous surfaces like tile, guarantee even airflow distribution across the entire area. By focusing on airflow optimization and understanding material properties, you’ll accelerate drying times and prevent secondary damage. Adjust placements as needed to achieve the best results for each material type.
Can Furniture Placement Impact Air Mover Effectiveness?
Yes, furniture placement can impact air mover effectiveness. You should arrange furniture to optimize airflow, avoiding obstruction that can block or redirect air. Keep large pieces slightly away from walls and ensure pathways are clear, allowing air movers to circulate air efficiently. Proper furniture arrangement minimizes airflow obstruction, speeds up drying, and improves overall drying effectiveness. With thoughtful placement, your air movers work more efficiently, reducing drying time and preventing moisture buildup.
What Safety Considerations Should Be Taken Into Account When Positioning Air Movers?
When positioning air movers, prioritize electrical safety by checking cords and outlets for damage and avoiding overloads. Always wear personal protective equipment like gloves and eye protection to prevent injury. verify the units are stable and away from water or moisture to avoid electrical hazards. Keep cords out of walkways to prevent tripping, and follow manufacturer instructions to maintain safe operation. These precautions protect both you and the equipment.
How Often Should Air Movers Be Repositioned During Drying?
You should reposition air movers every 24 to 48 hours to guarantee ideal drying cycles. Regular air mover maintenance helps prevent overheating and maintains airflow efficiency. By moving them systematically, you distribute airflow evenly, speeding up the drying process and reducing potential mold growth. Keep an eye on moisture levels and adjust placement accordingly, ensuring that each area benefits from the full drying power of your air movers.
Is It Better to Use Fewer High-Power Air Movers or More Low-Power Units?
It’s tempting to go for fewer high-power air movers, but more low-power units often beat that choice. Sure, high-power units might seem efficient, but they consume more power and generate louder noise levels, which can be disruptive. Using more low-power air movers spreads out the airflow, reduces power consumption, and keeps noise levels down, ultimately speeding up drying without disturbing your environment. Sometimes, less strength means better results.
Conclusion
Mastering air mover placement can turn your drying process from a sluggish crawl into a lightning-fast race. With the right positioning, you’ll cut drying time so dramatically, it’ll feel like you’ve discovered a secret shortcut to dry faster than anyone else. Get it right, and you’ll be amazed at how quickly your space transforms—almost like magic! So, don’t settle for slow drying—use these hacks and watch your project zip to completion in record time.